1、前言
在有的项目进行渗透测试时,需要按照项目方要求添加自定义HTTP头,这样可以方便项目方人员识别我们渗透测试的流量。使用burpsuite插件卡了半天,所以记录一下。
2、正文
首先使用burpsuite两个扩展插件(Custom Header和Add Custom Header)均以失败告终。
burpsuite插件使用过程如下:
①使用Extender模块加载扩展插件

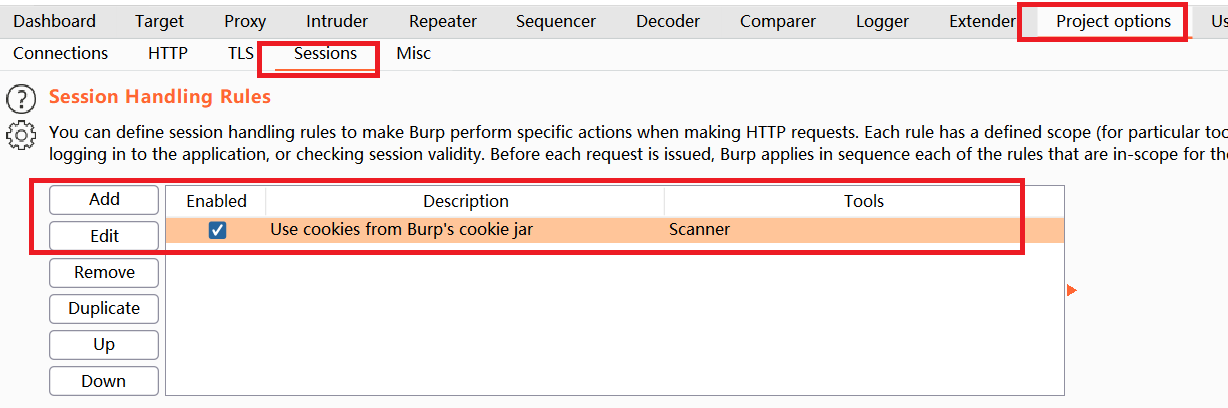
②使用Project options--->Sessions,添加Sessions Handling Rules
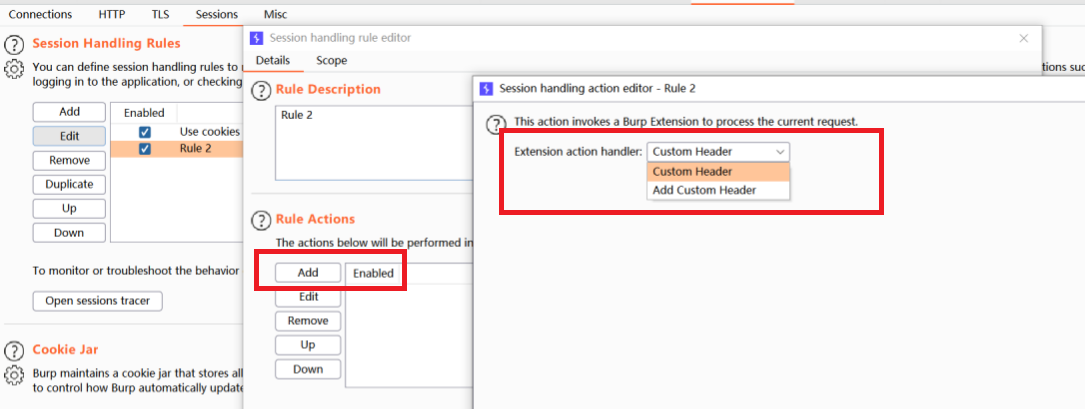
点击“add”按钮添加规则,然后选择扩展插件
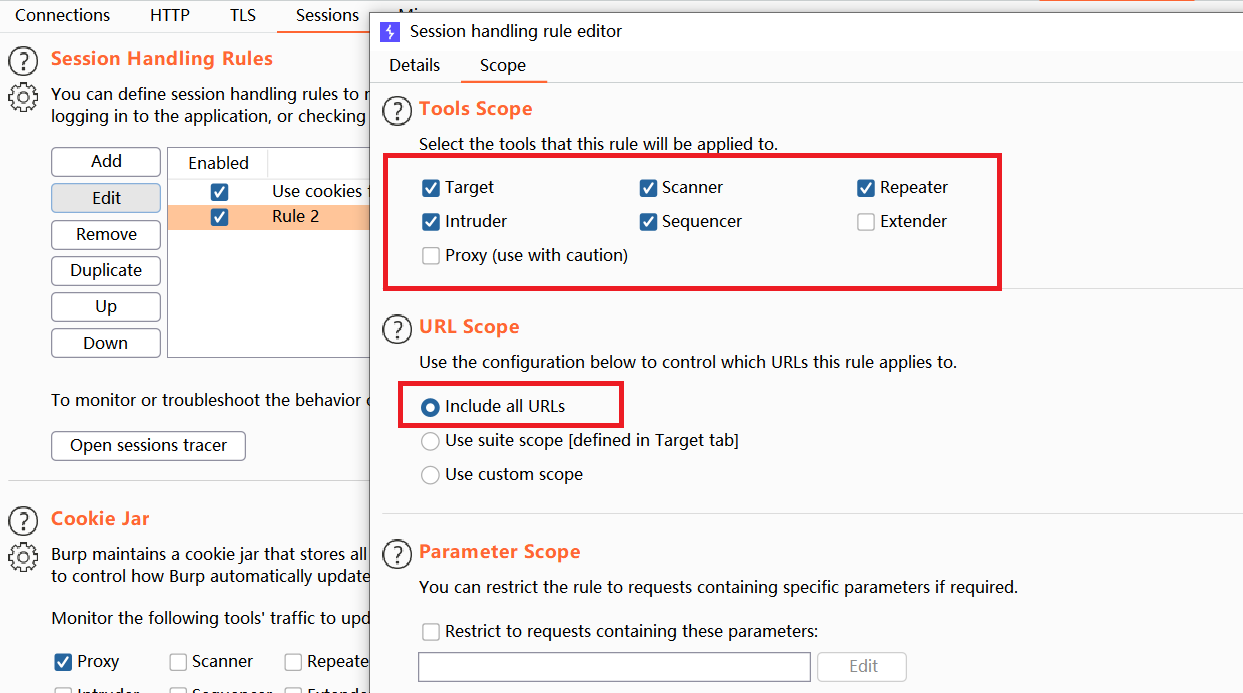
在Scop选择要应用的功能模块以及URL Scop选择
插件使用过程如上所示,设置完成后,无法使用插件中的自定义HTTP头,不知道什么情况,哪位朋友成功了说一下,有可能burpsuit版本问题,但我没去试。
谷歌浏览器插件使用过程如下:
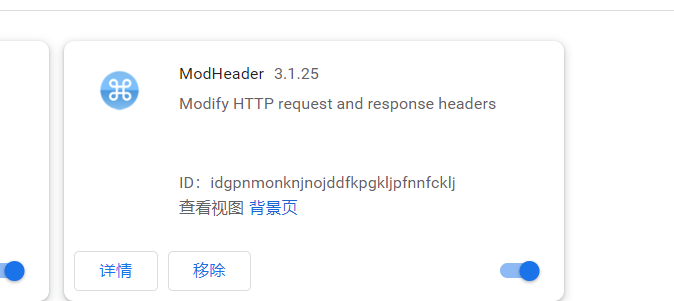
①burpsuite设置失败后就使用谷歌浏览器插件ModHeader
下载ModHeader插件,下载完成后拖进扩展程序,自动安装成功。
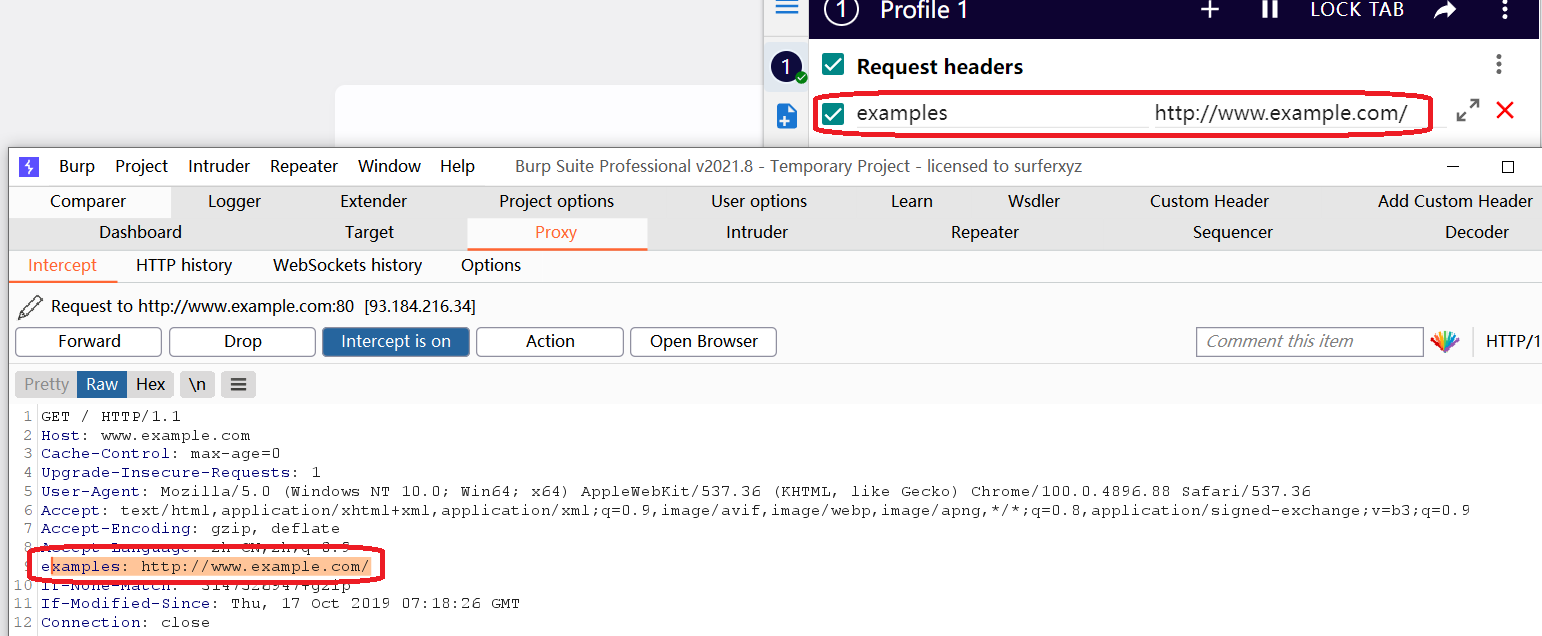
②然后打开扩展,选择请求头添加
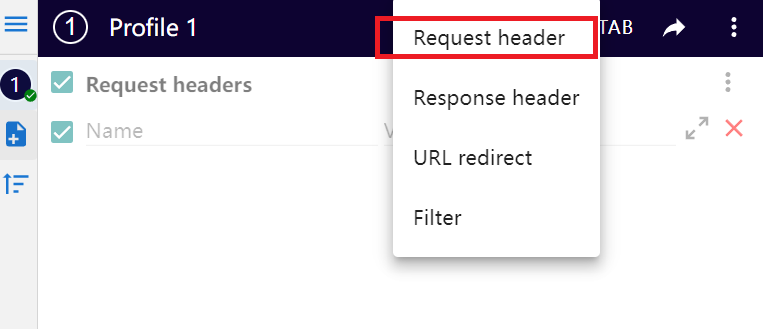
这样就可以根据要求进行HTTP头自定义了.