首先配置模拟器,进行root,安装面具,常用工具等。
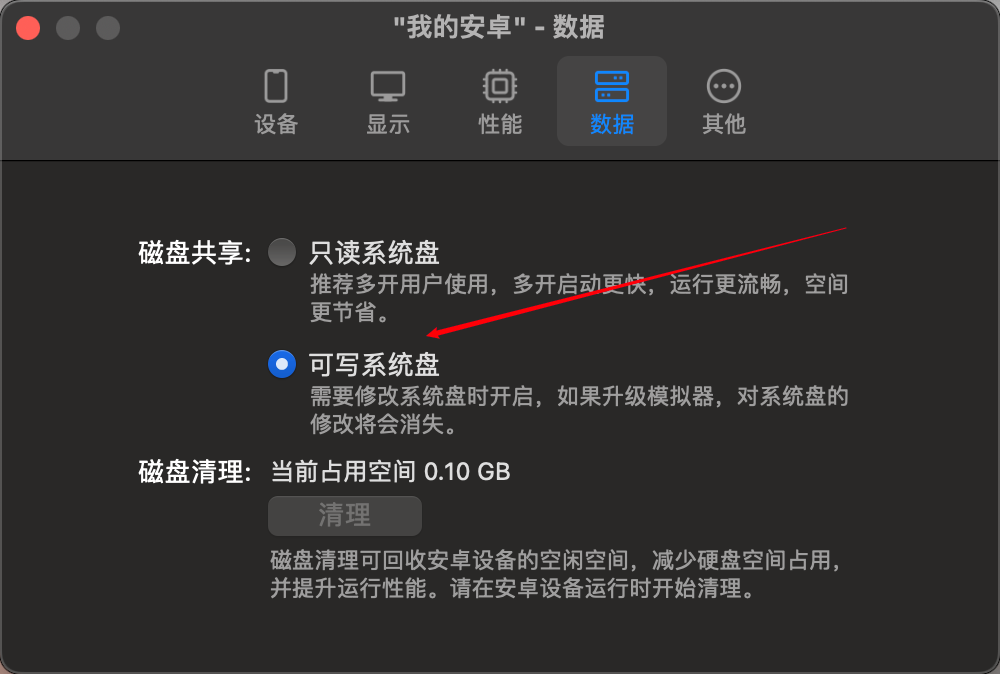
在模拟器硬盘切换成 可写系统盘
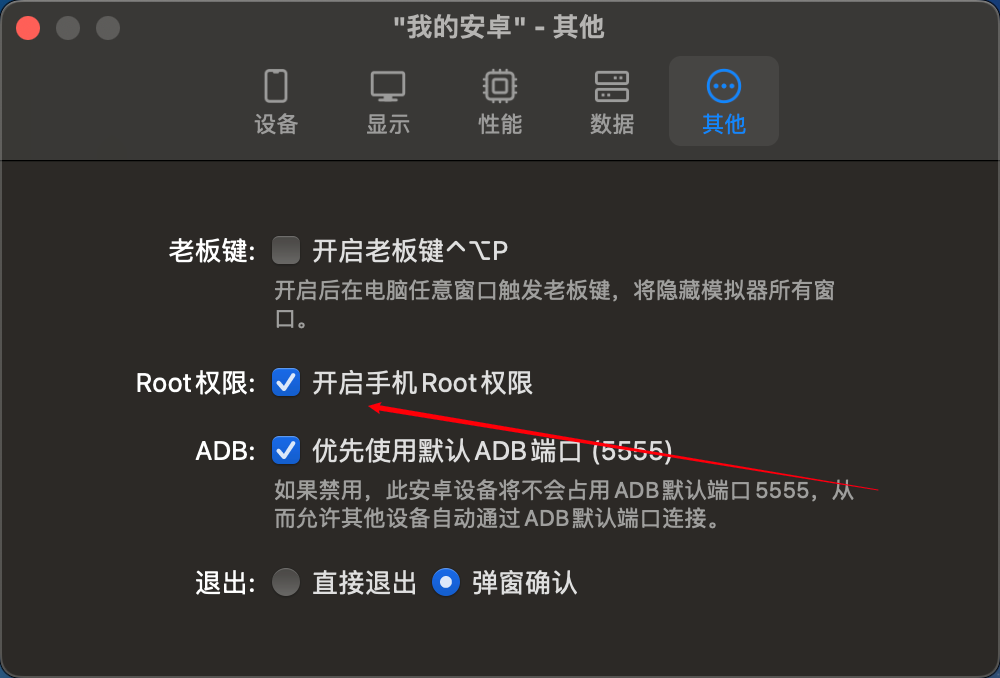
开启root权限
开机后打开ADB调试
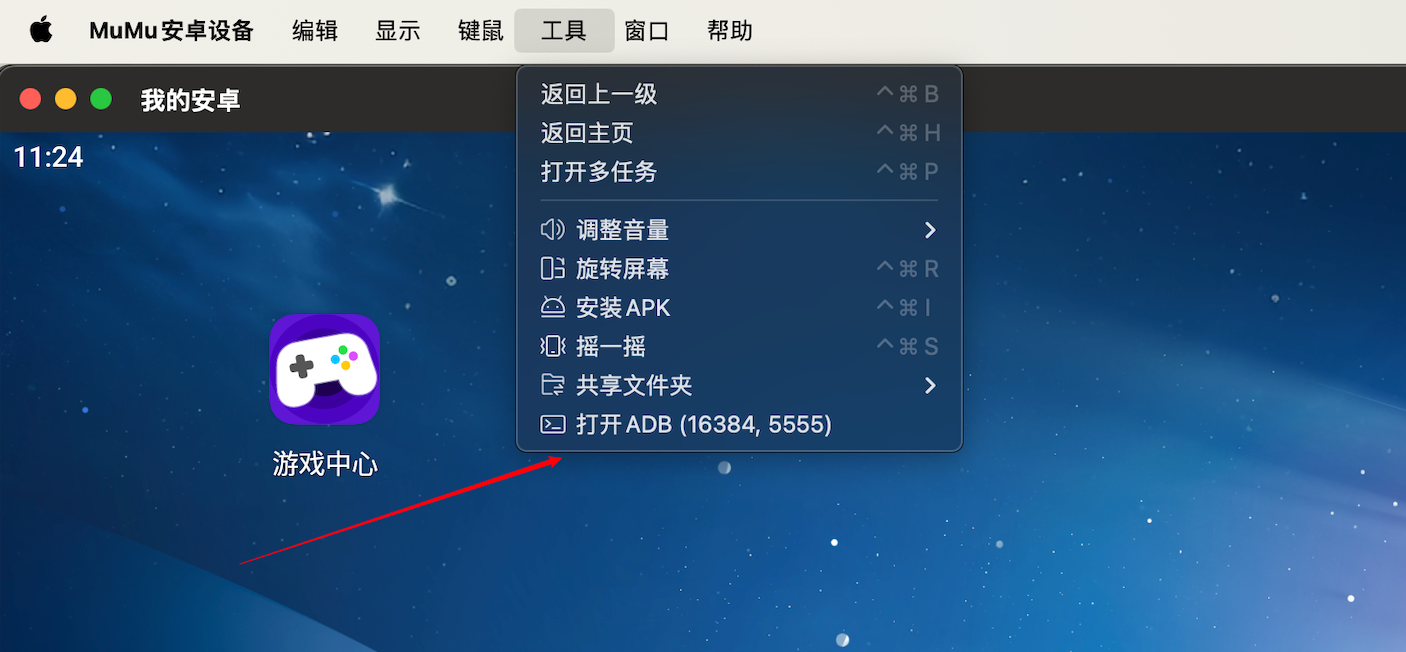
打开后会启动一个终端 代表已经打开 之后关闭即可
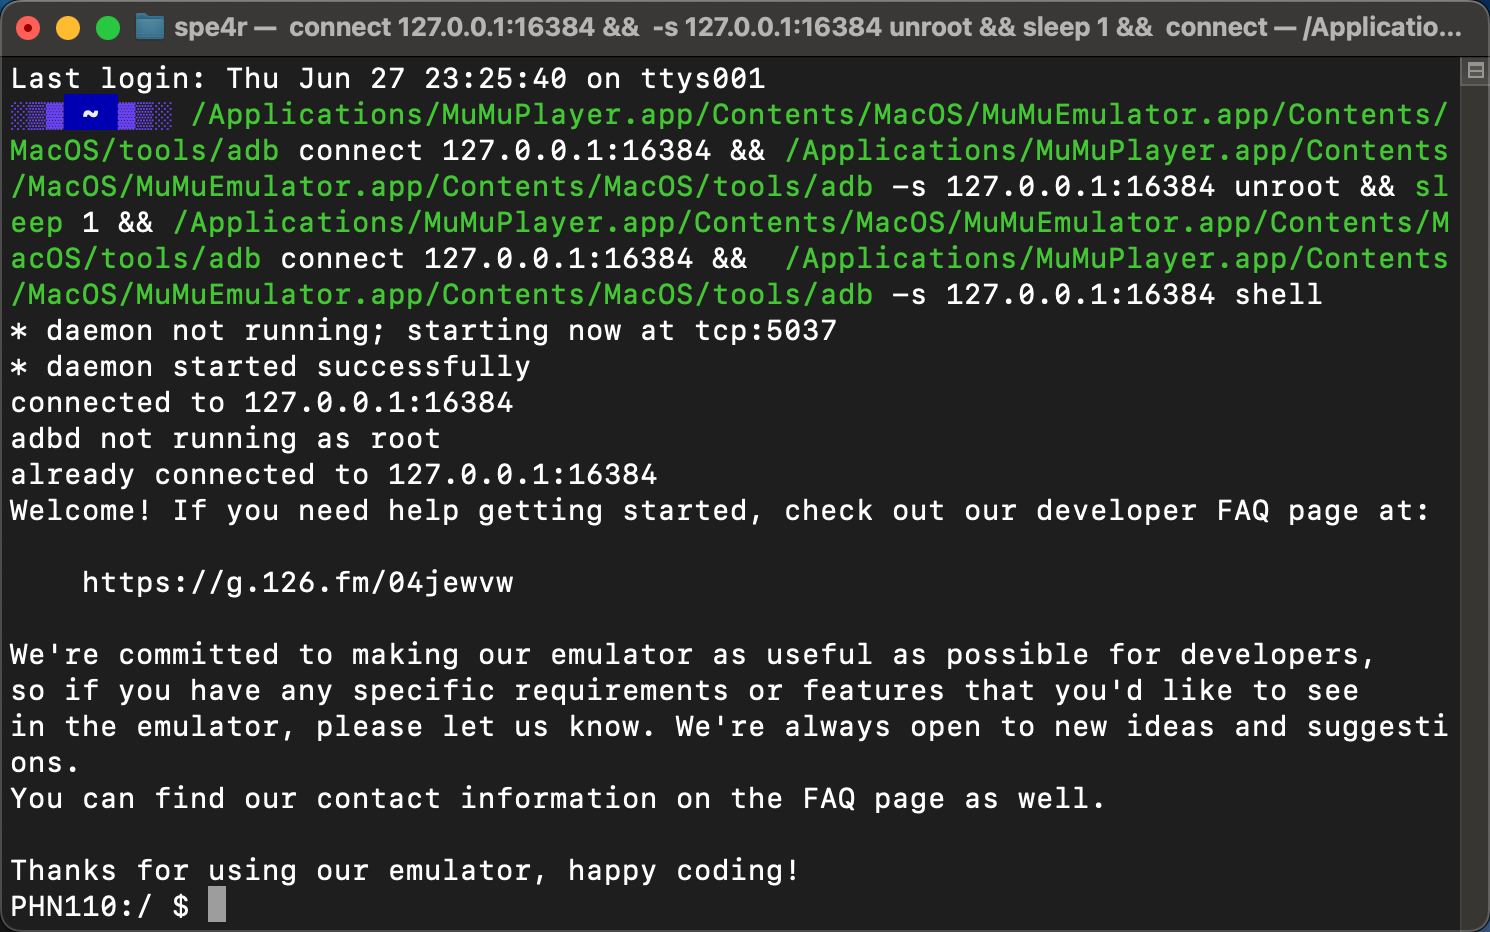
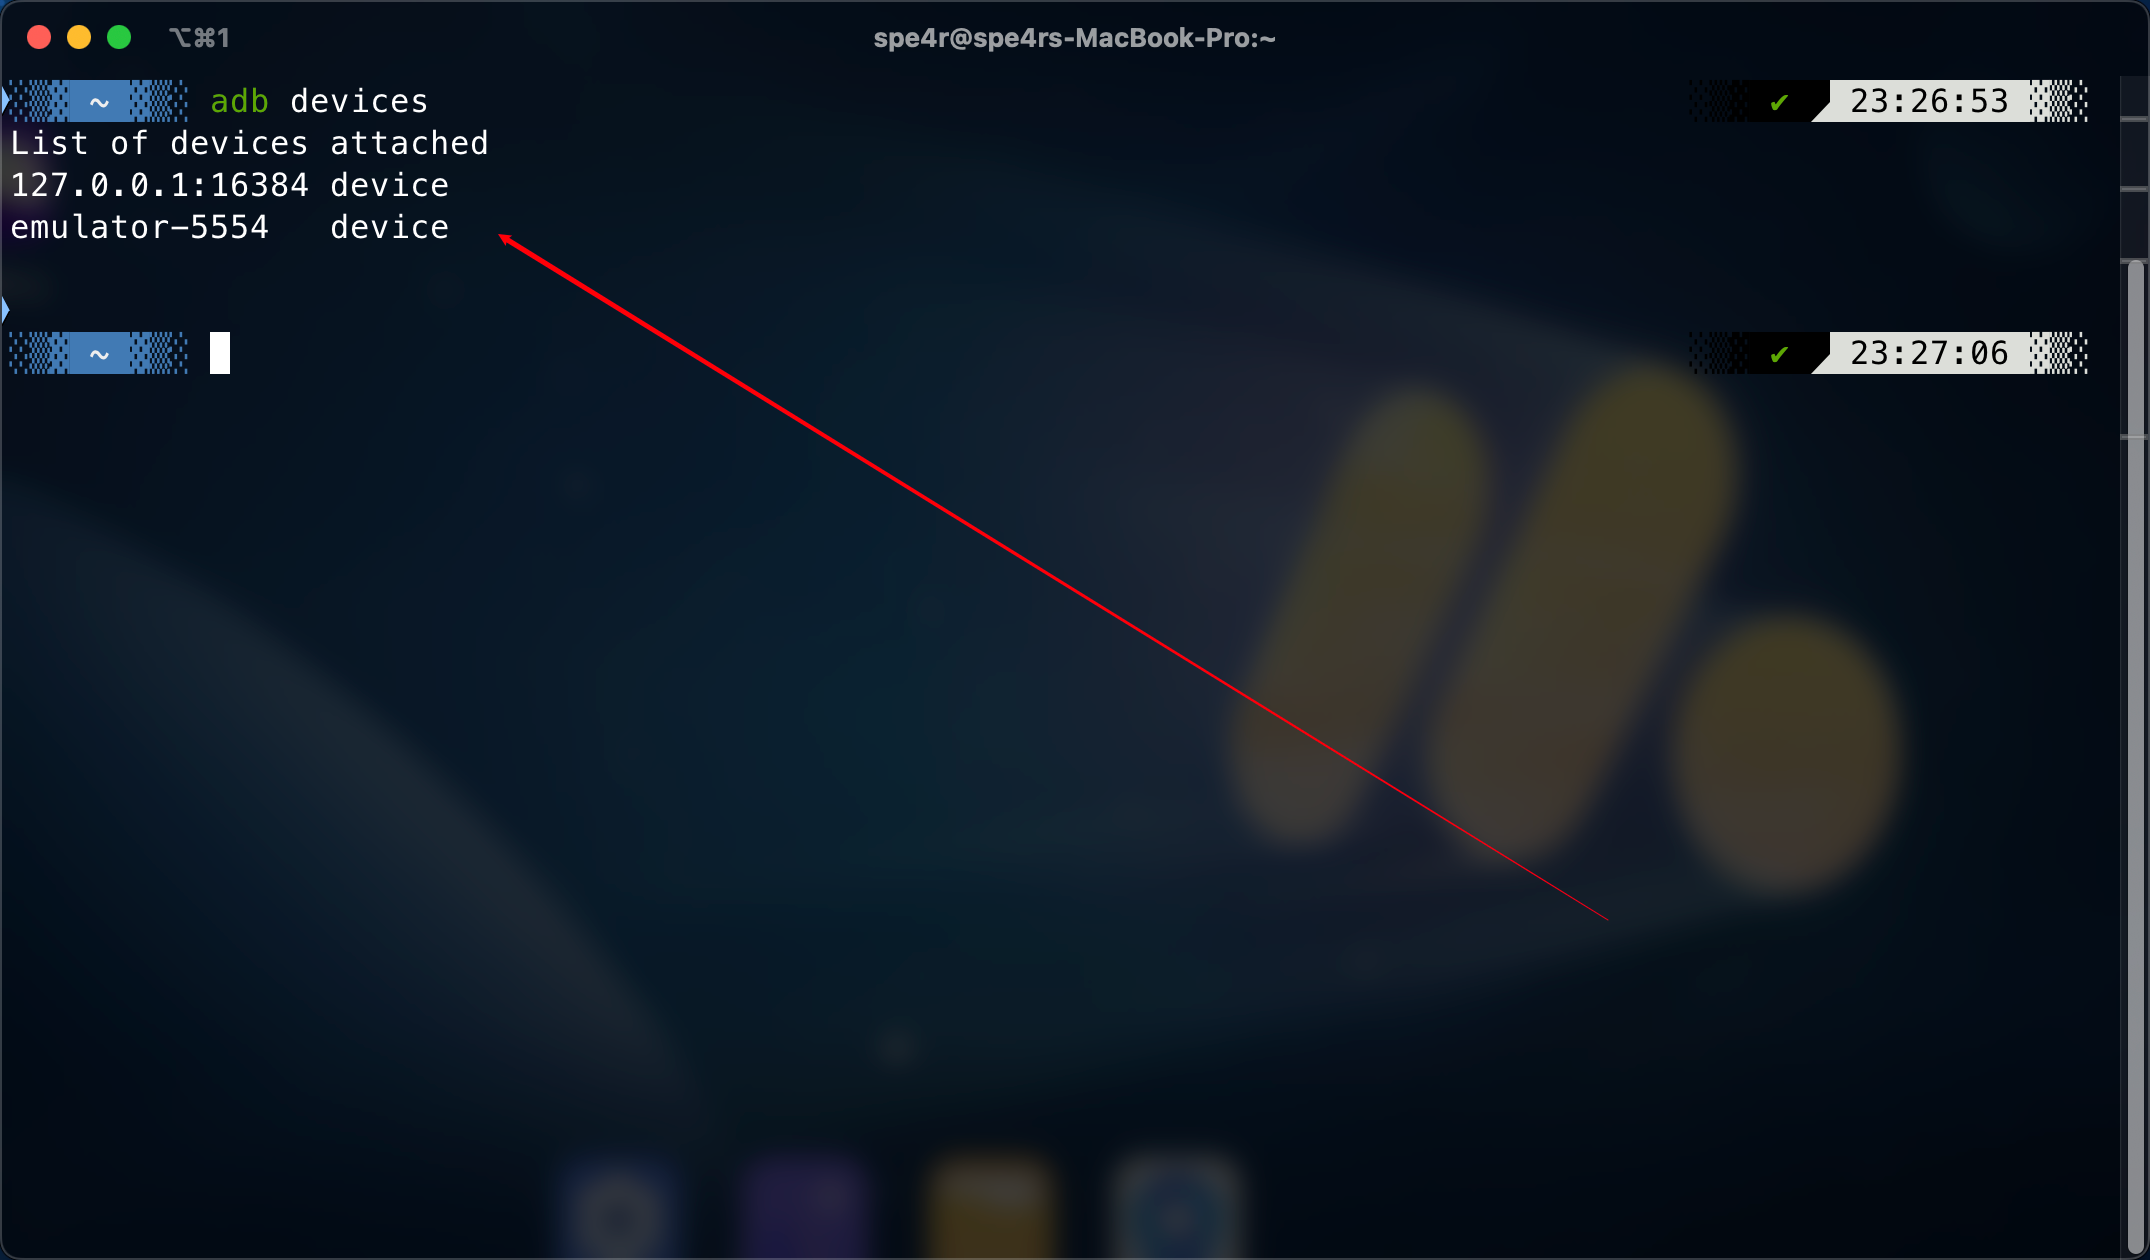
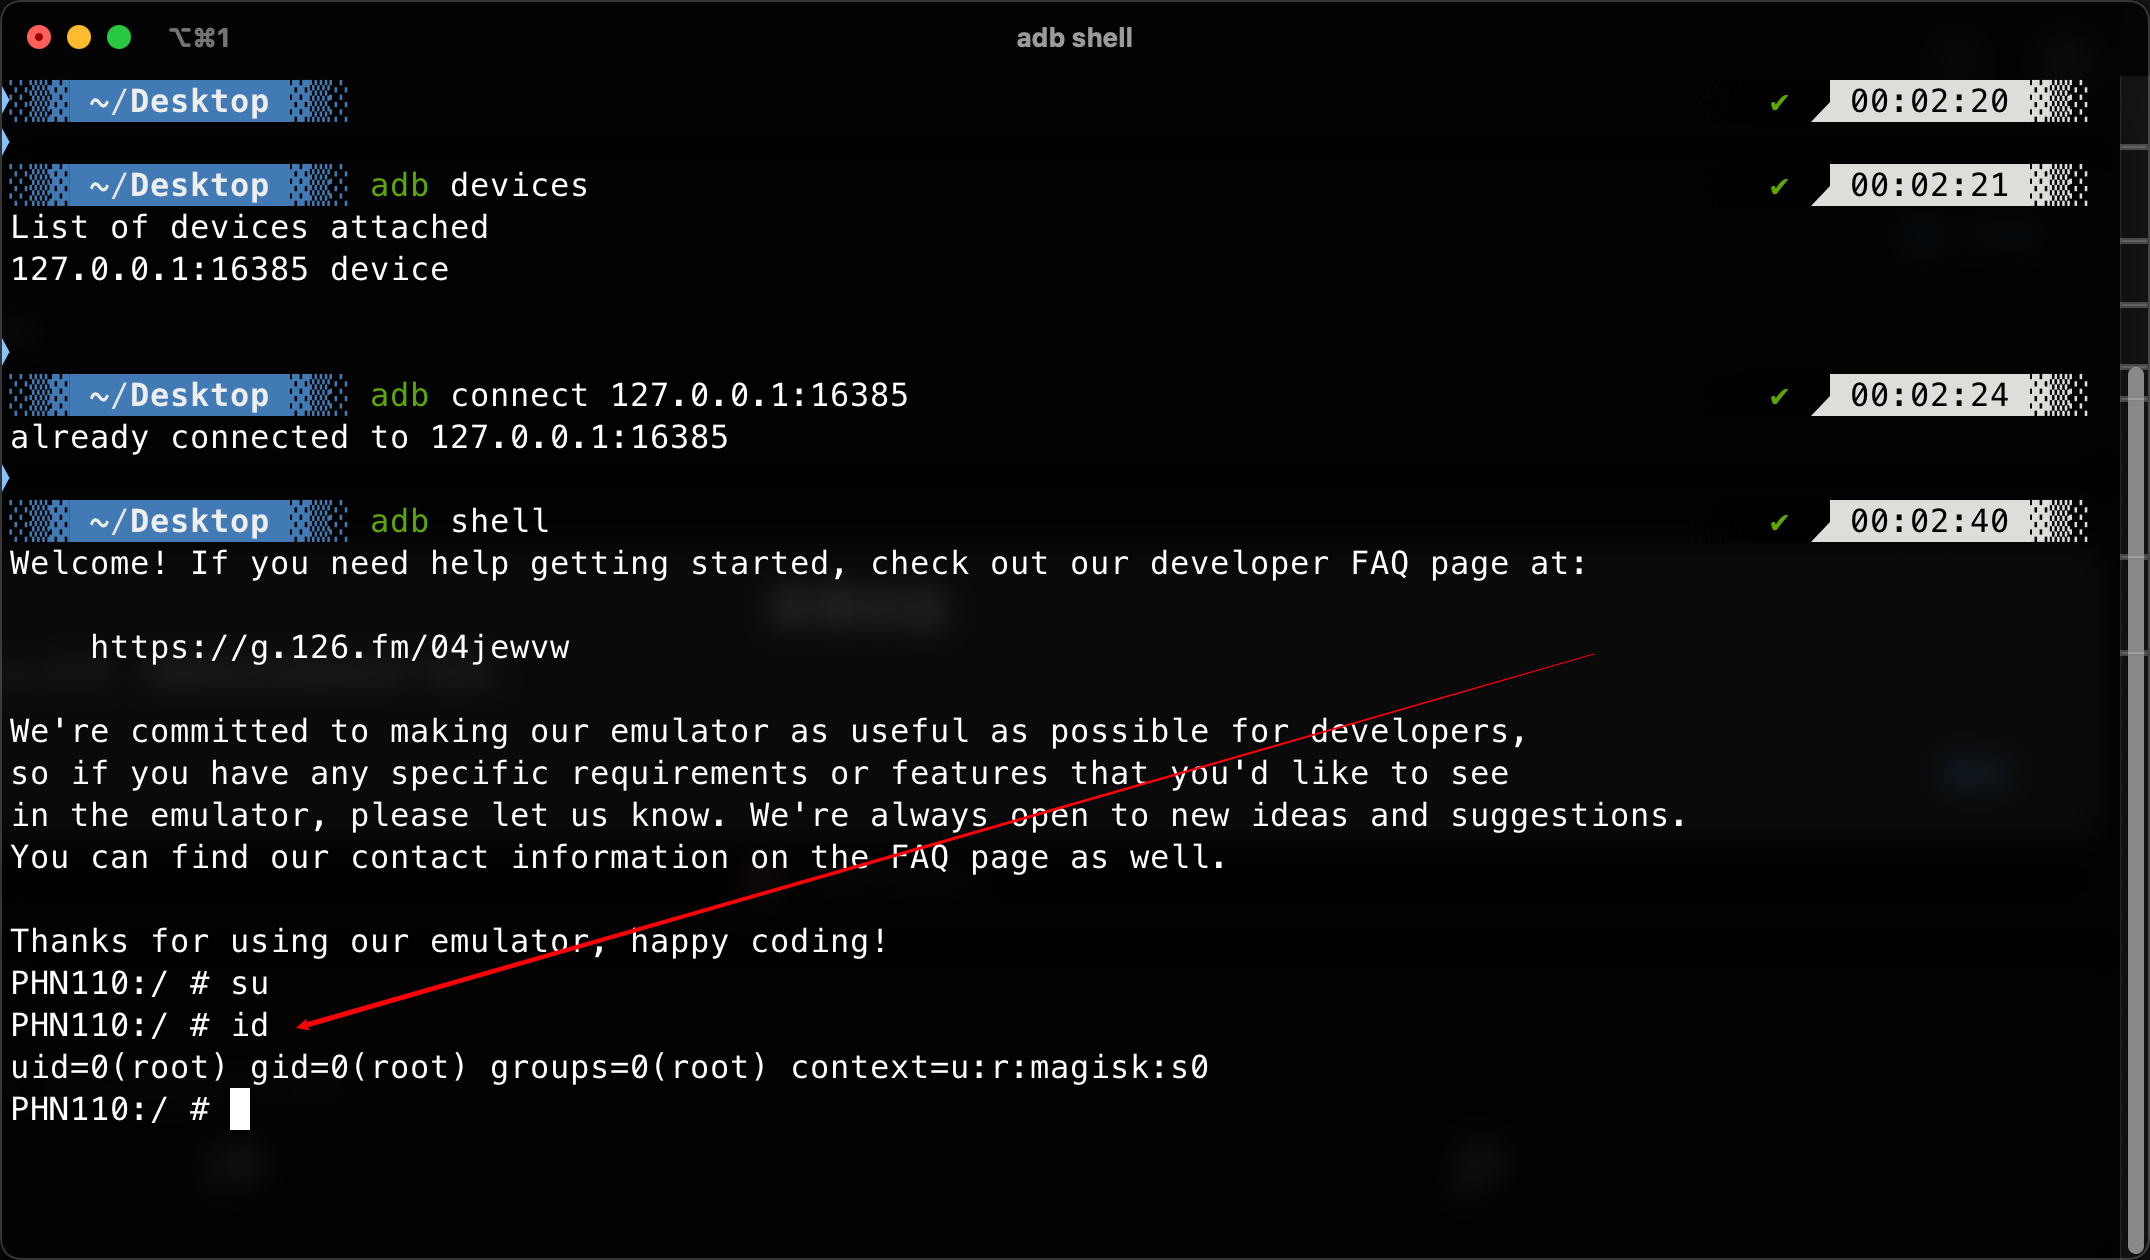
使用adb命令可以查看到 当前设备
导出burp 和 yakit的证书到桌面

之后转换证书格式 并导入到模拟器的system证书文件夹下
#burpsuite
openssl x509 -inform DER -in burp.der -out burp.pem
hash=$(openssl x509 -inform PEM -subject_hash_old -in burp.pem | head -n 1)
# 将 pem 证书改成 hash + .0 的格式
new_hash="${hash}.0"
mv burp.pem "$new_hash"
# 将证书直接放到系统证书文件夹下
adb push "$new_hash" /system/etc/security/cacerts/
#yakit
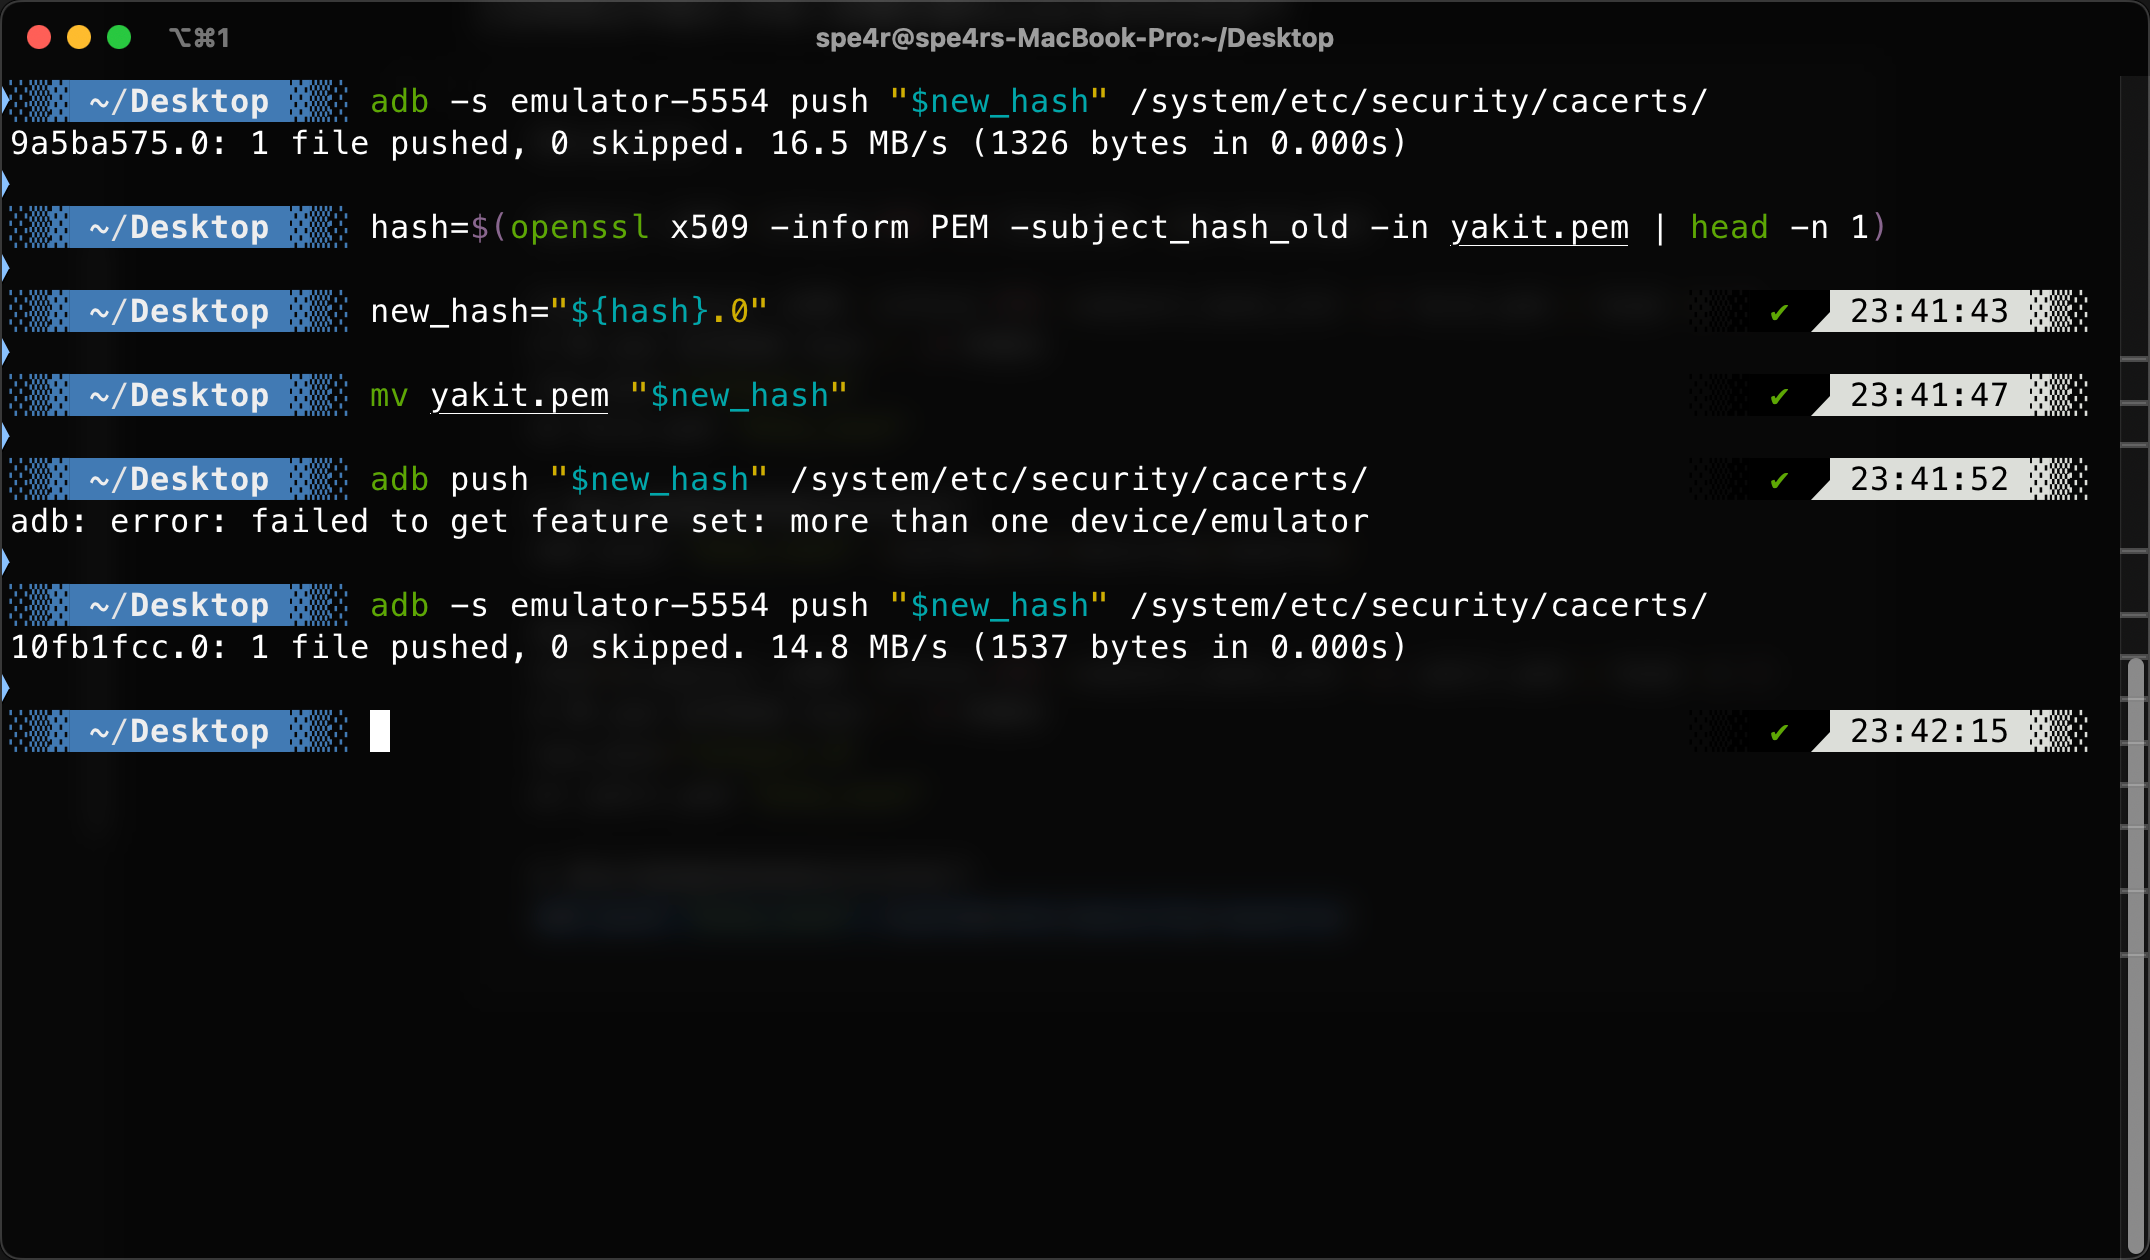
hash=$(openssl x509 -inform PEM -subject_hash_old -in yakit.pem | head -n 1)
# 将 pem 证书改成 hash + .0 的格式
new_hash="${hash}.0"
mv yakit.pem "$new_hash"
# 将证书直接放到系统证书文件夹下
adb push "$new_hash" /system/etc/security/cacerts/
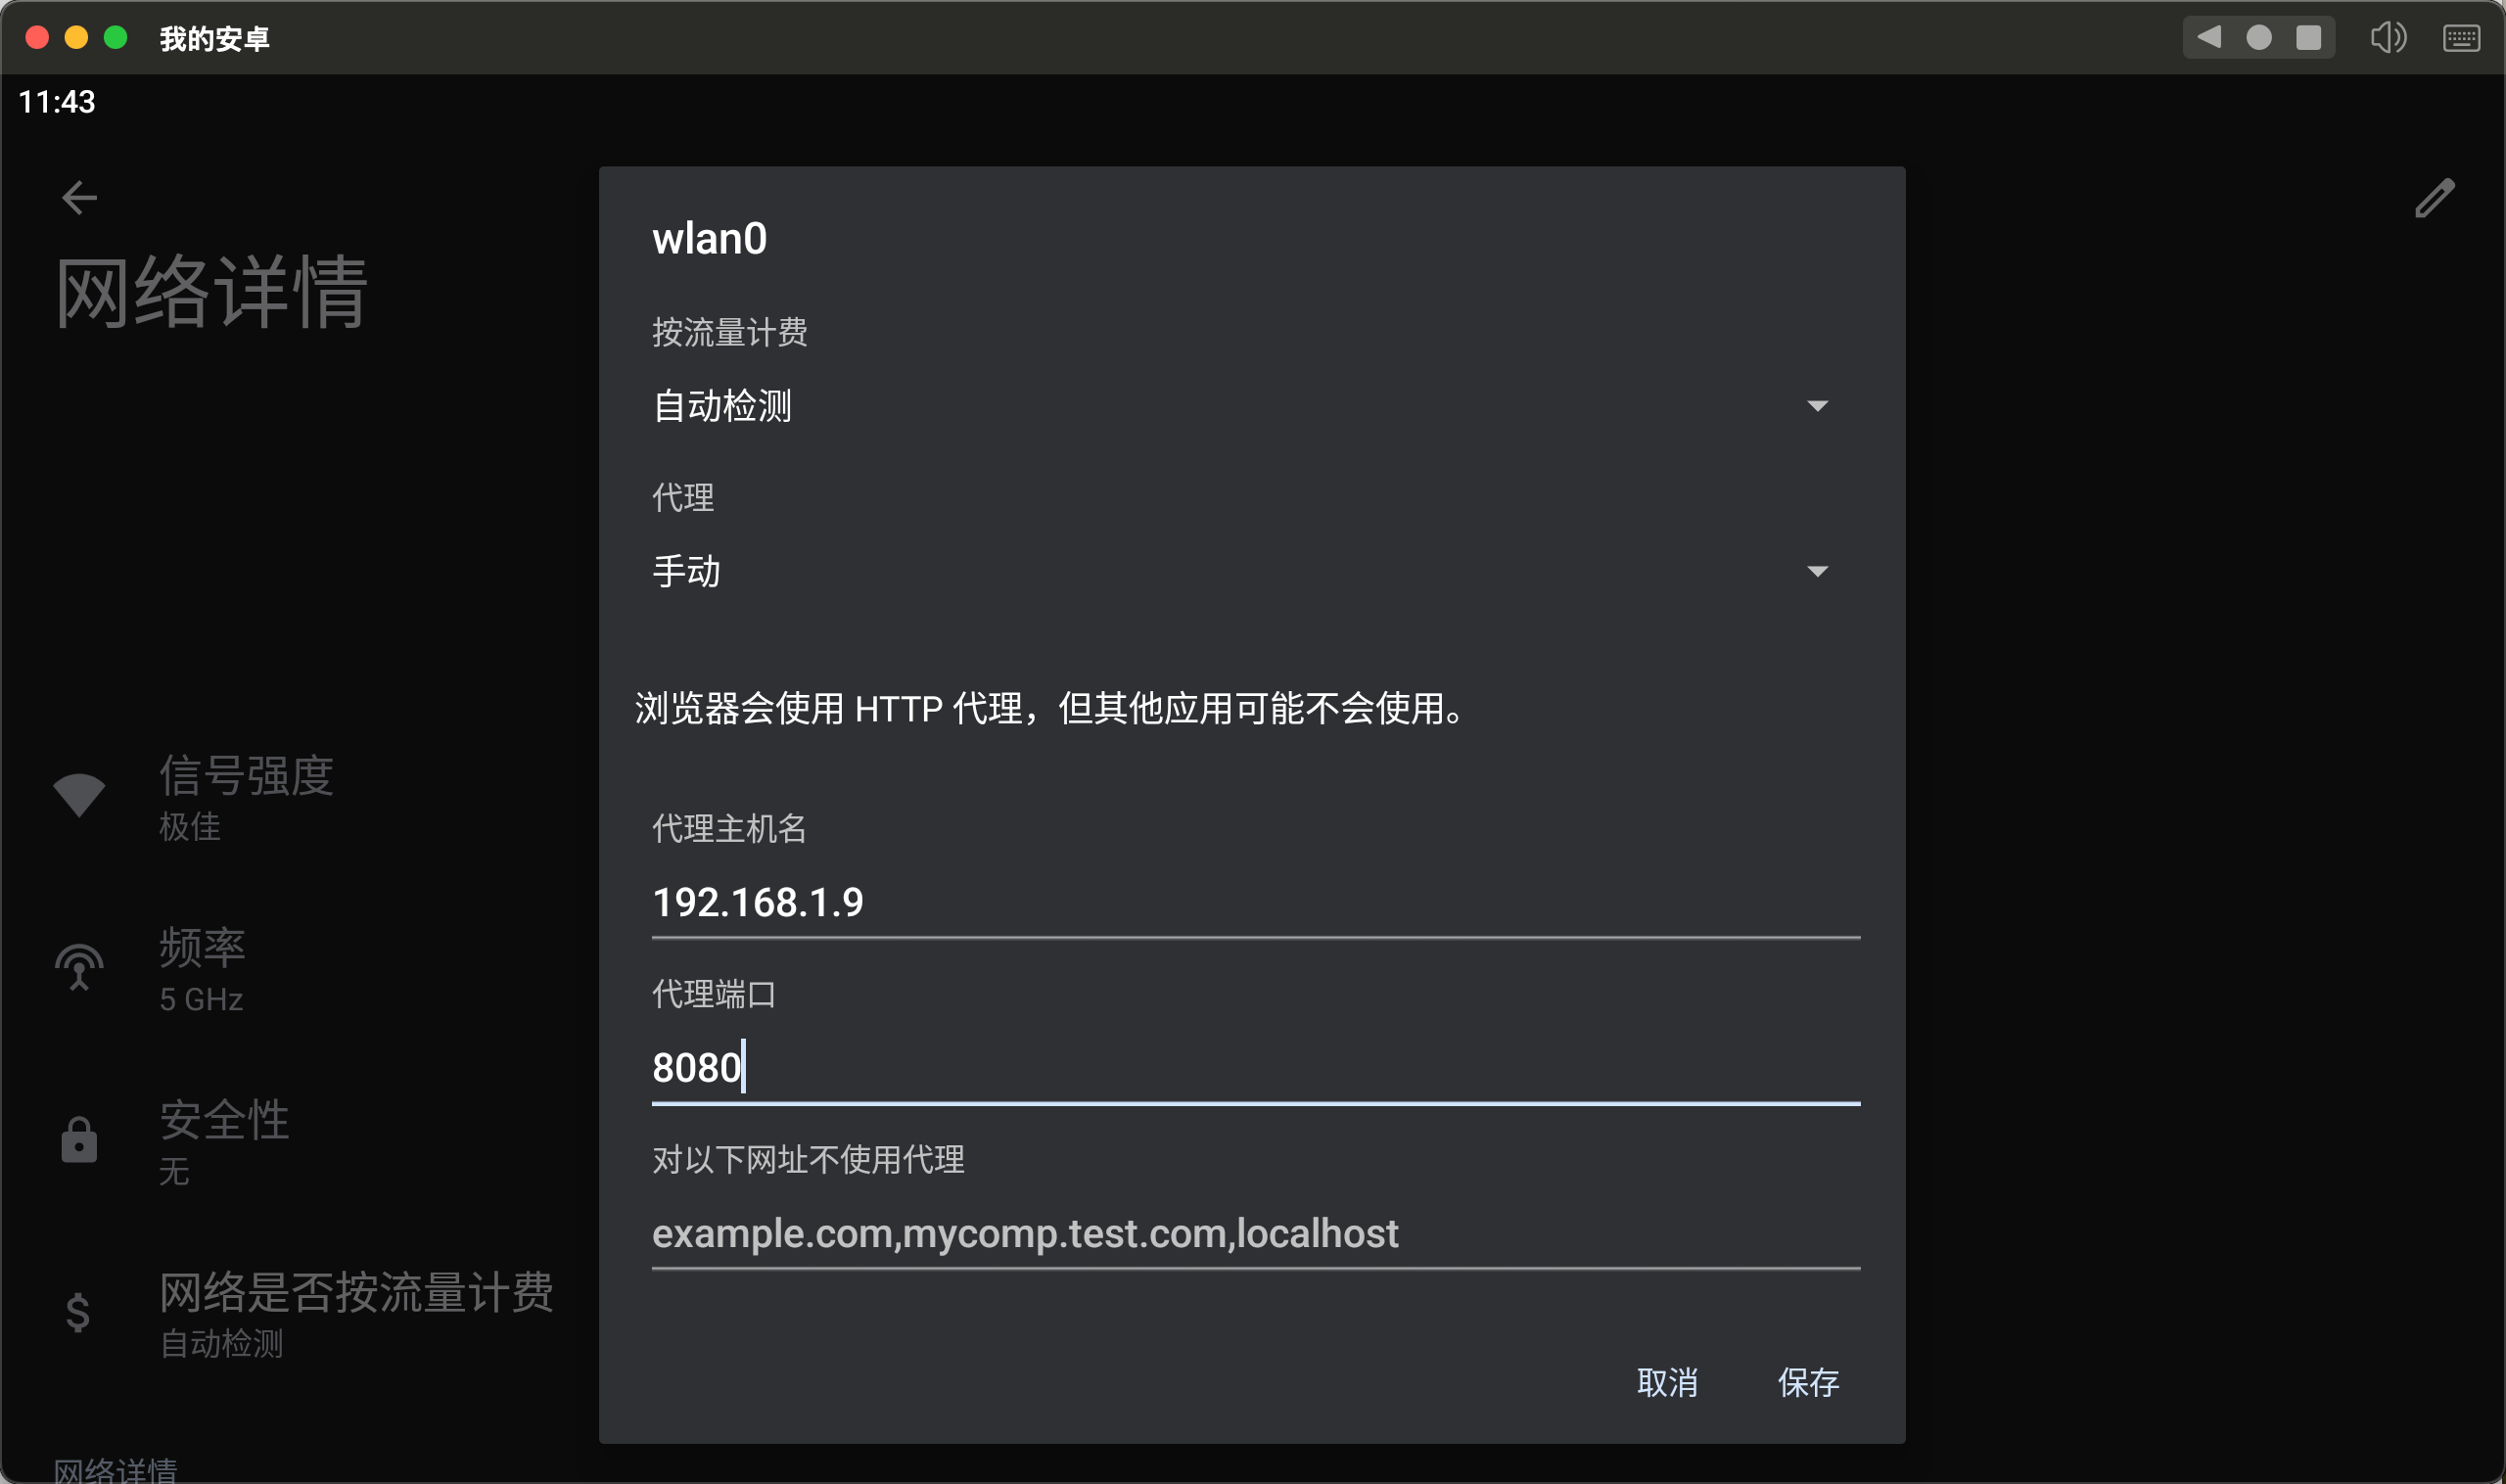
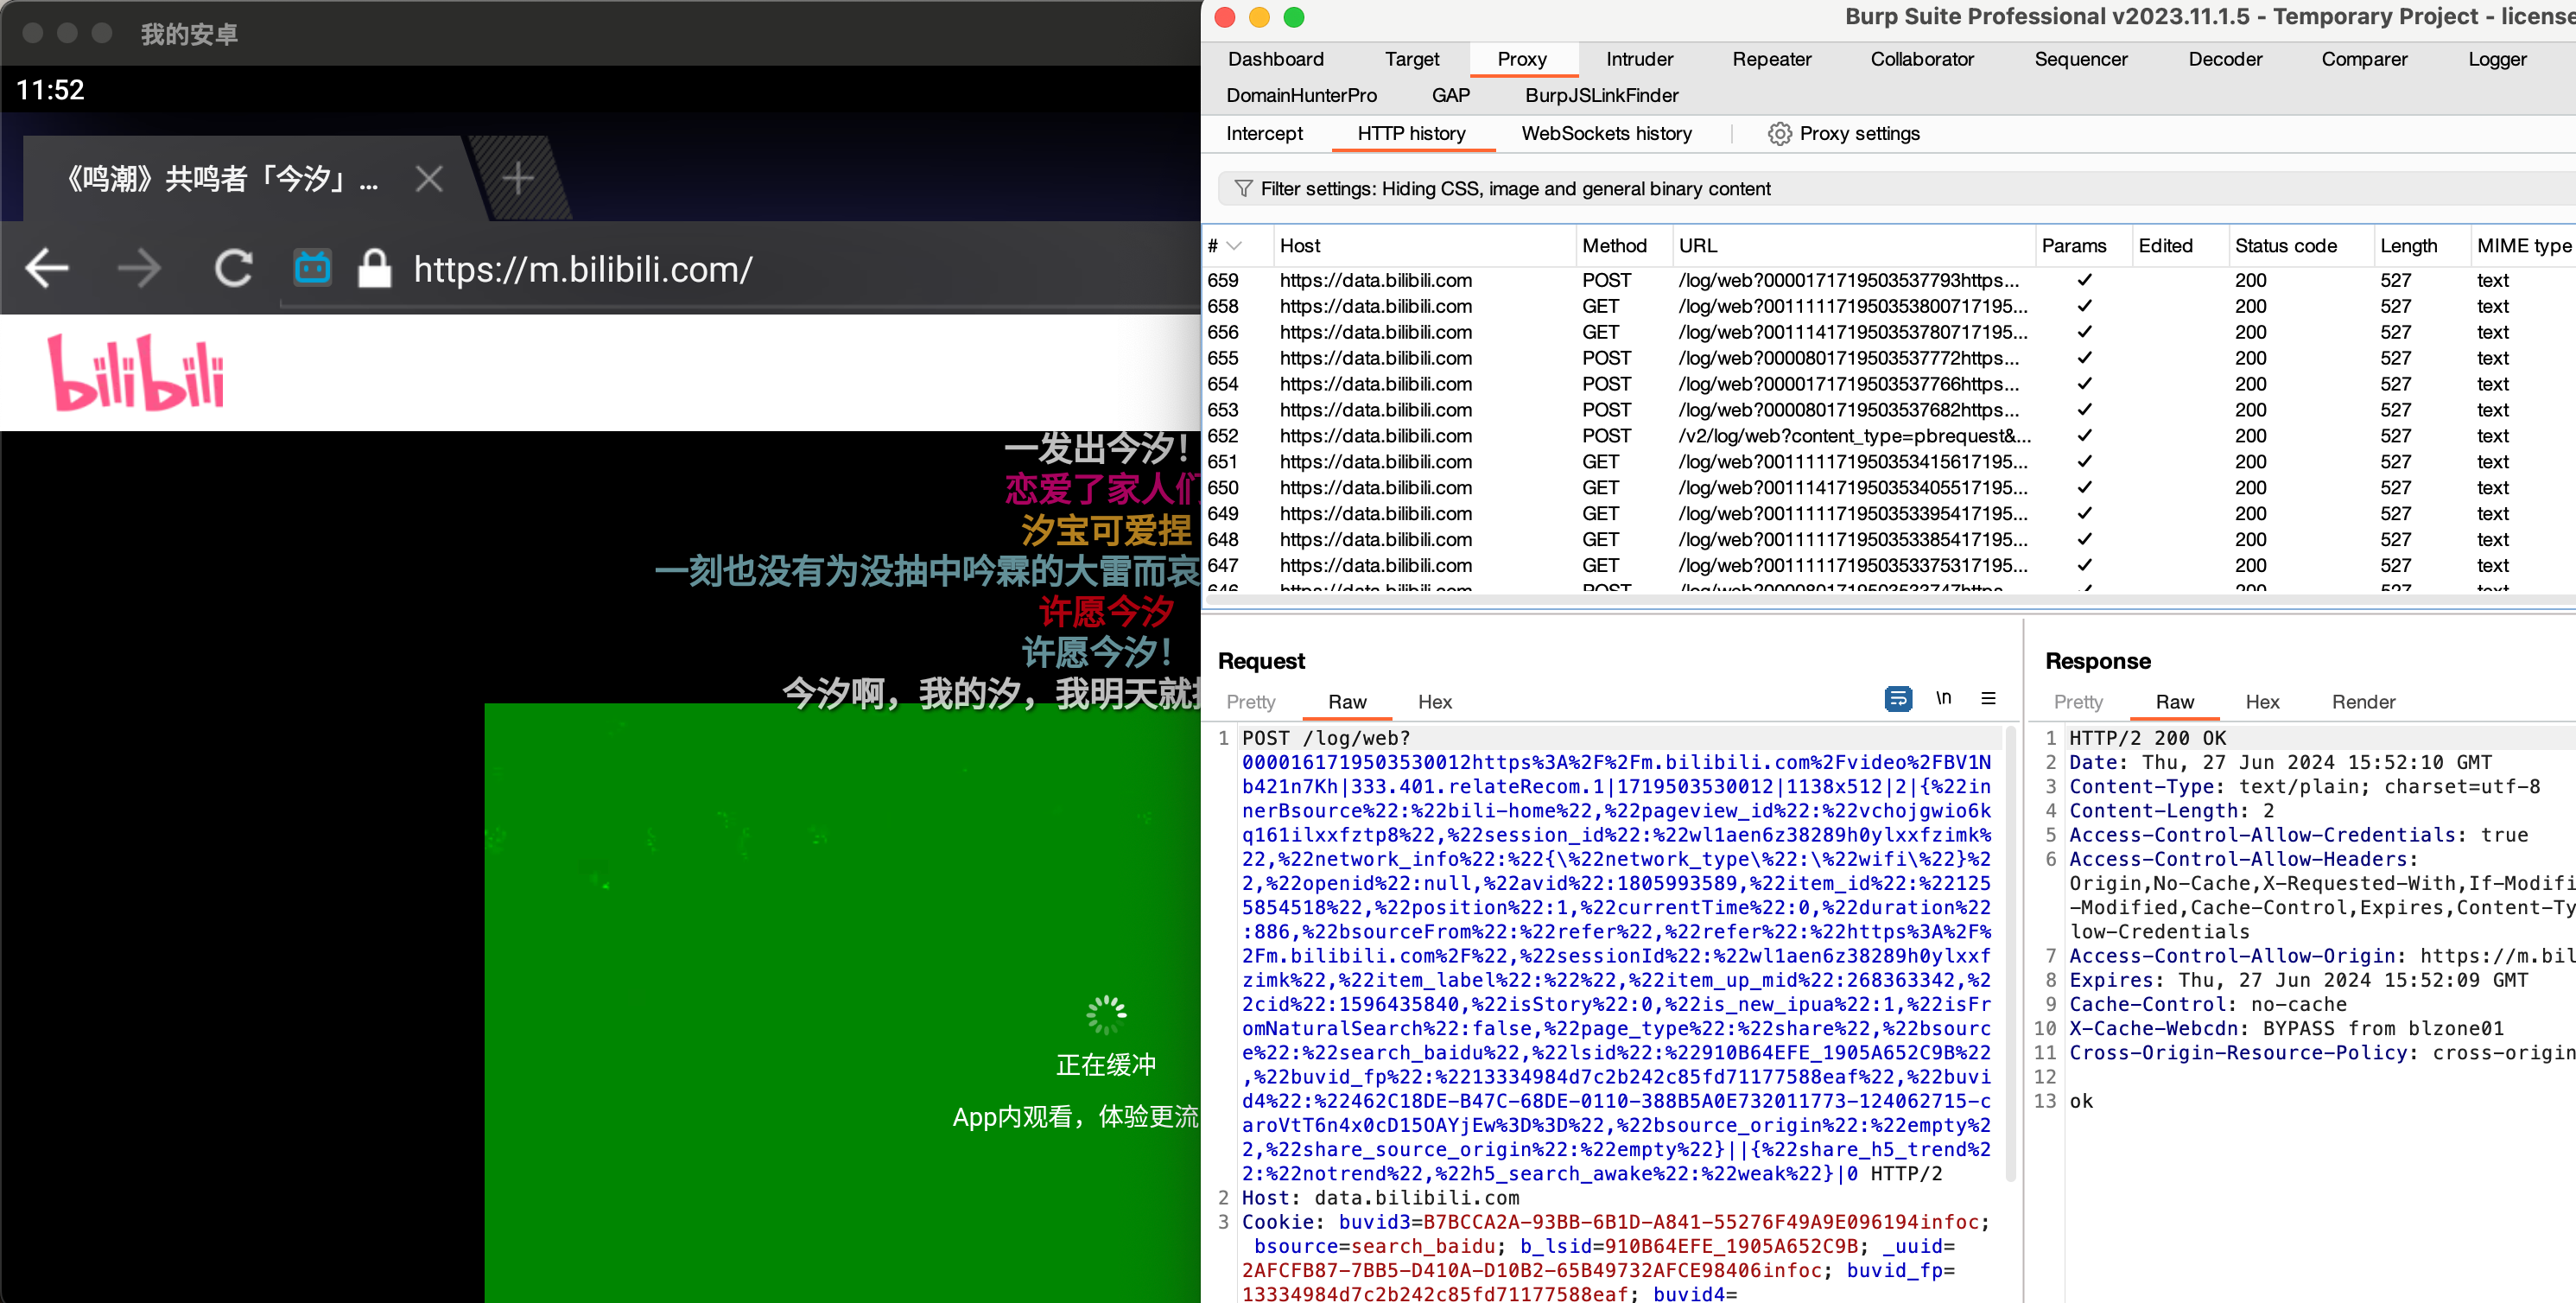
使用burp进行抓包测试
burp能抓到https包
接下来安装面具
HuskyDG/magisk-files (github.com)
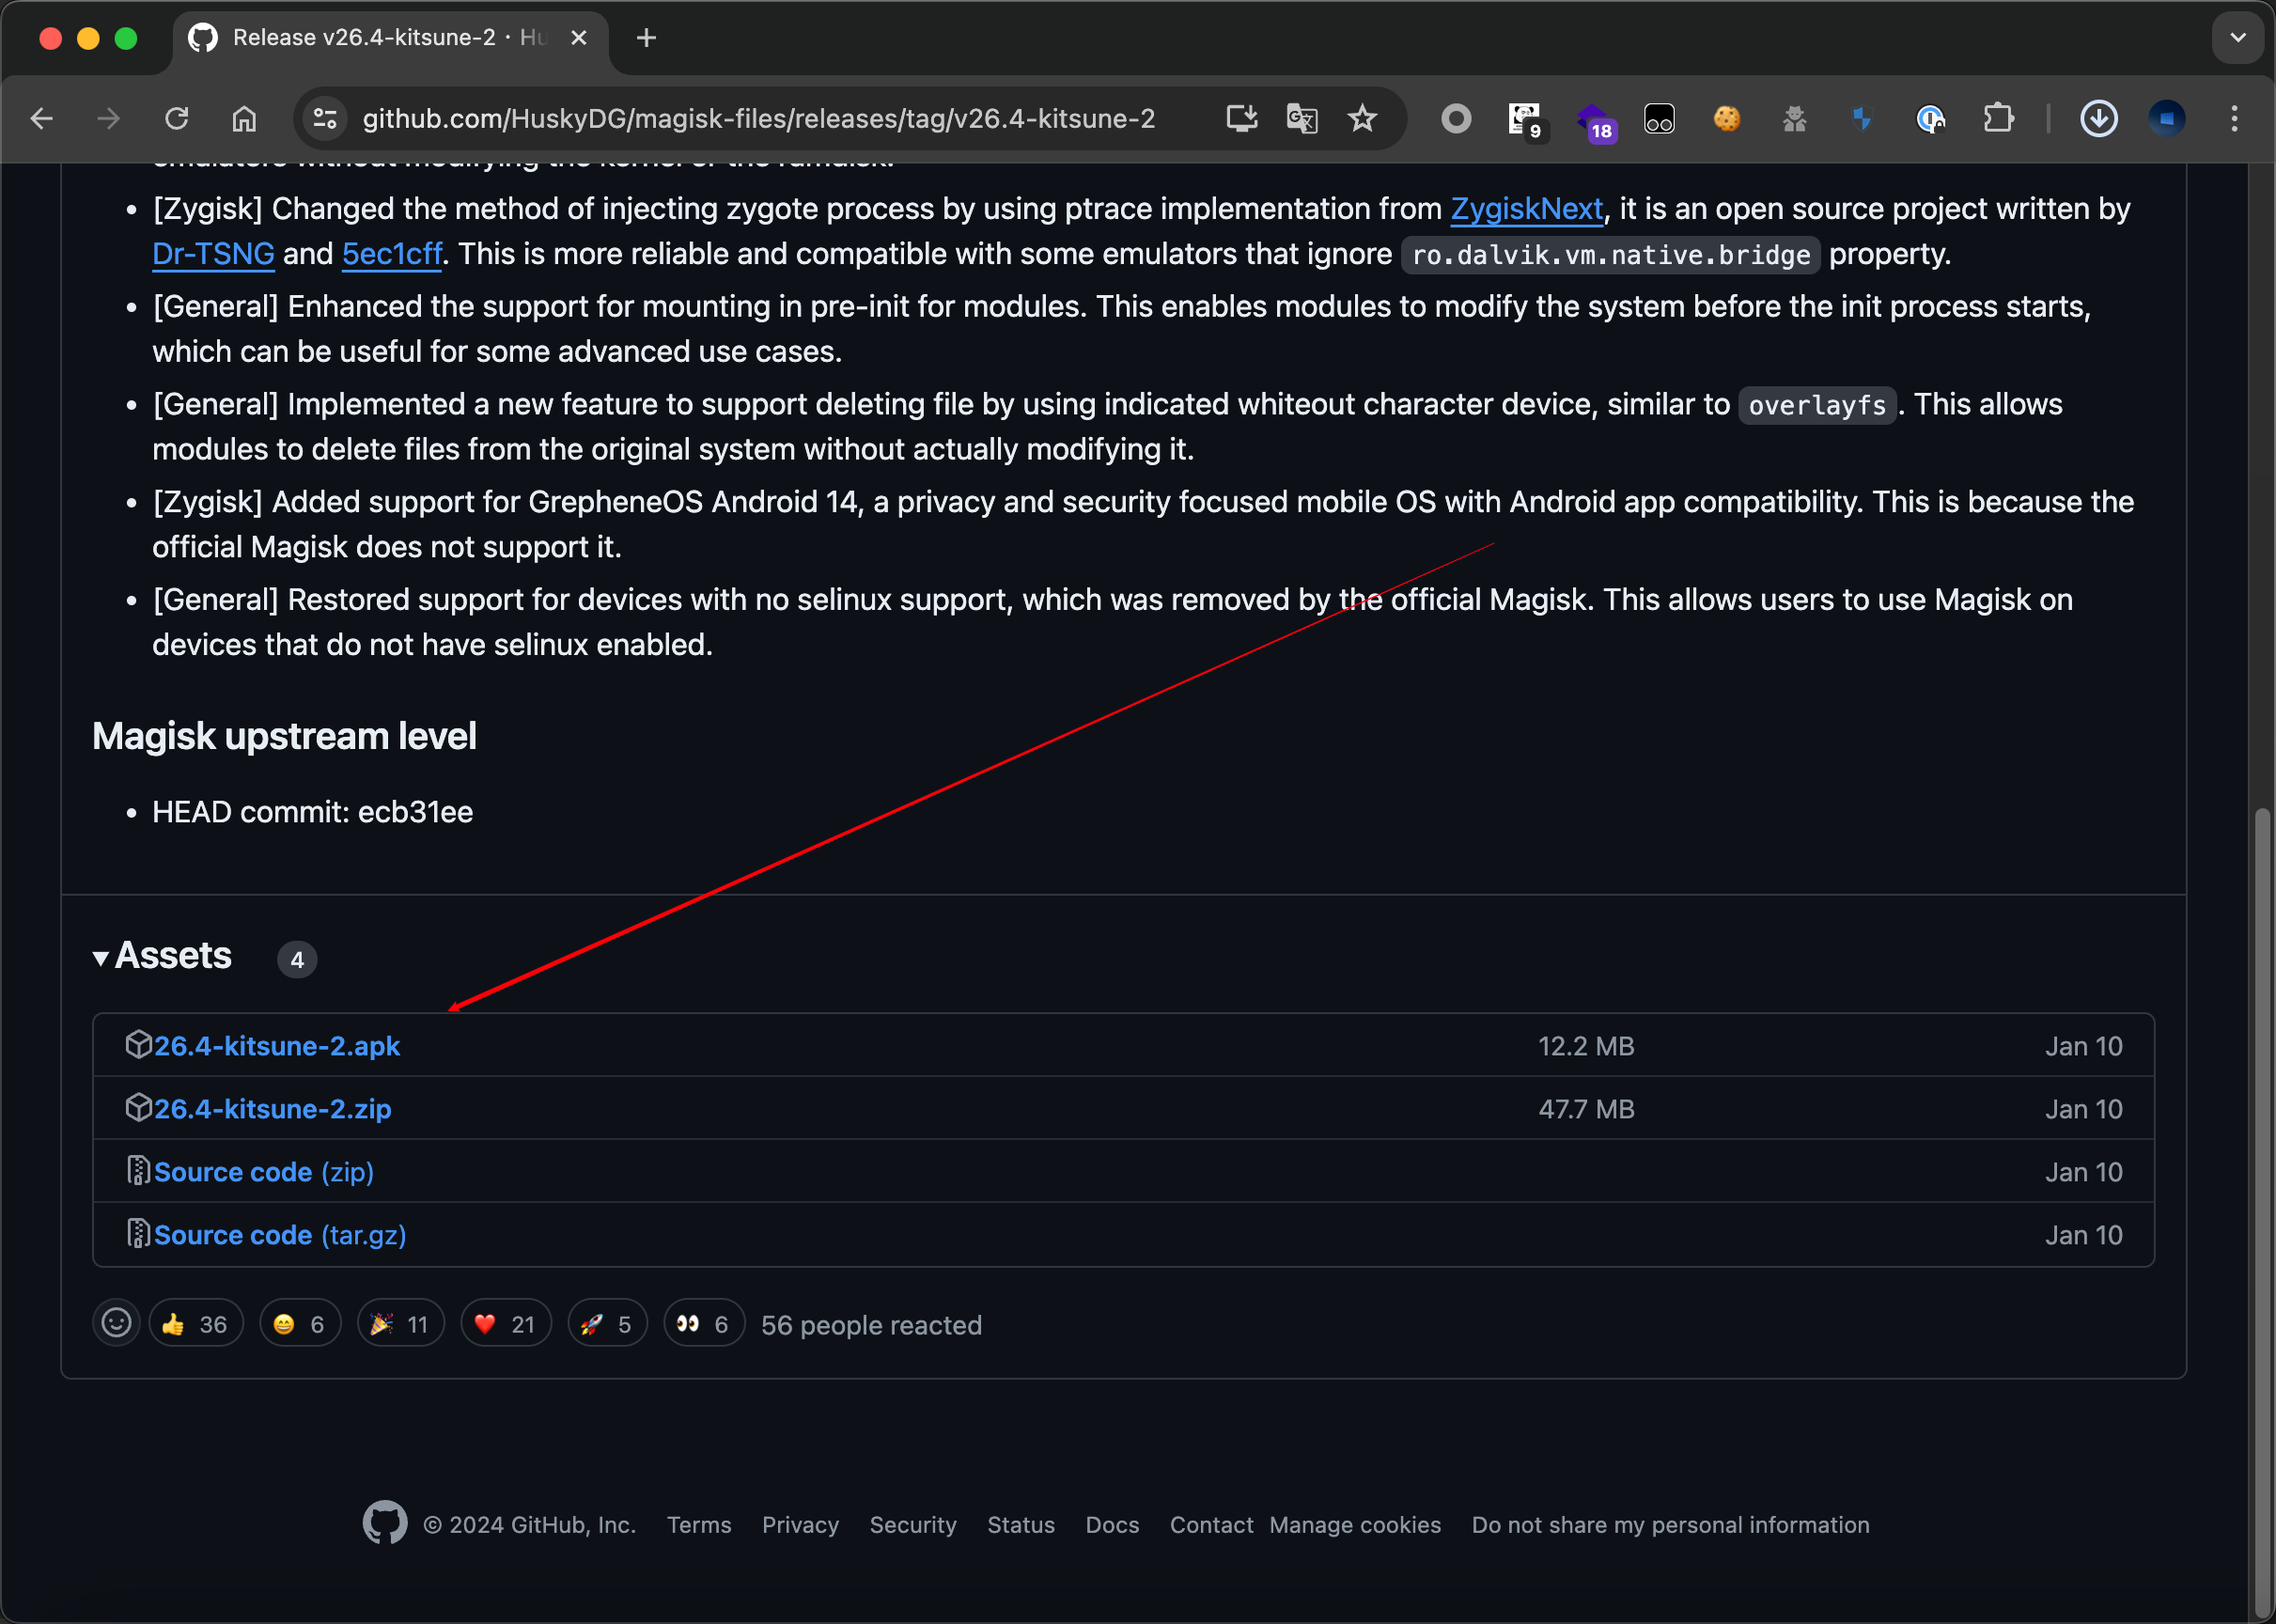
将apk拖到模拟器中进行安装
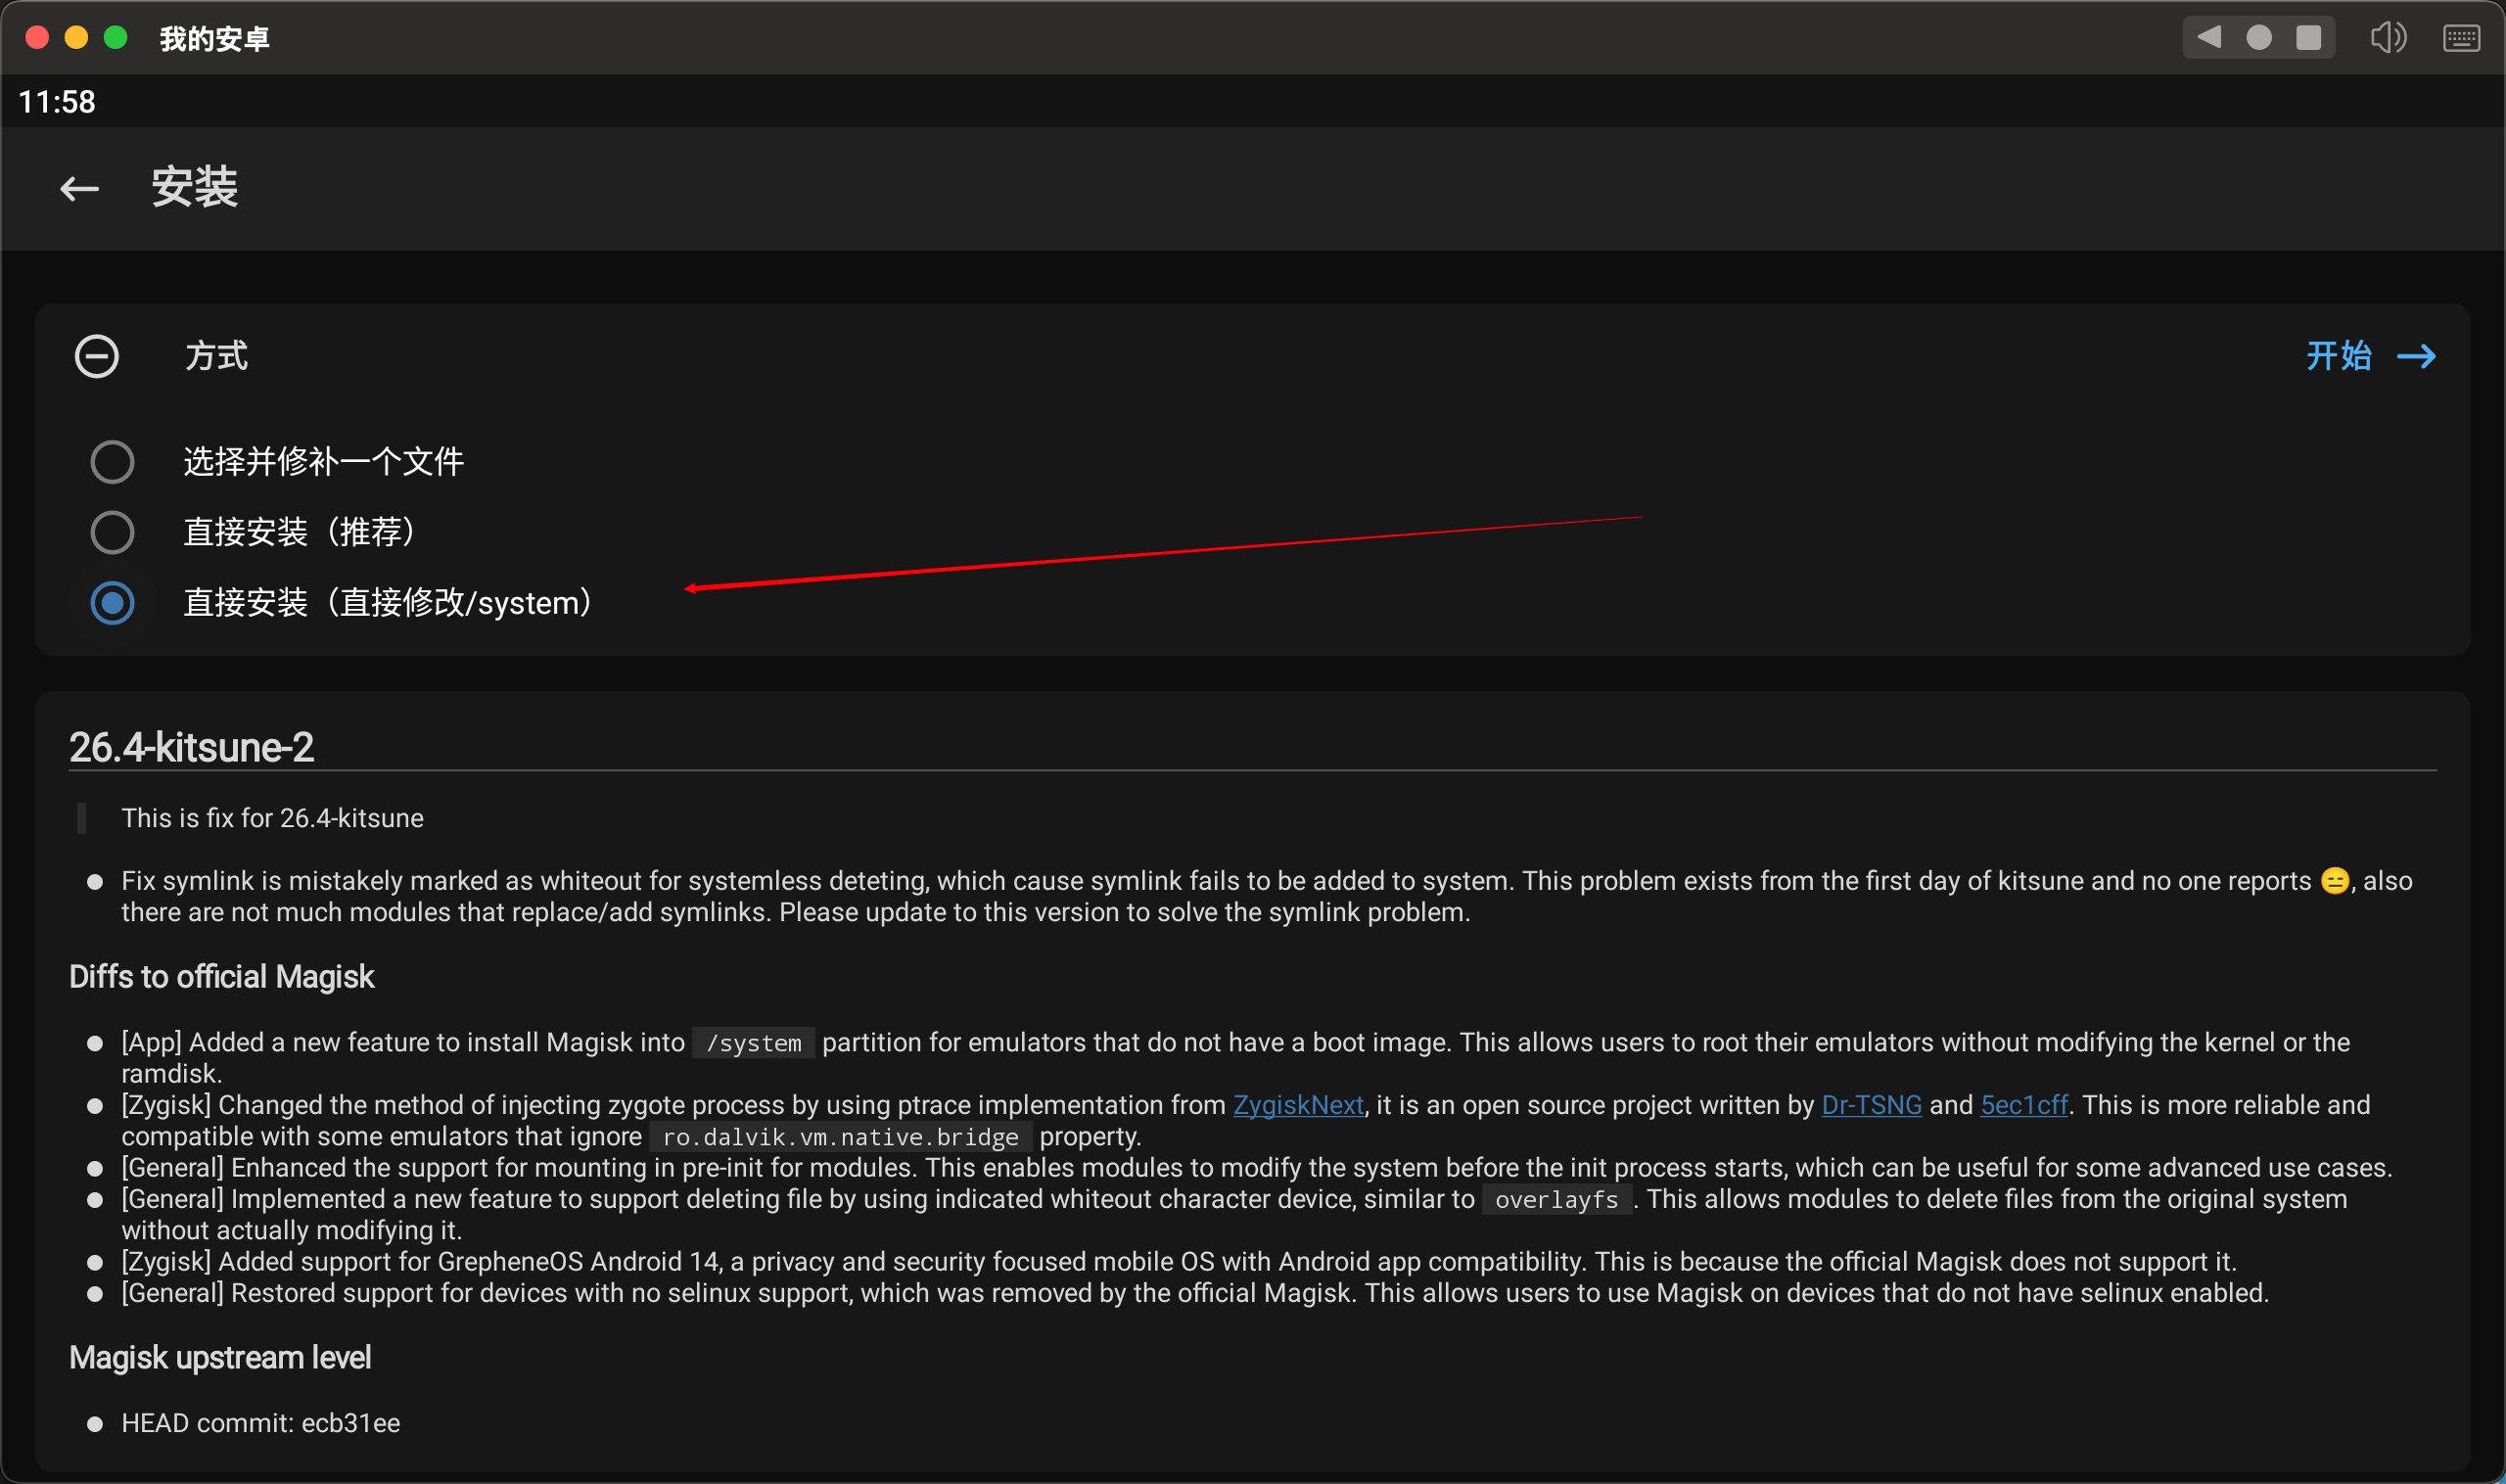
之后打开app进行安装

选择直接安装
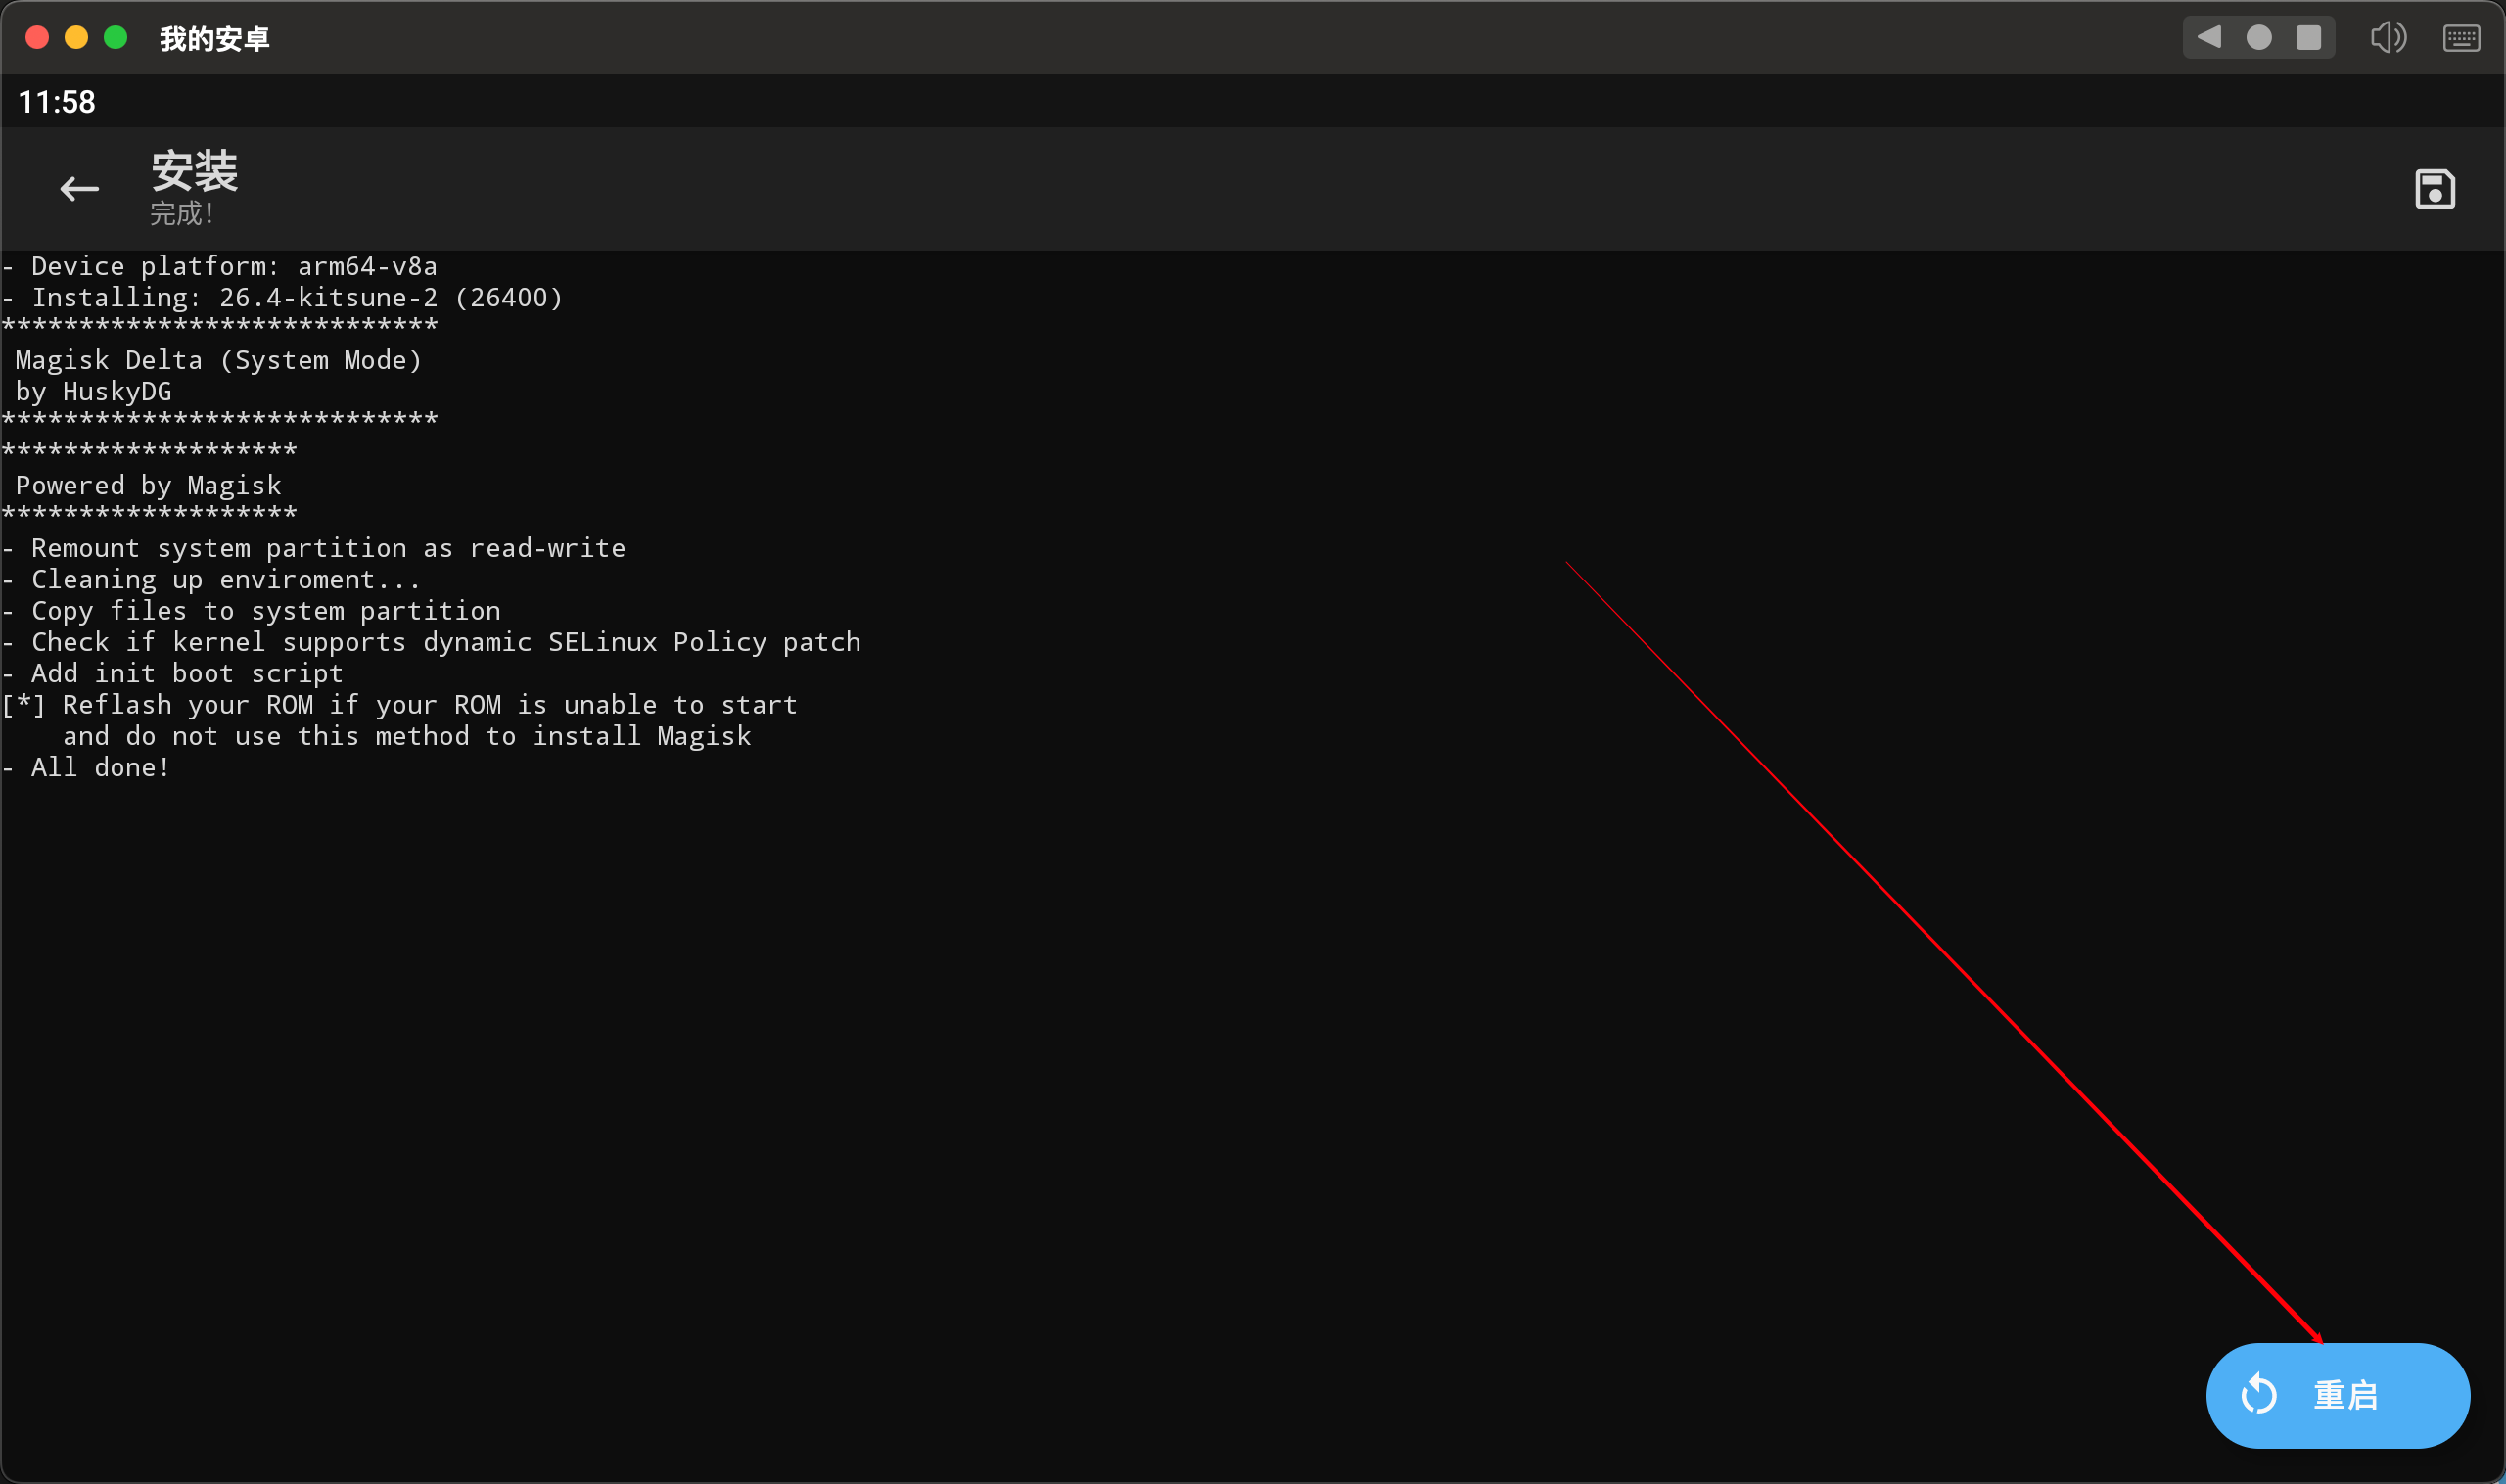
安装完成后进行重启
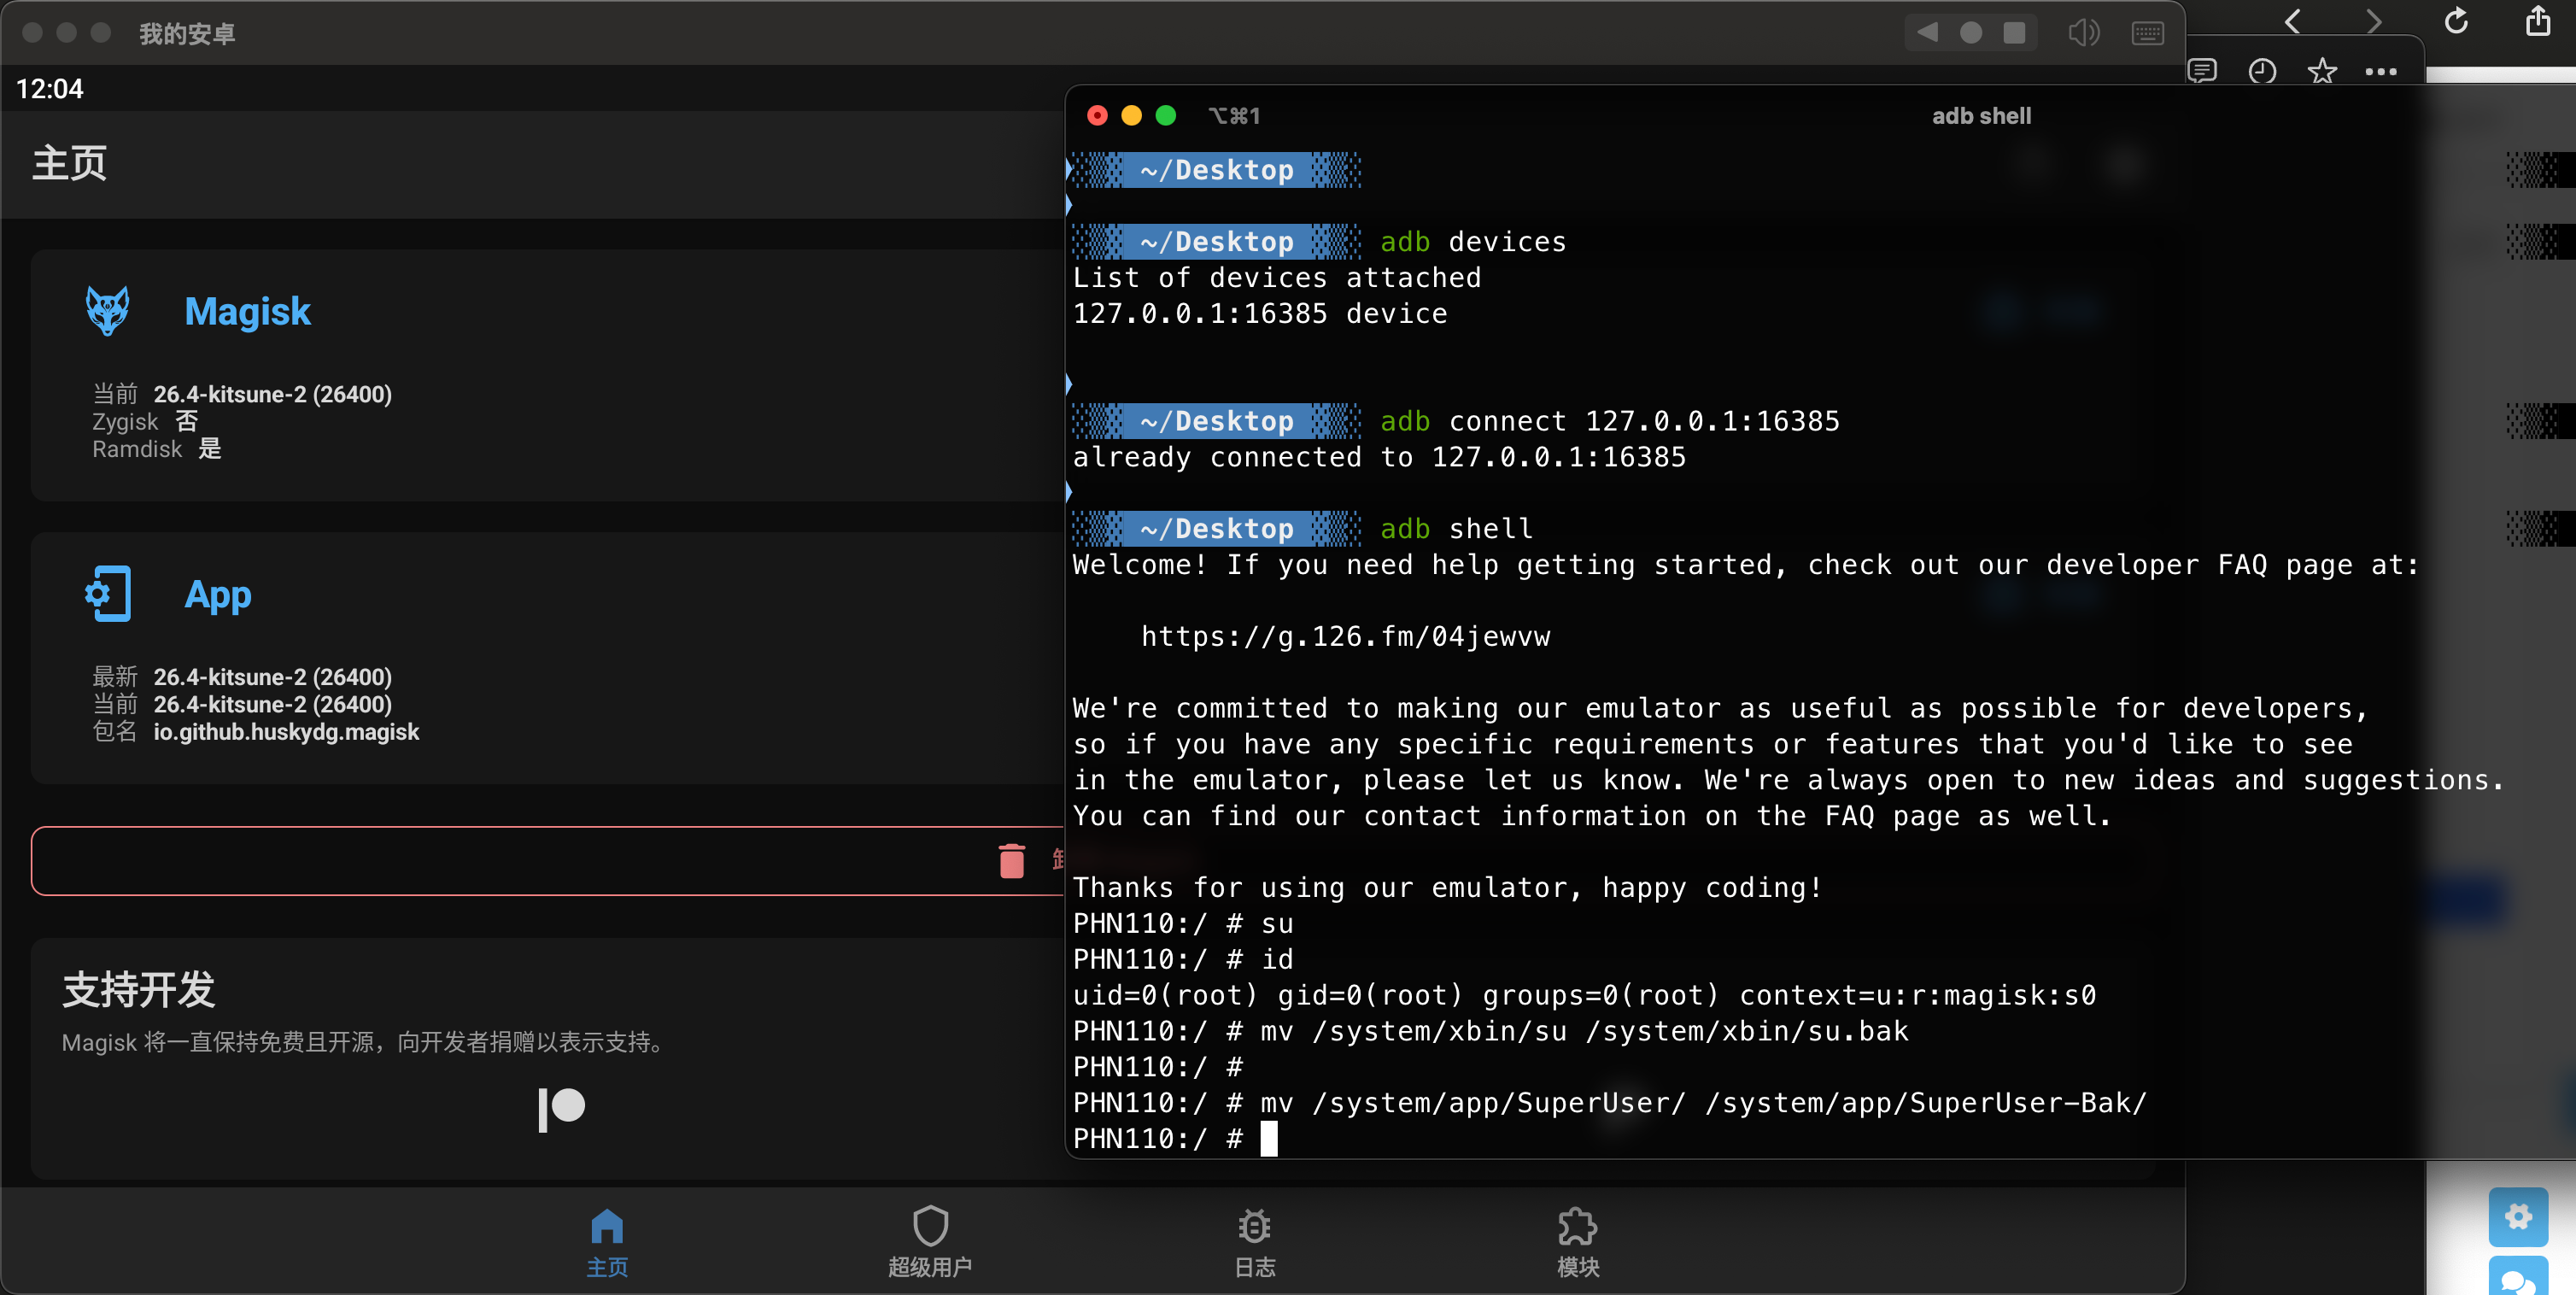
开机后再打开面具 会报错
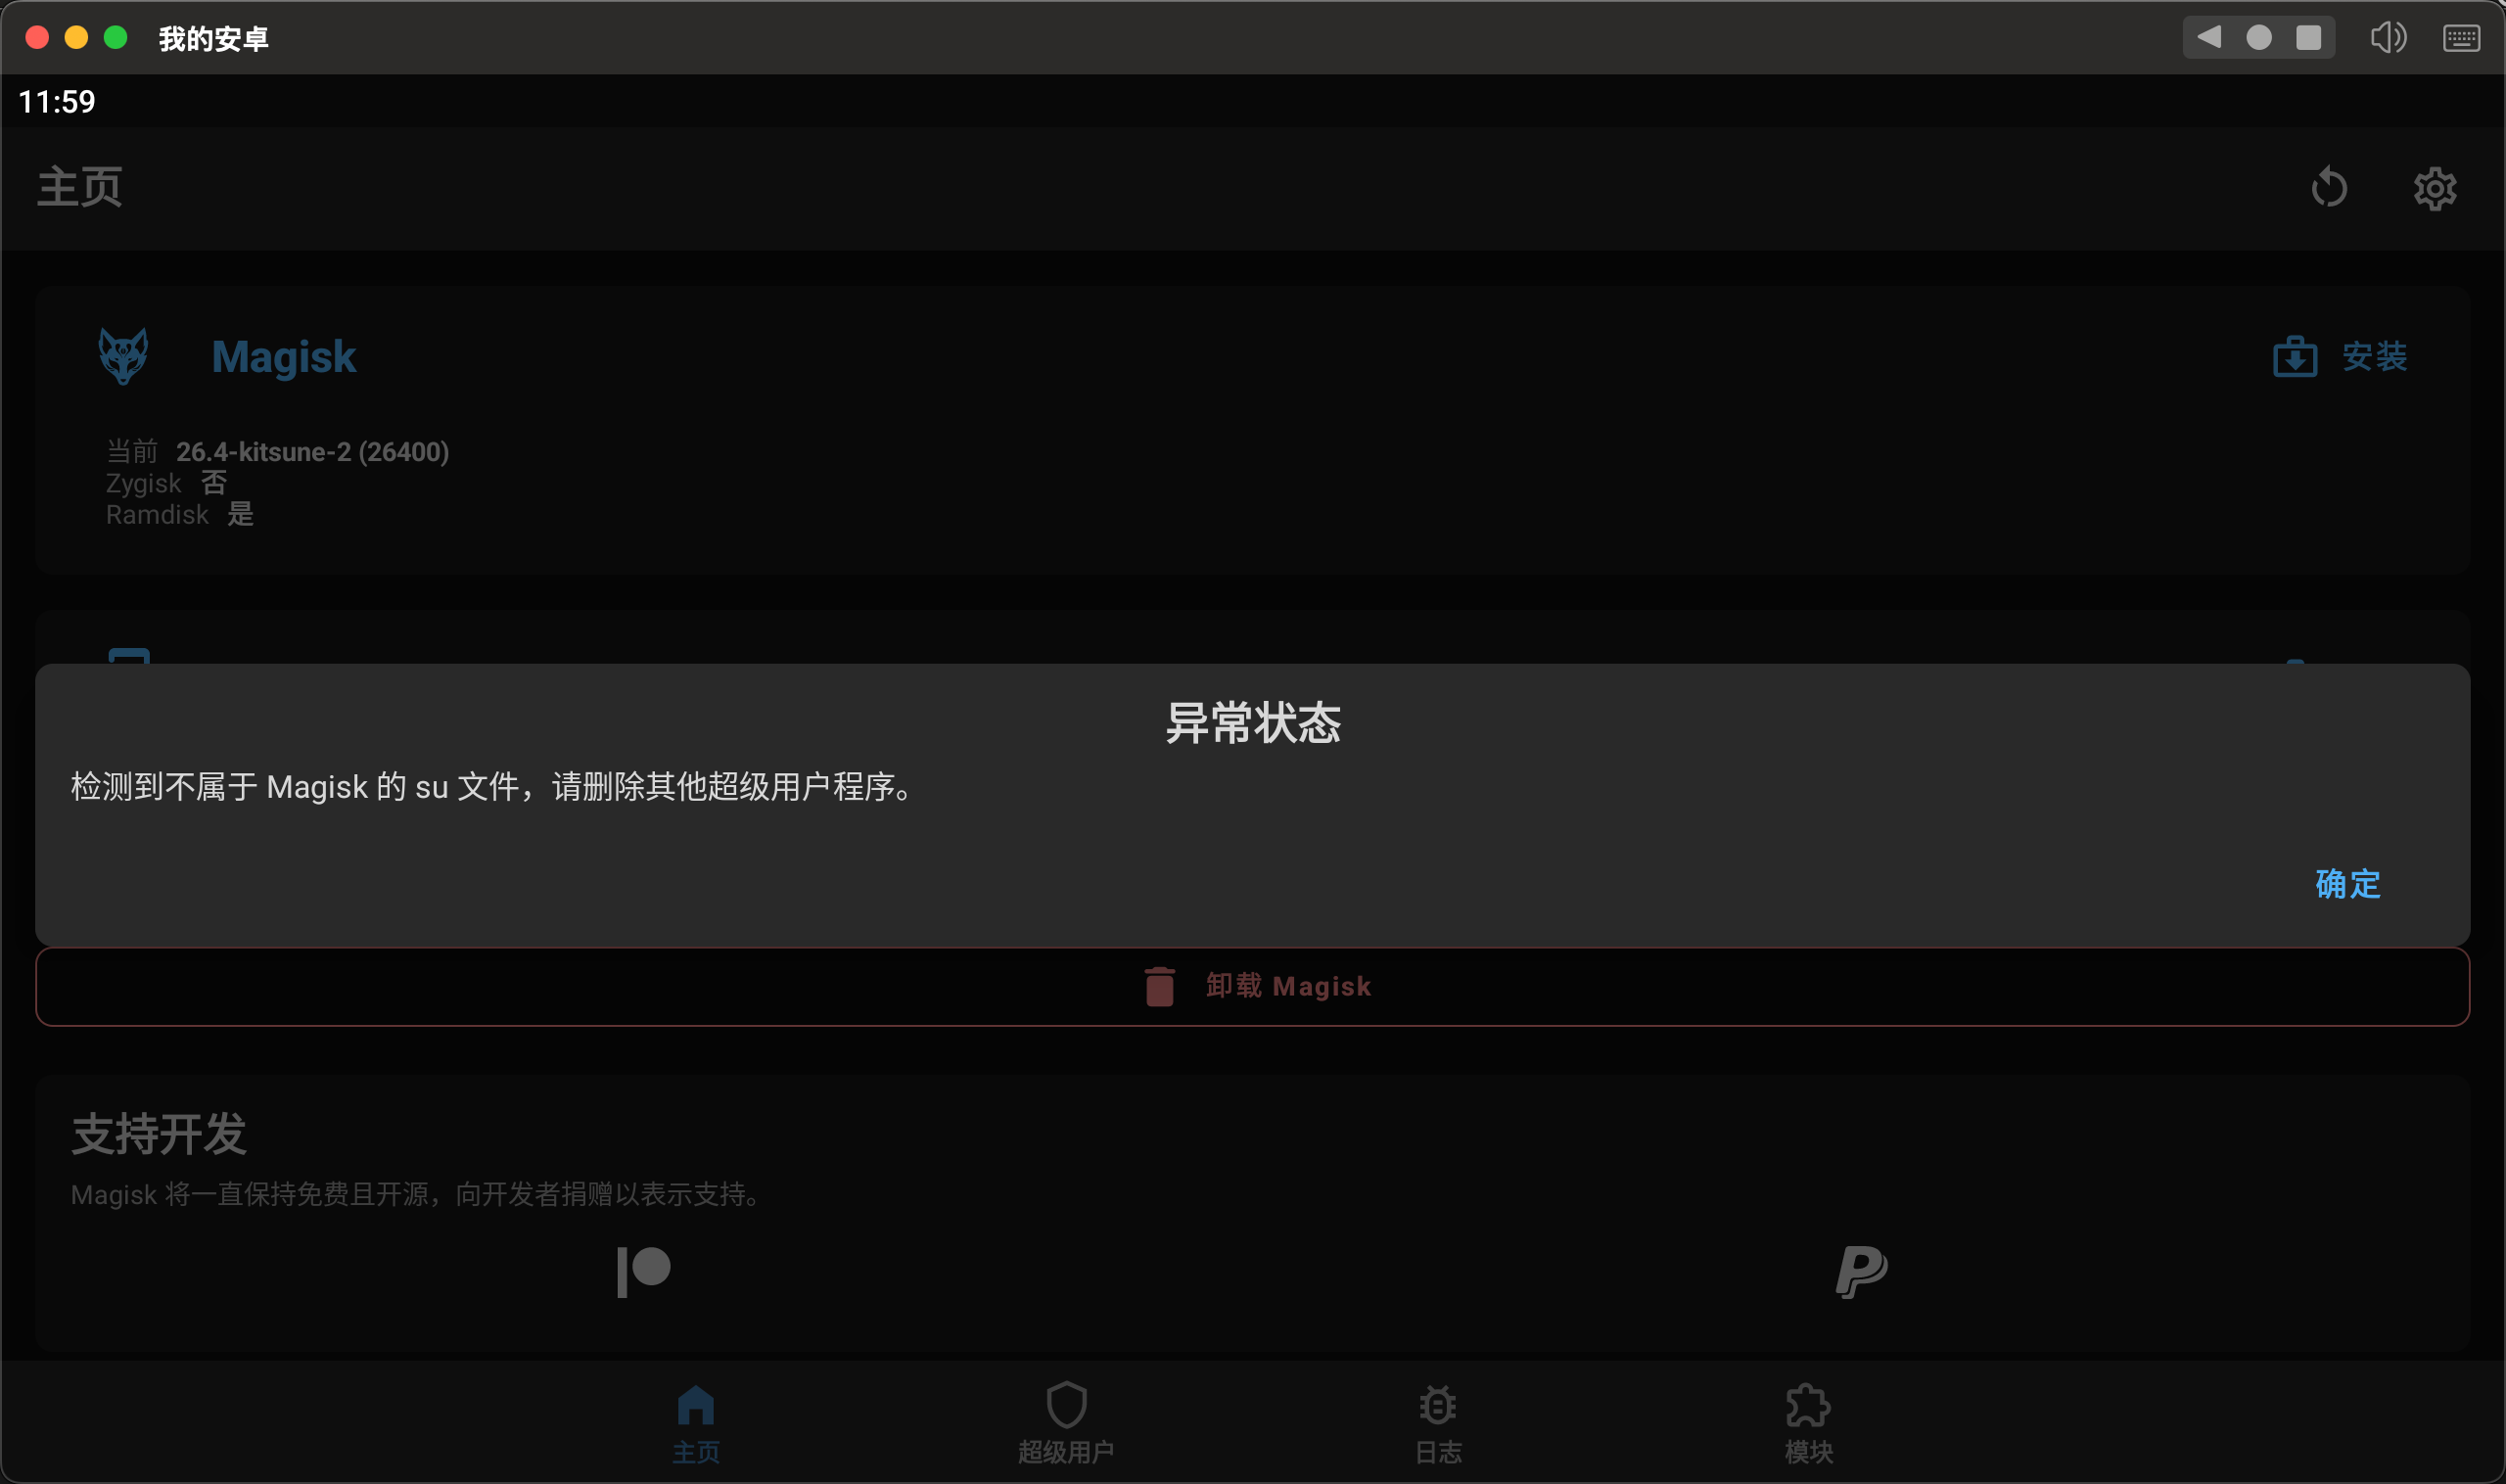
重启后需要再次打开adb
使用 root 权限删除之前冲突的 su 相关文件
adb connect 127.0.0.1:16385
adb shell
su
mv /system/xbin/su /system/xbin/su.bak
mv /system/app/SuperUser/ /system/app/SuperUser-Bak/
之后面具正常
frida测试
mac安装frida环境
pip3 install frida
pip3 install frida-tools
pip install Pyro4
下载frida-server-16.3.3-android-arm64
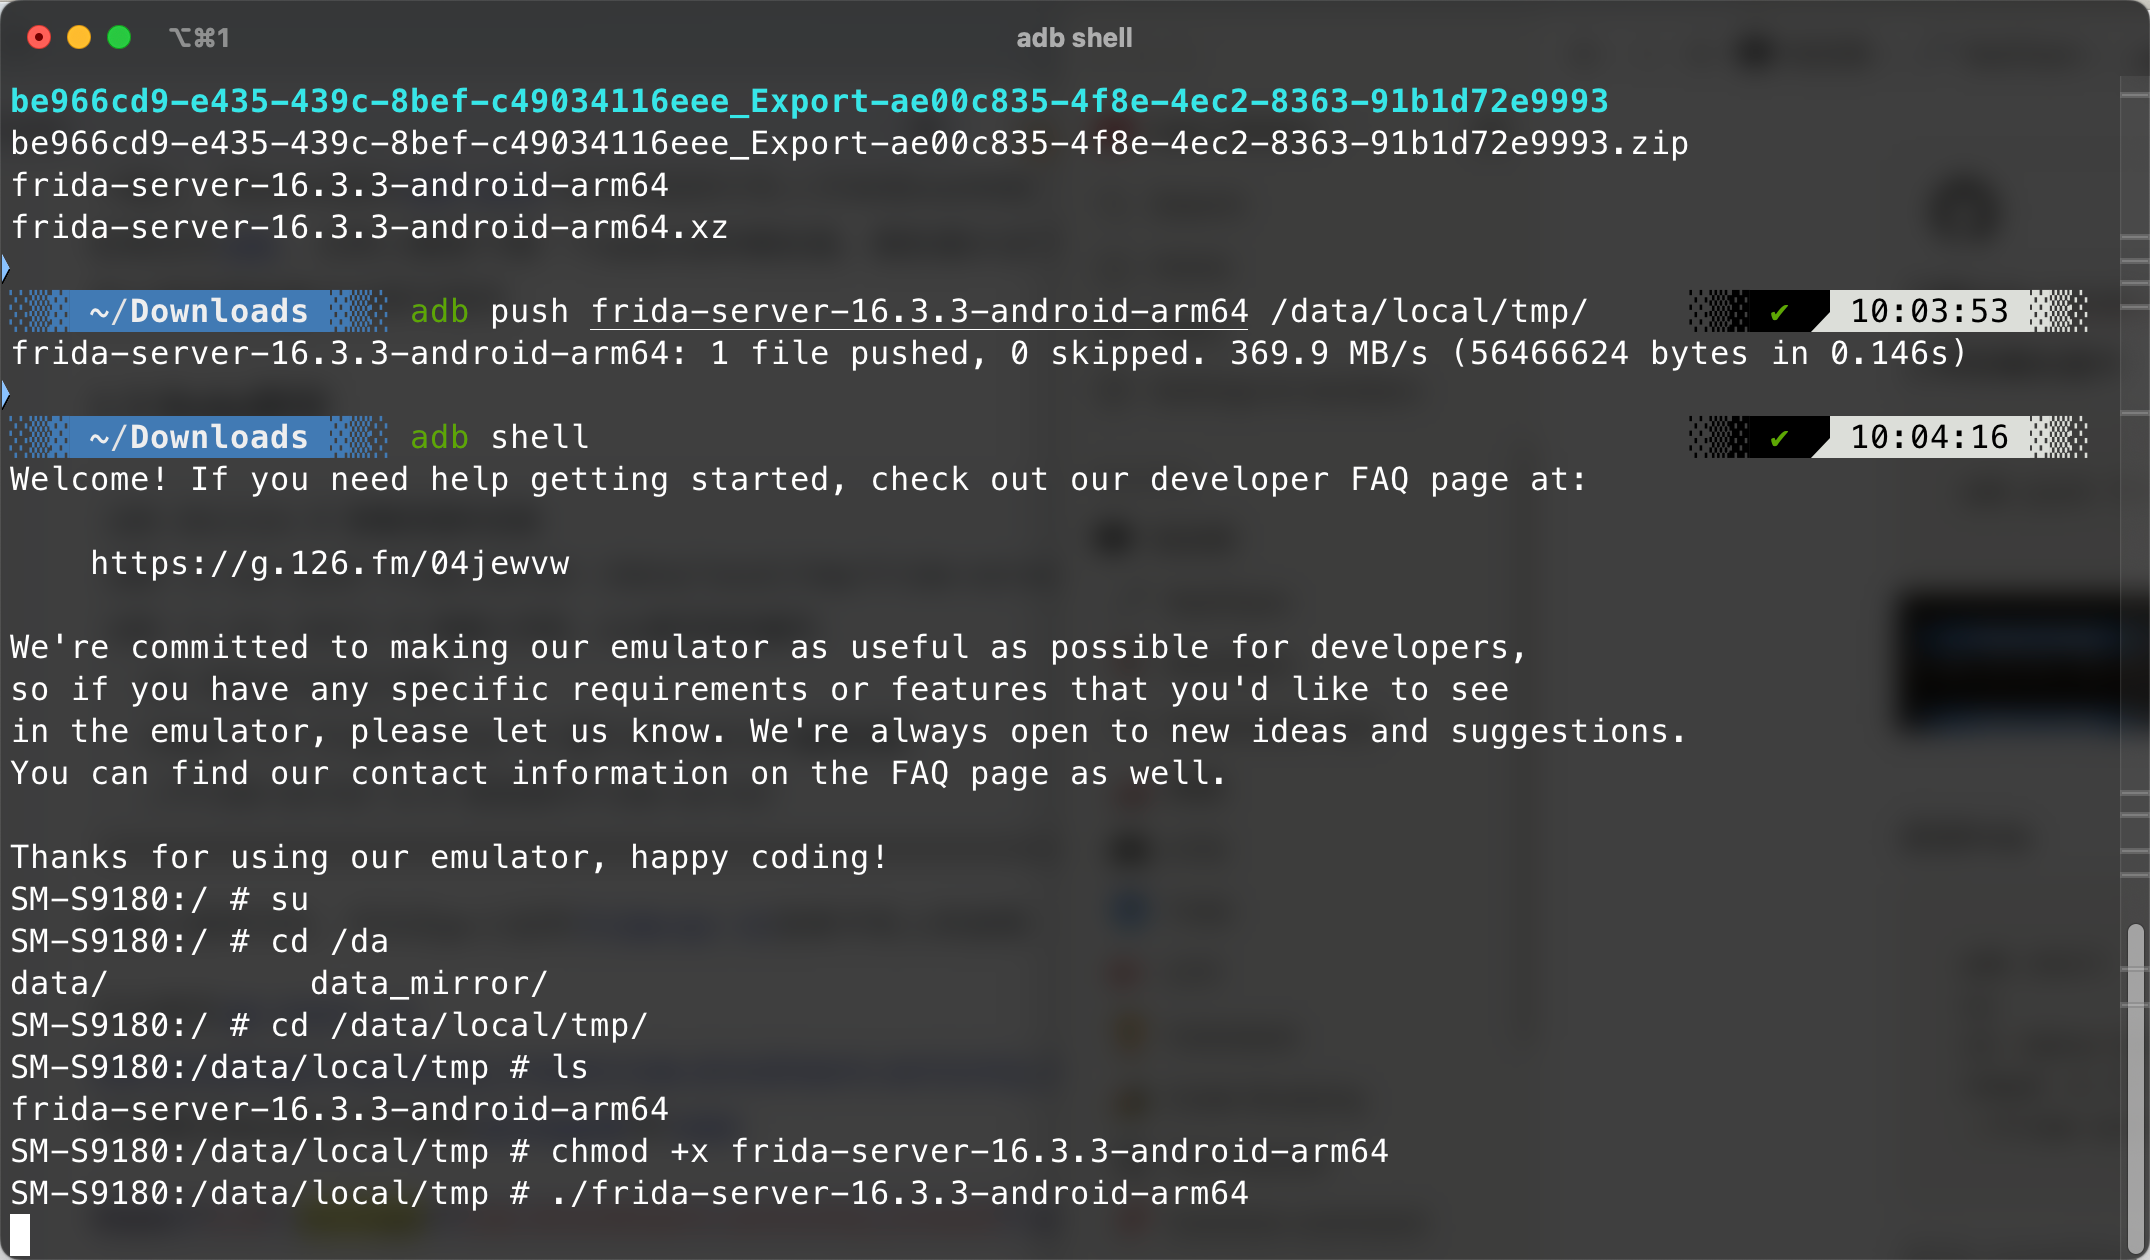
上传到模拟器中
adb push frida-server-16.3.3-android-arm64 /data/local/tmp/

启动frida
adb shell
su
cd /data/local/tmp/
chmod +x frida-server-16.3.3-android-arm64
./frida-server-16.3.3-android-arm64
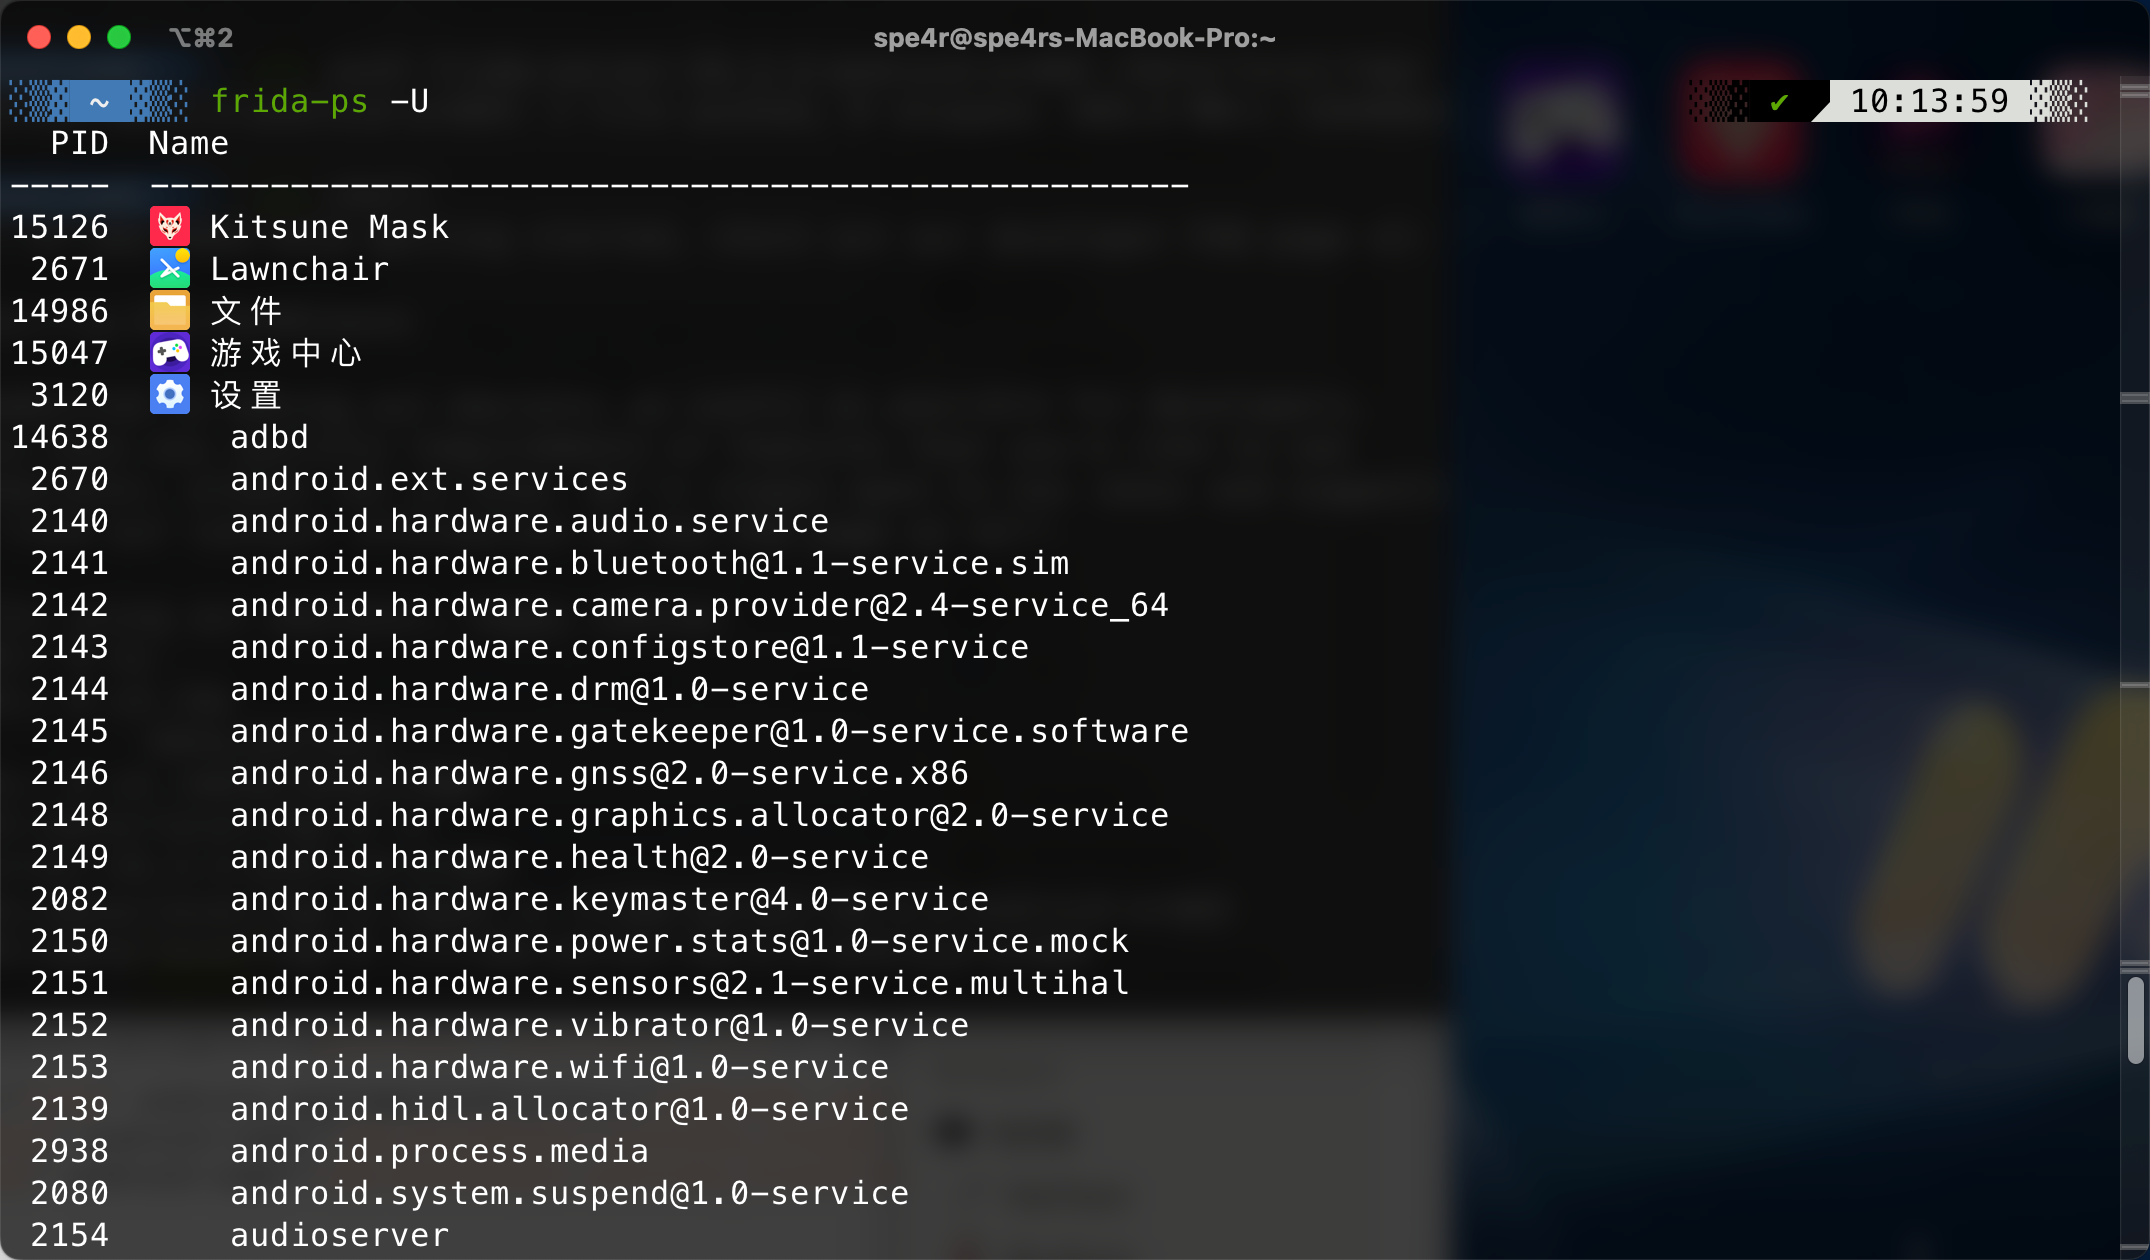
另起一个终端 查看模拟器进程
frida-ps -U
安装常用app
frida实战测试
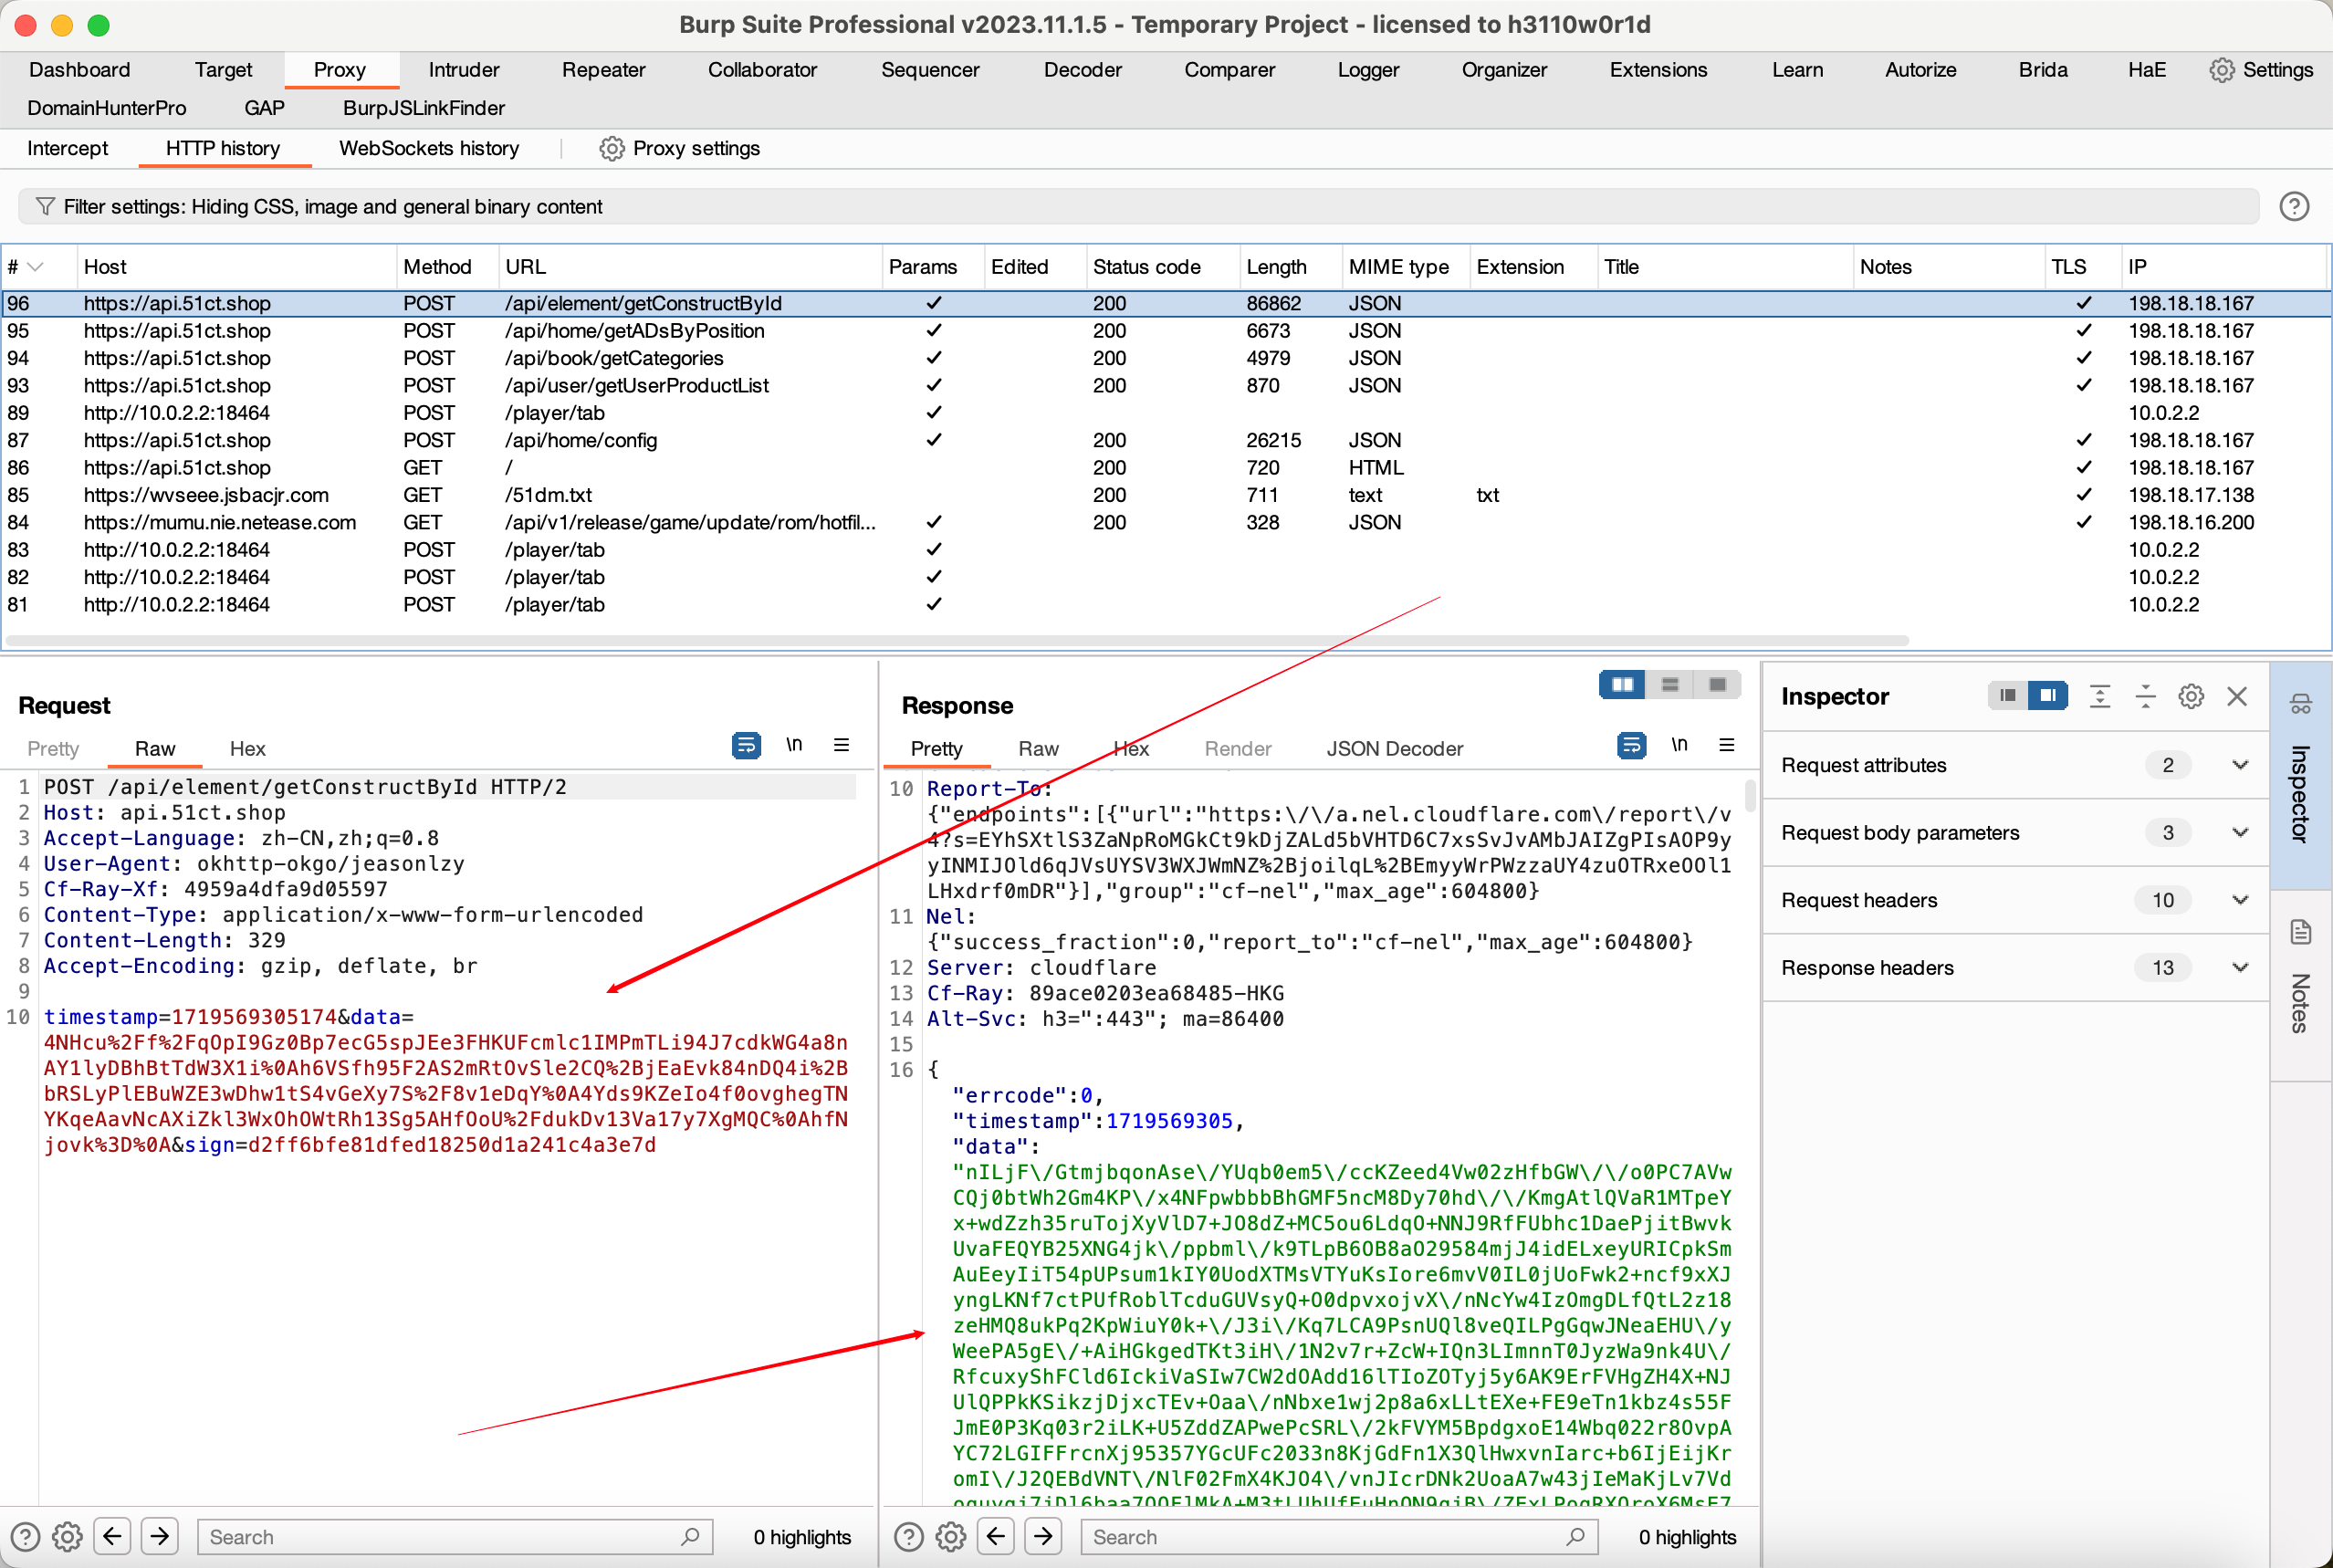
对某颜色APP进行抓包 发现数据都是被加密了
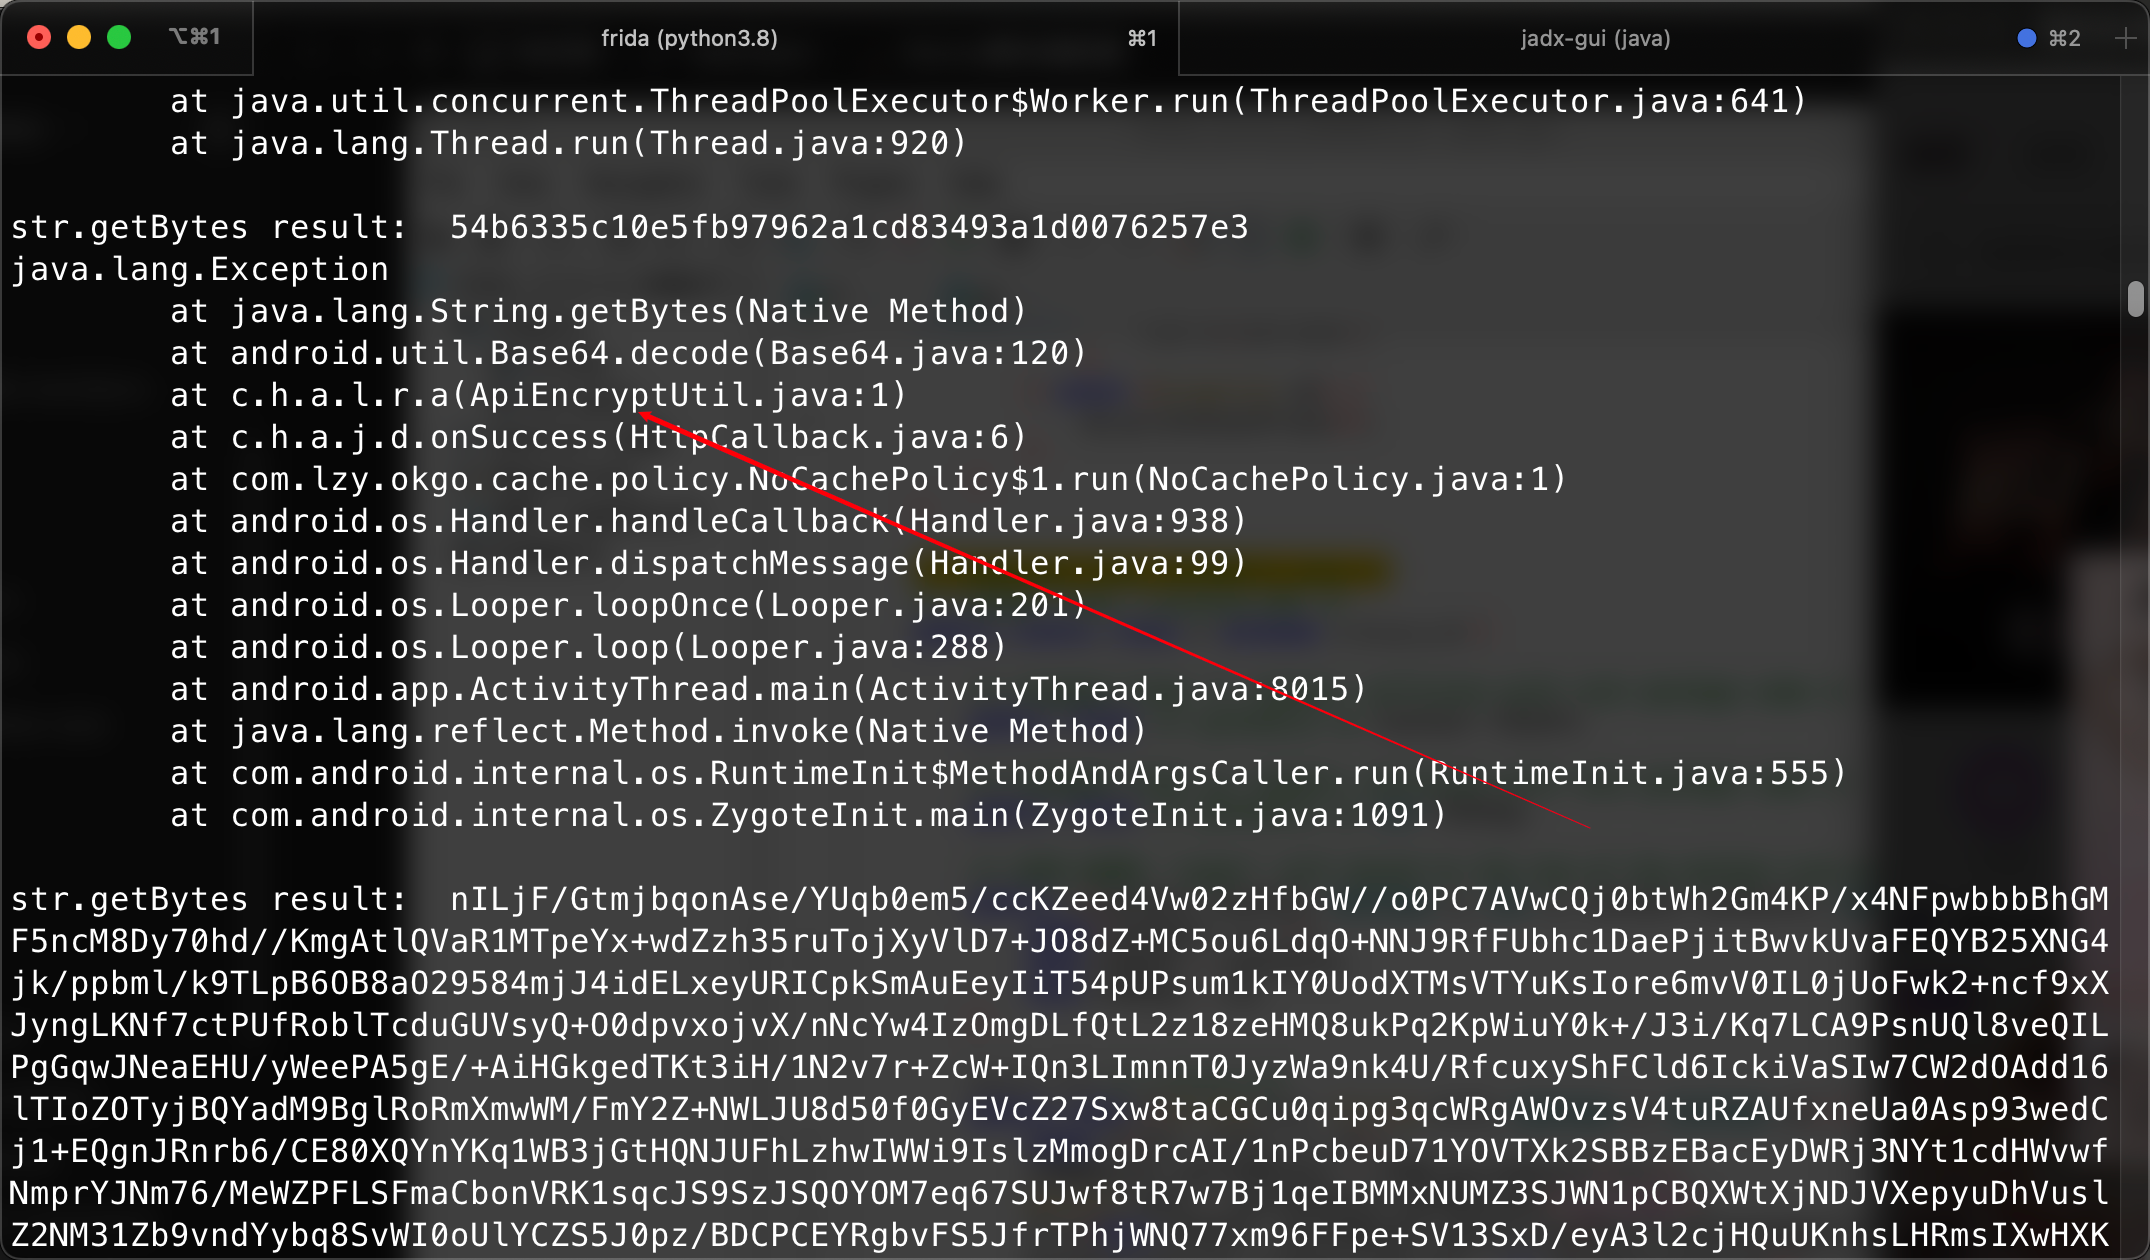
使用frida进行调试 打印出调用栈信息
frida -U -f "cn.mciaa.yshxcp" -l hook-js/hook-js/打印调用栈/HashMap_Hook.js
根据调用栈信息找到加密函数
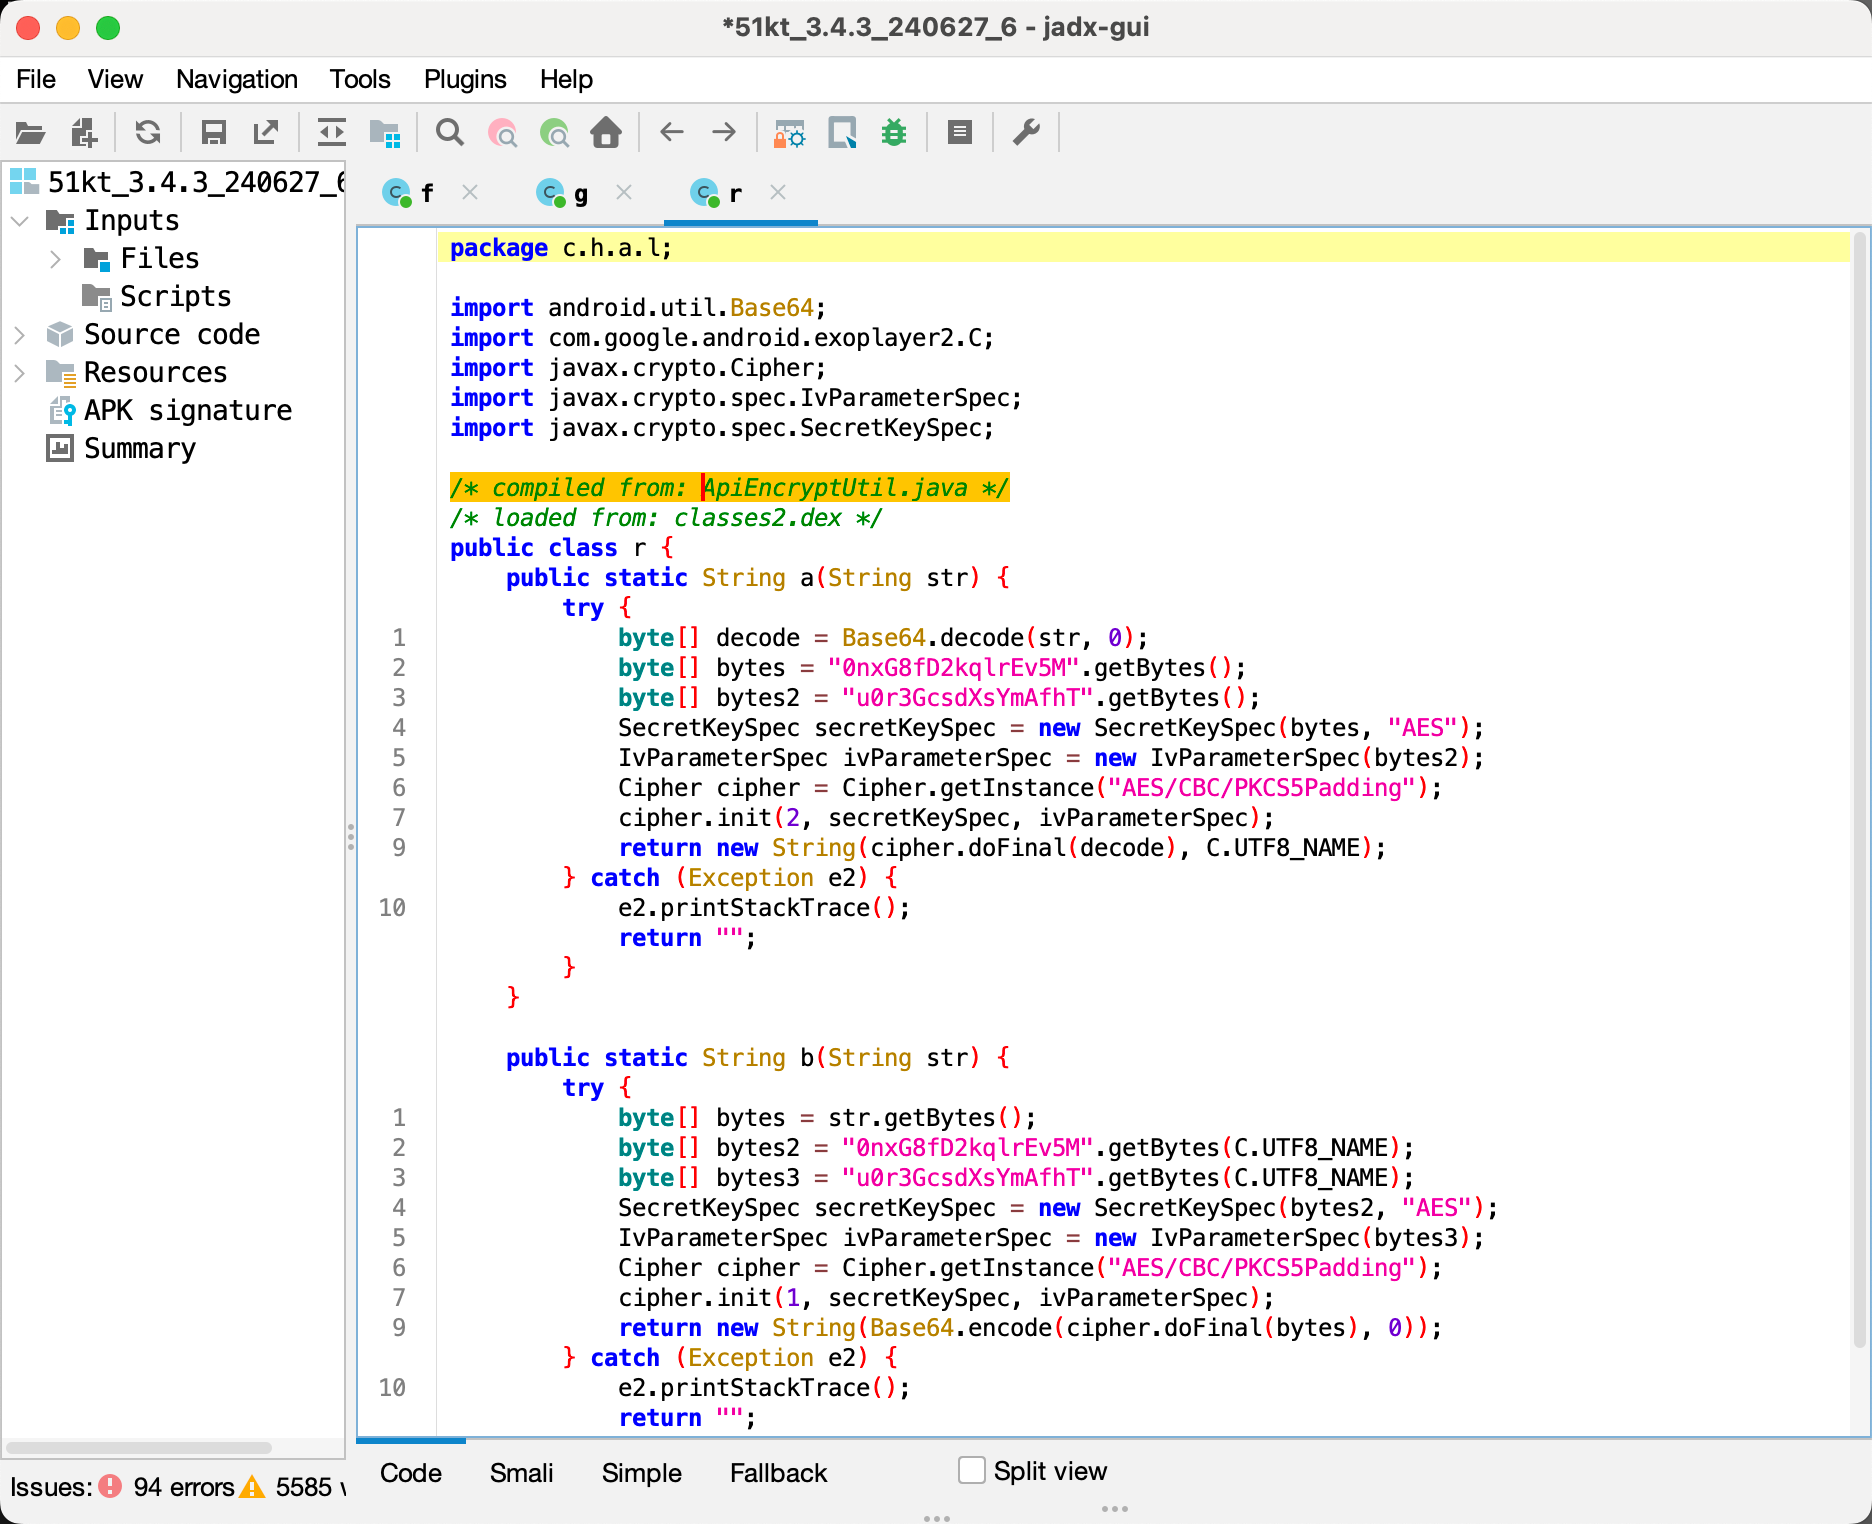
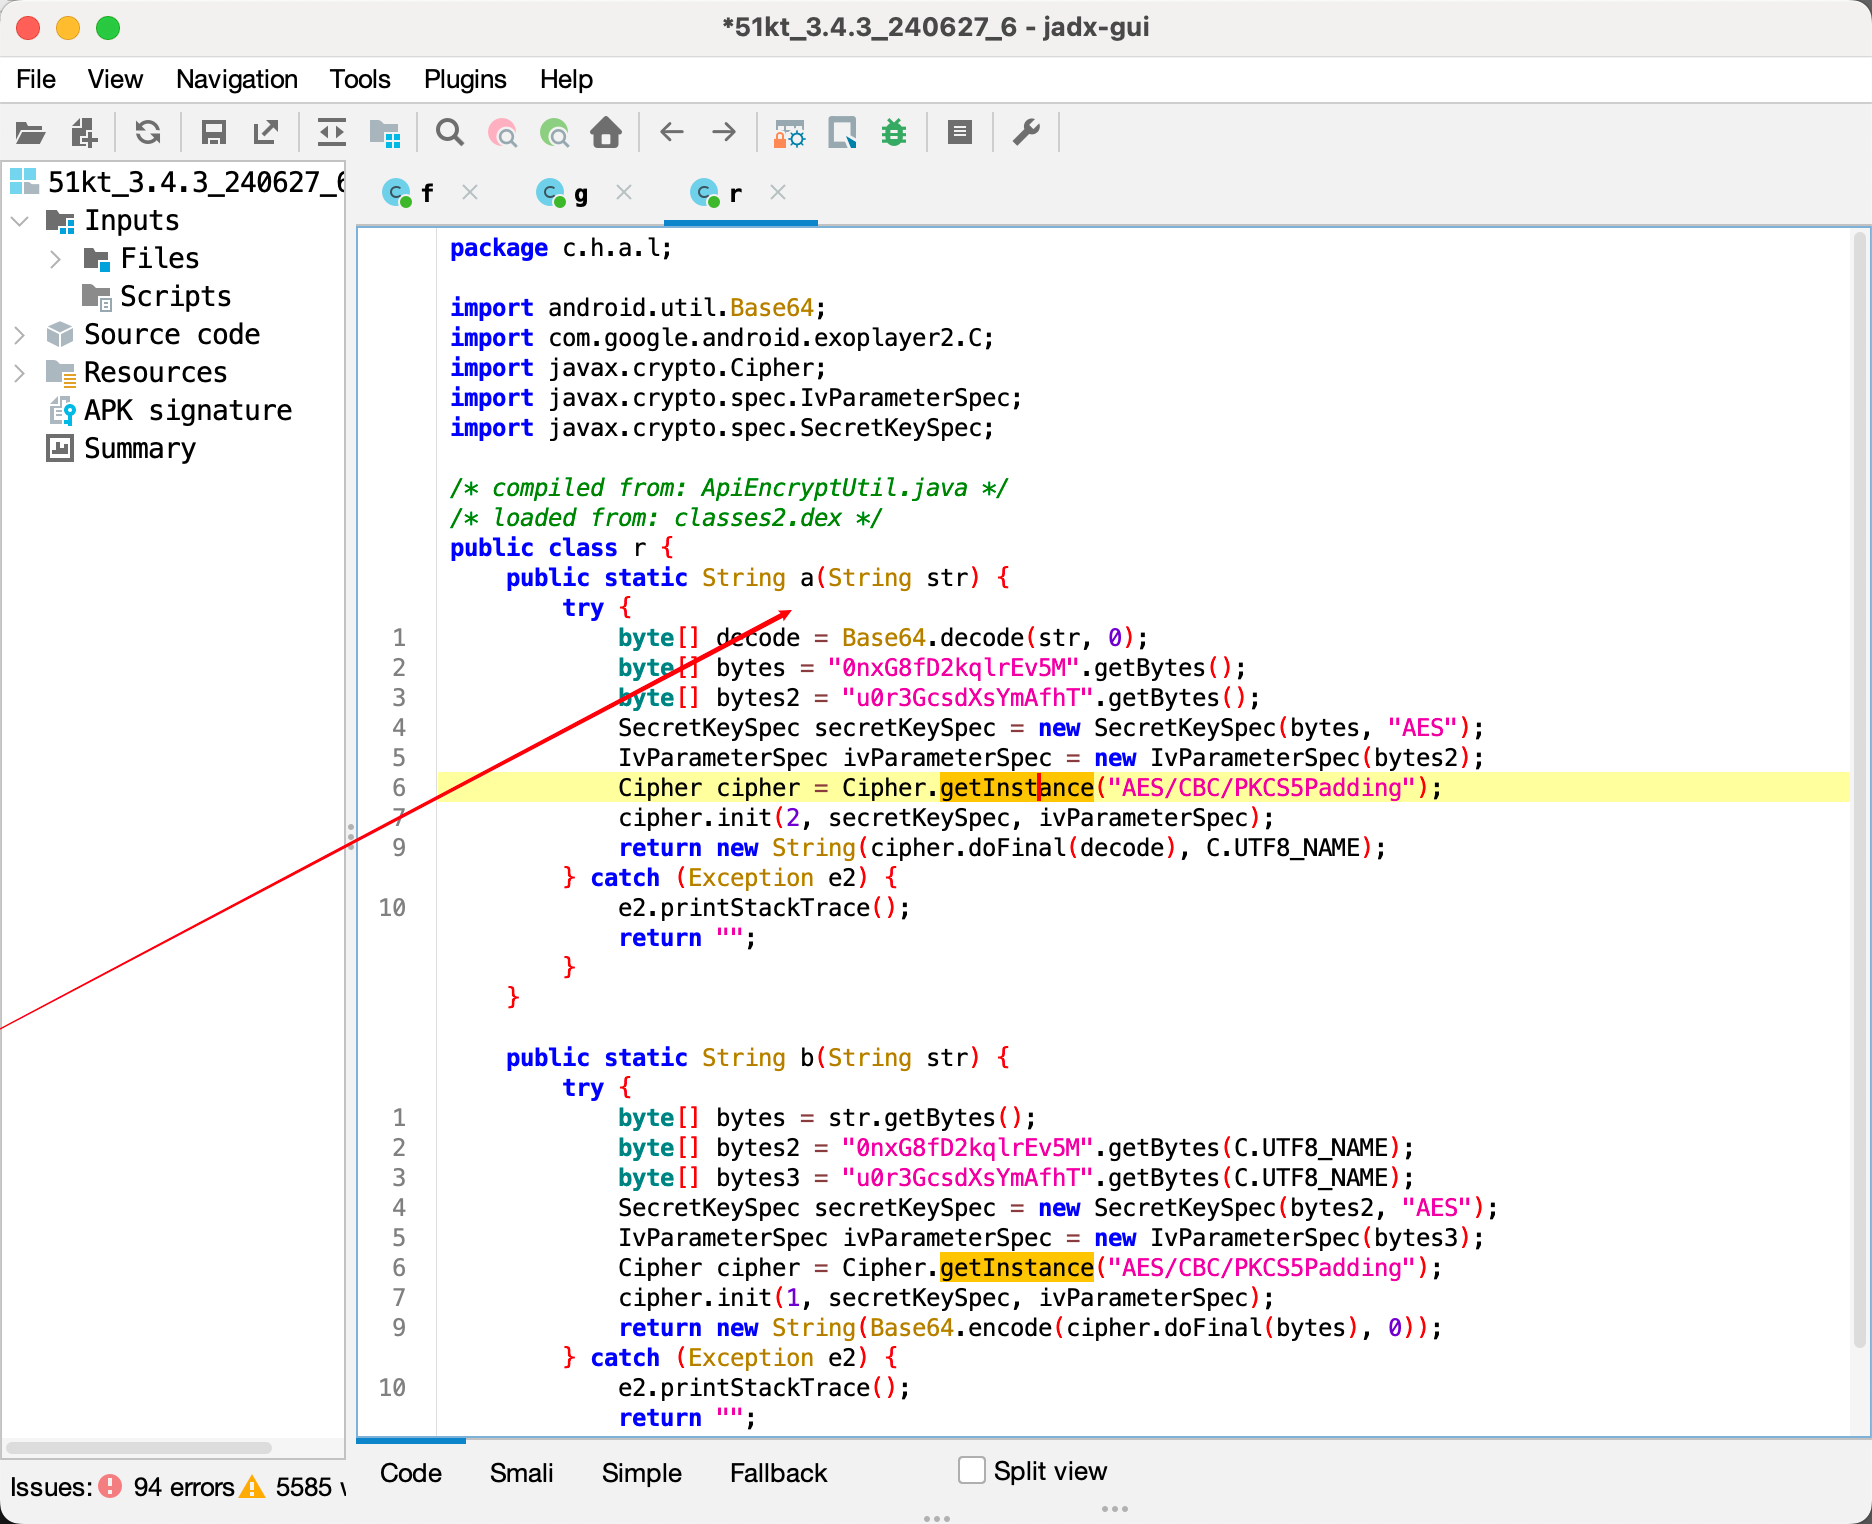
使用jadx-gui进行反编译 找到Java文件 ApiEncryptUtil.java
可以看到是AES加密函数 和 解密函数
编写hook脚本
调用解密函数a
Java.perform(function () {
    var targetClass = Java.use('c.h.a.l.r');
    targetClass.a.implementation = function(str) {
        console.log("Original argument: "+ str);

        var result = this.a(str);

        console.log('Original result: ' + result);

        return result;
    }

});
之后载入hook脚本 发现数据已经解密
frida -U -f "cn.mciaa.yshxcp" -l decode.js

但是这样看非常费劲 且不能对数据包进行测试
下面使用BurpSuite插件Brida对数据包进行加解密
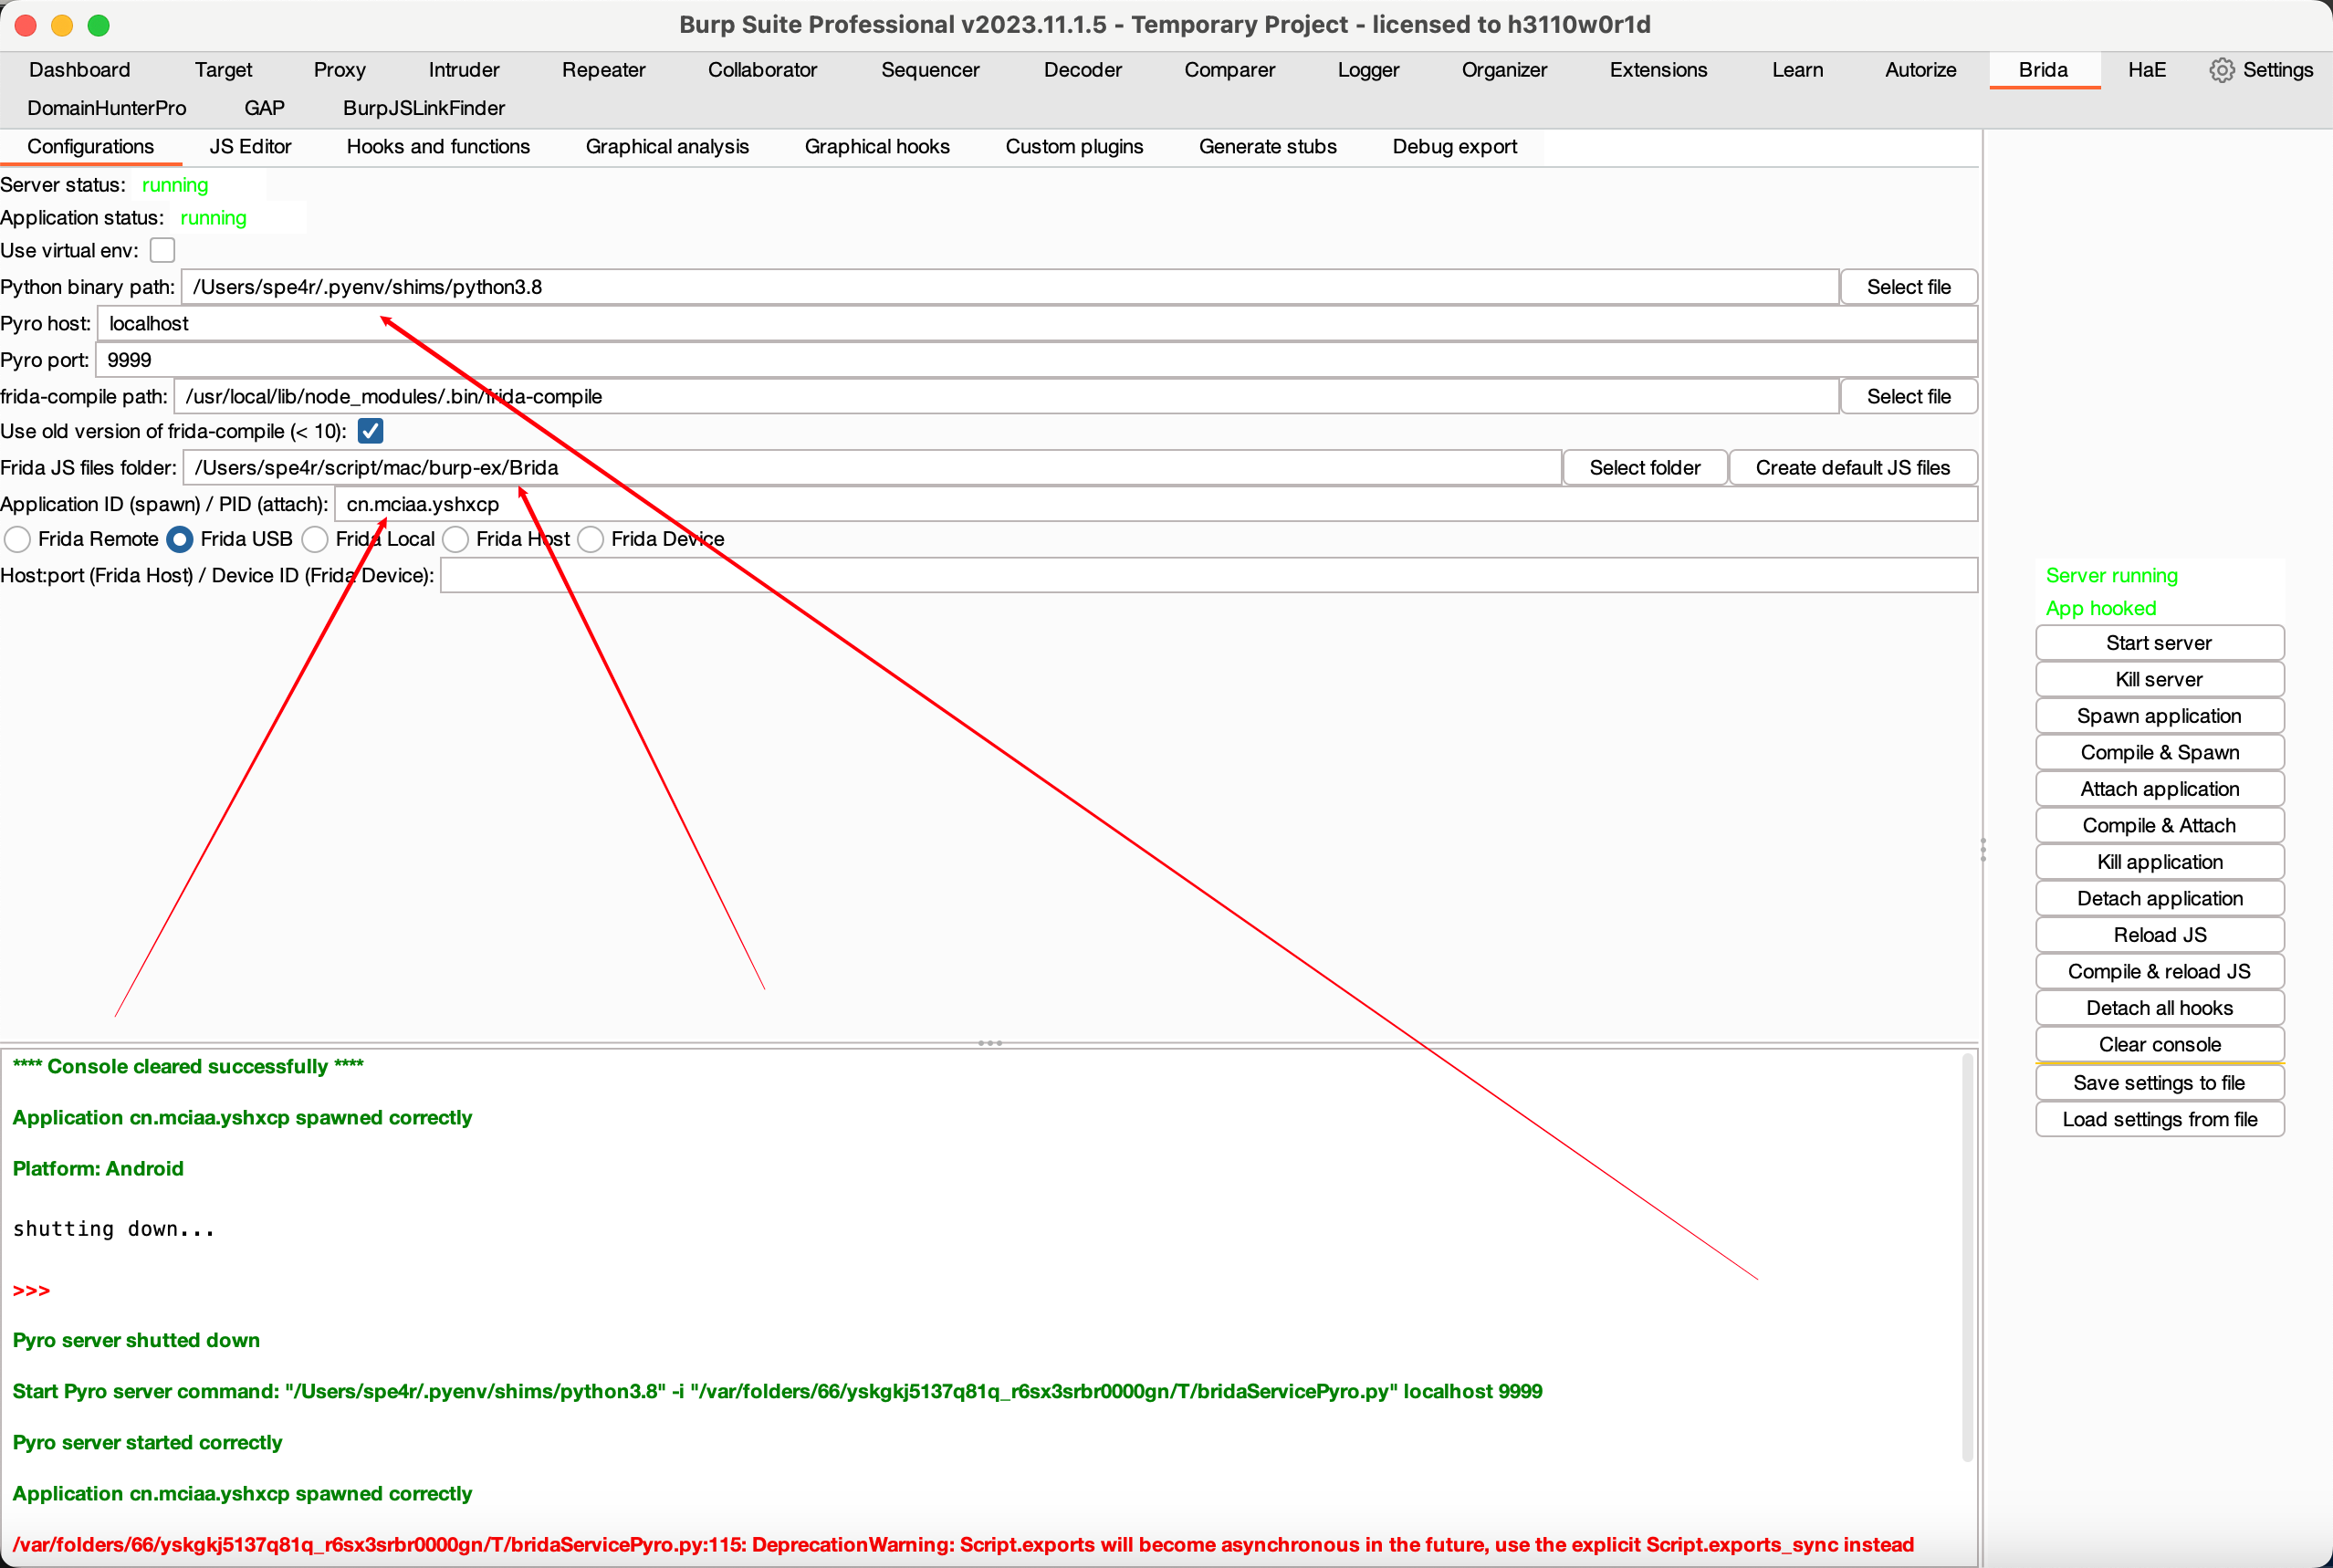
配置好Brida
点击 Load JS file加载hook的js脚本
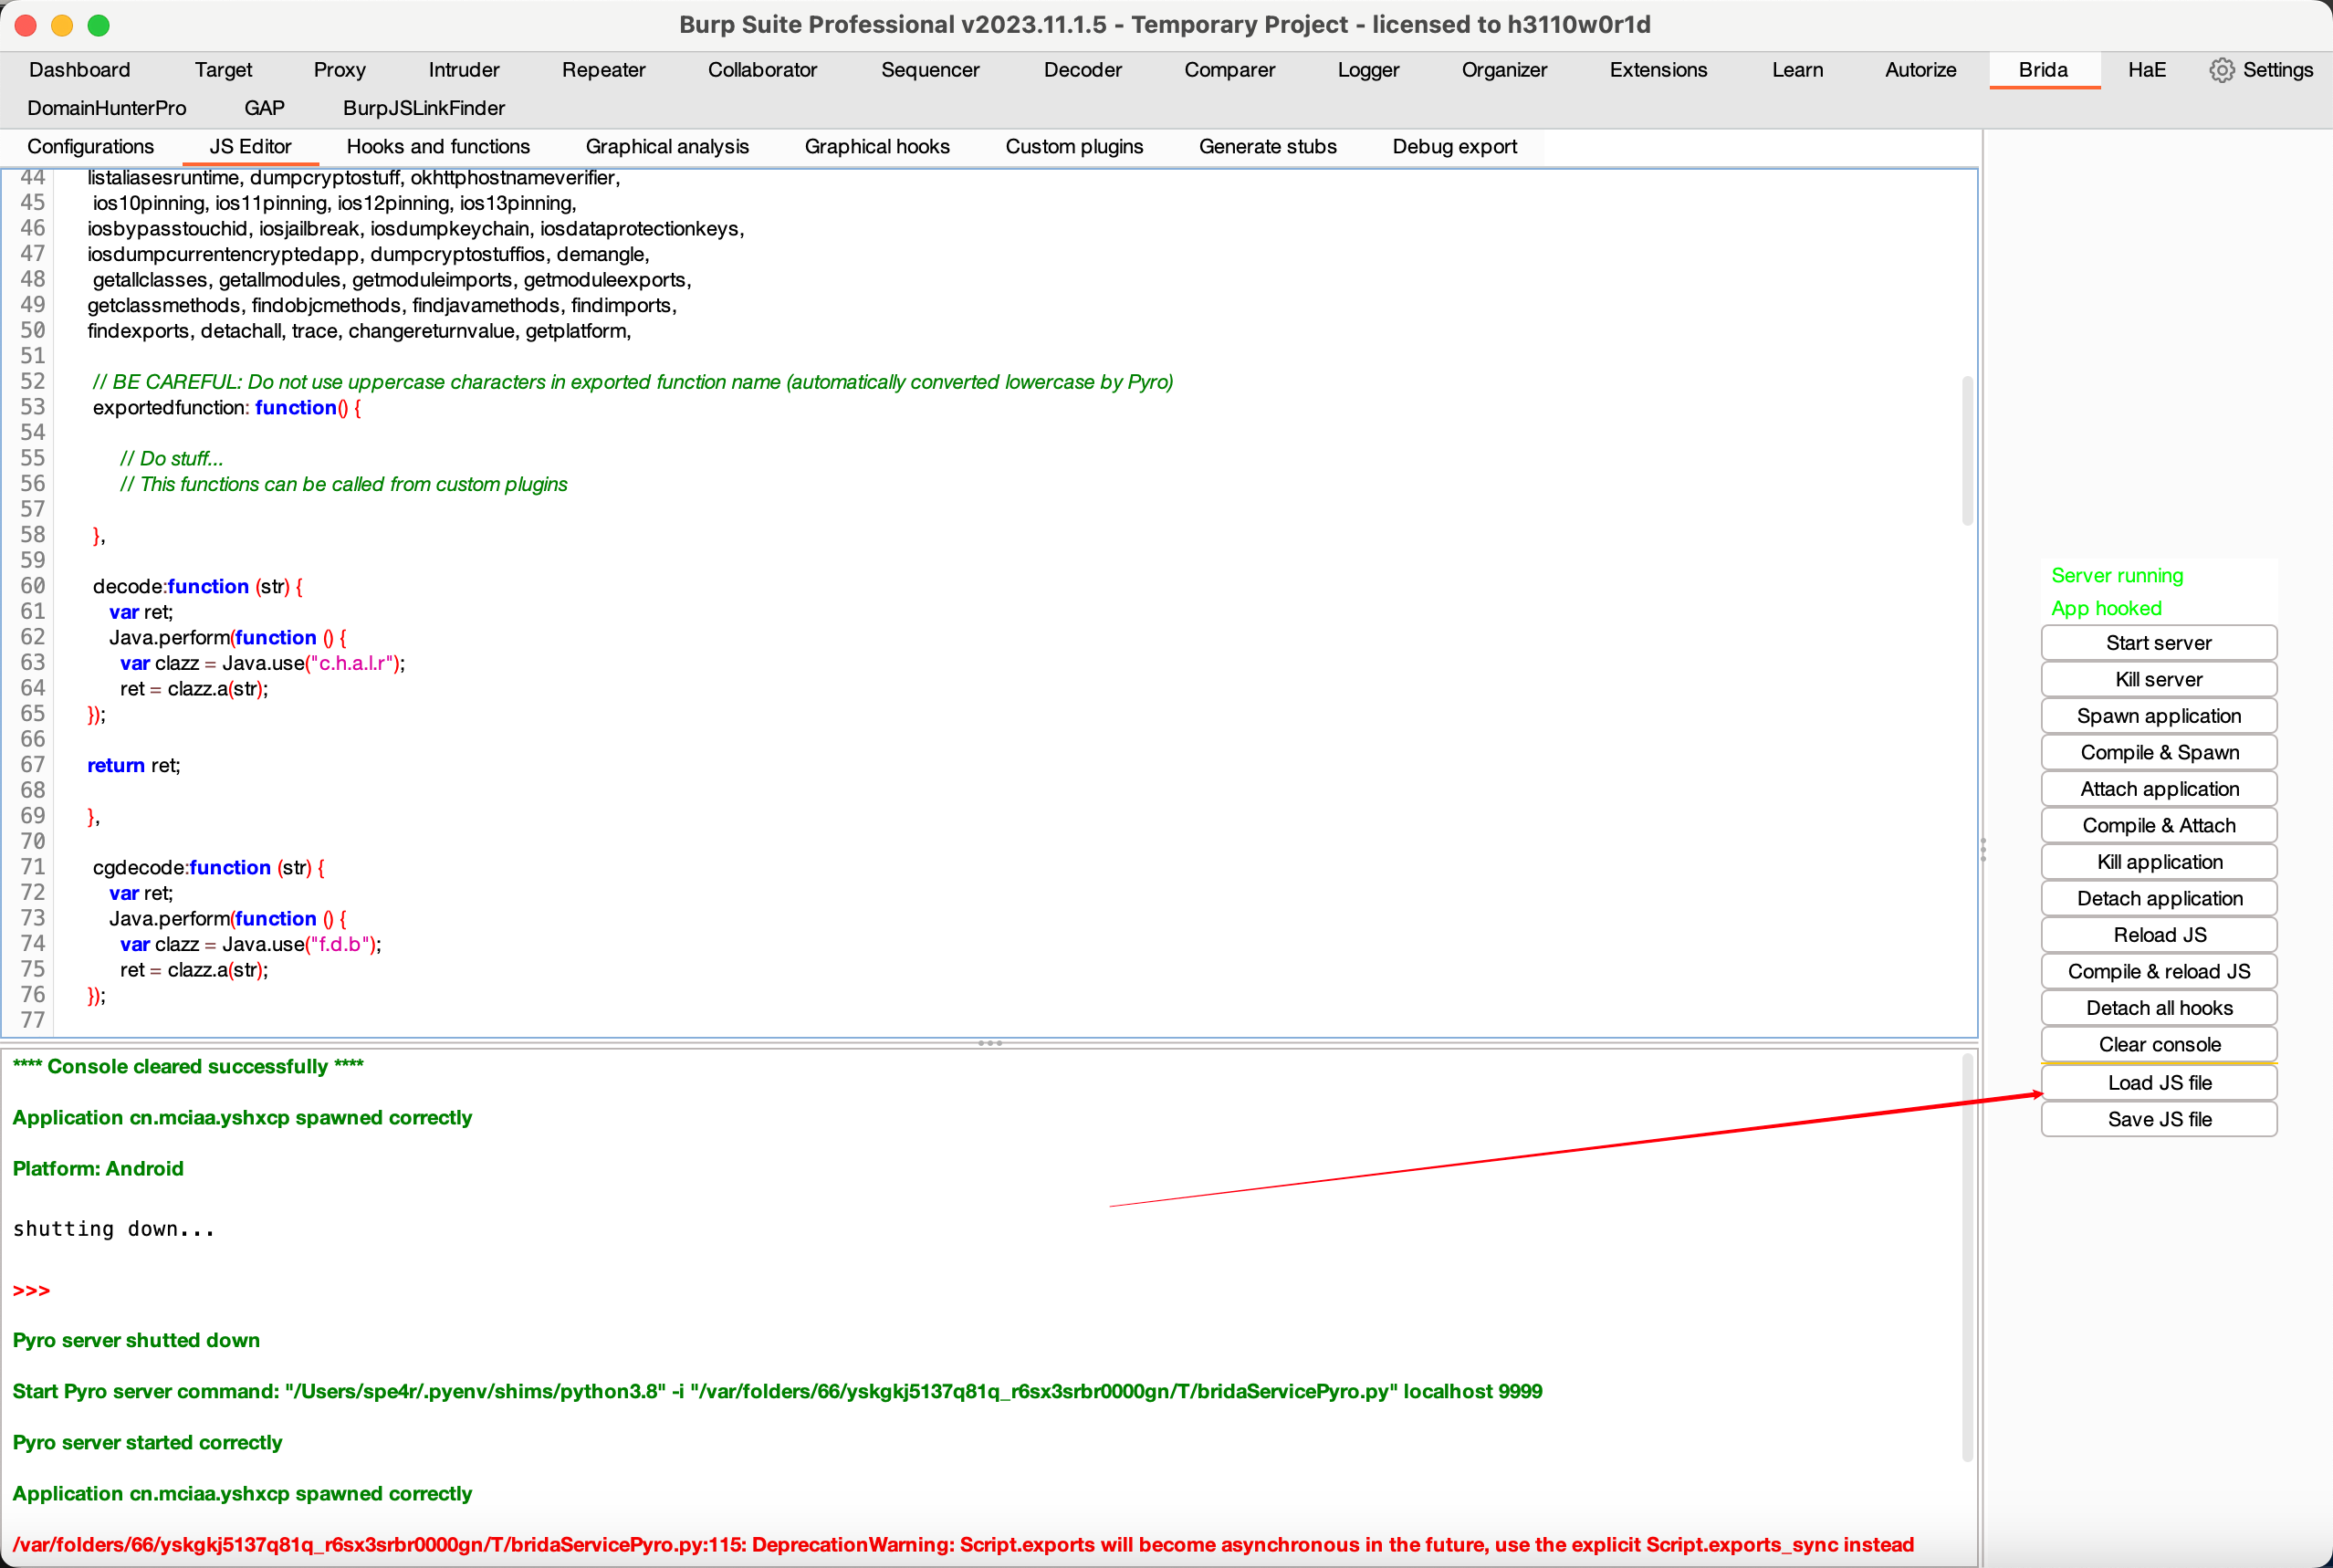
按照Brida脚本编写规则进行编写hook函数
decode:function (str) {
        var ret;
        Java.perform(function () {
    		var clazz = Java.use("c.h.a.l.r");
    		ret = clazz.a(str);
    });

    return ret;

    },

	encode:function (str) {
        var ret;
        Java.perform(function () {
    		var clazz = Java.use("c.h.a.l.r");
    		ret = clazz.b(str);
    });

    return ret;

    },
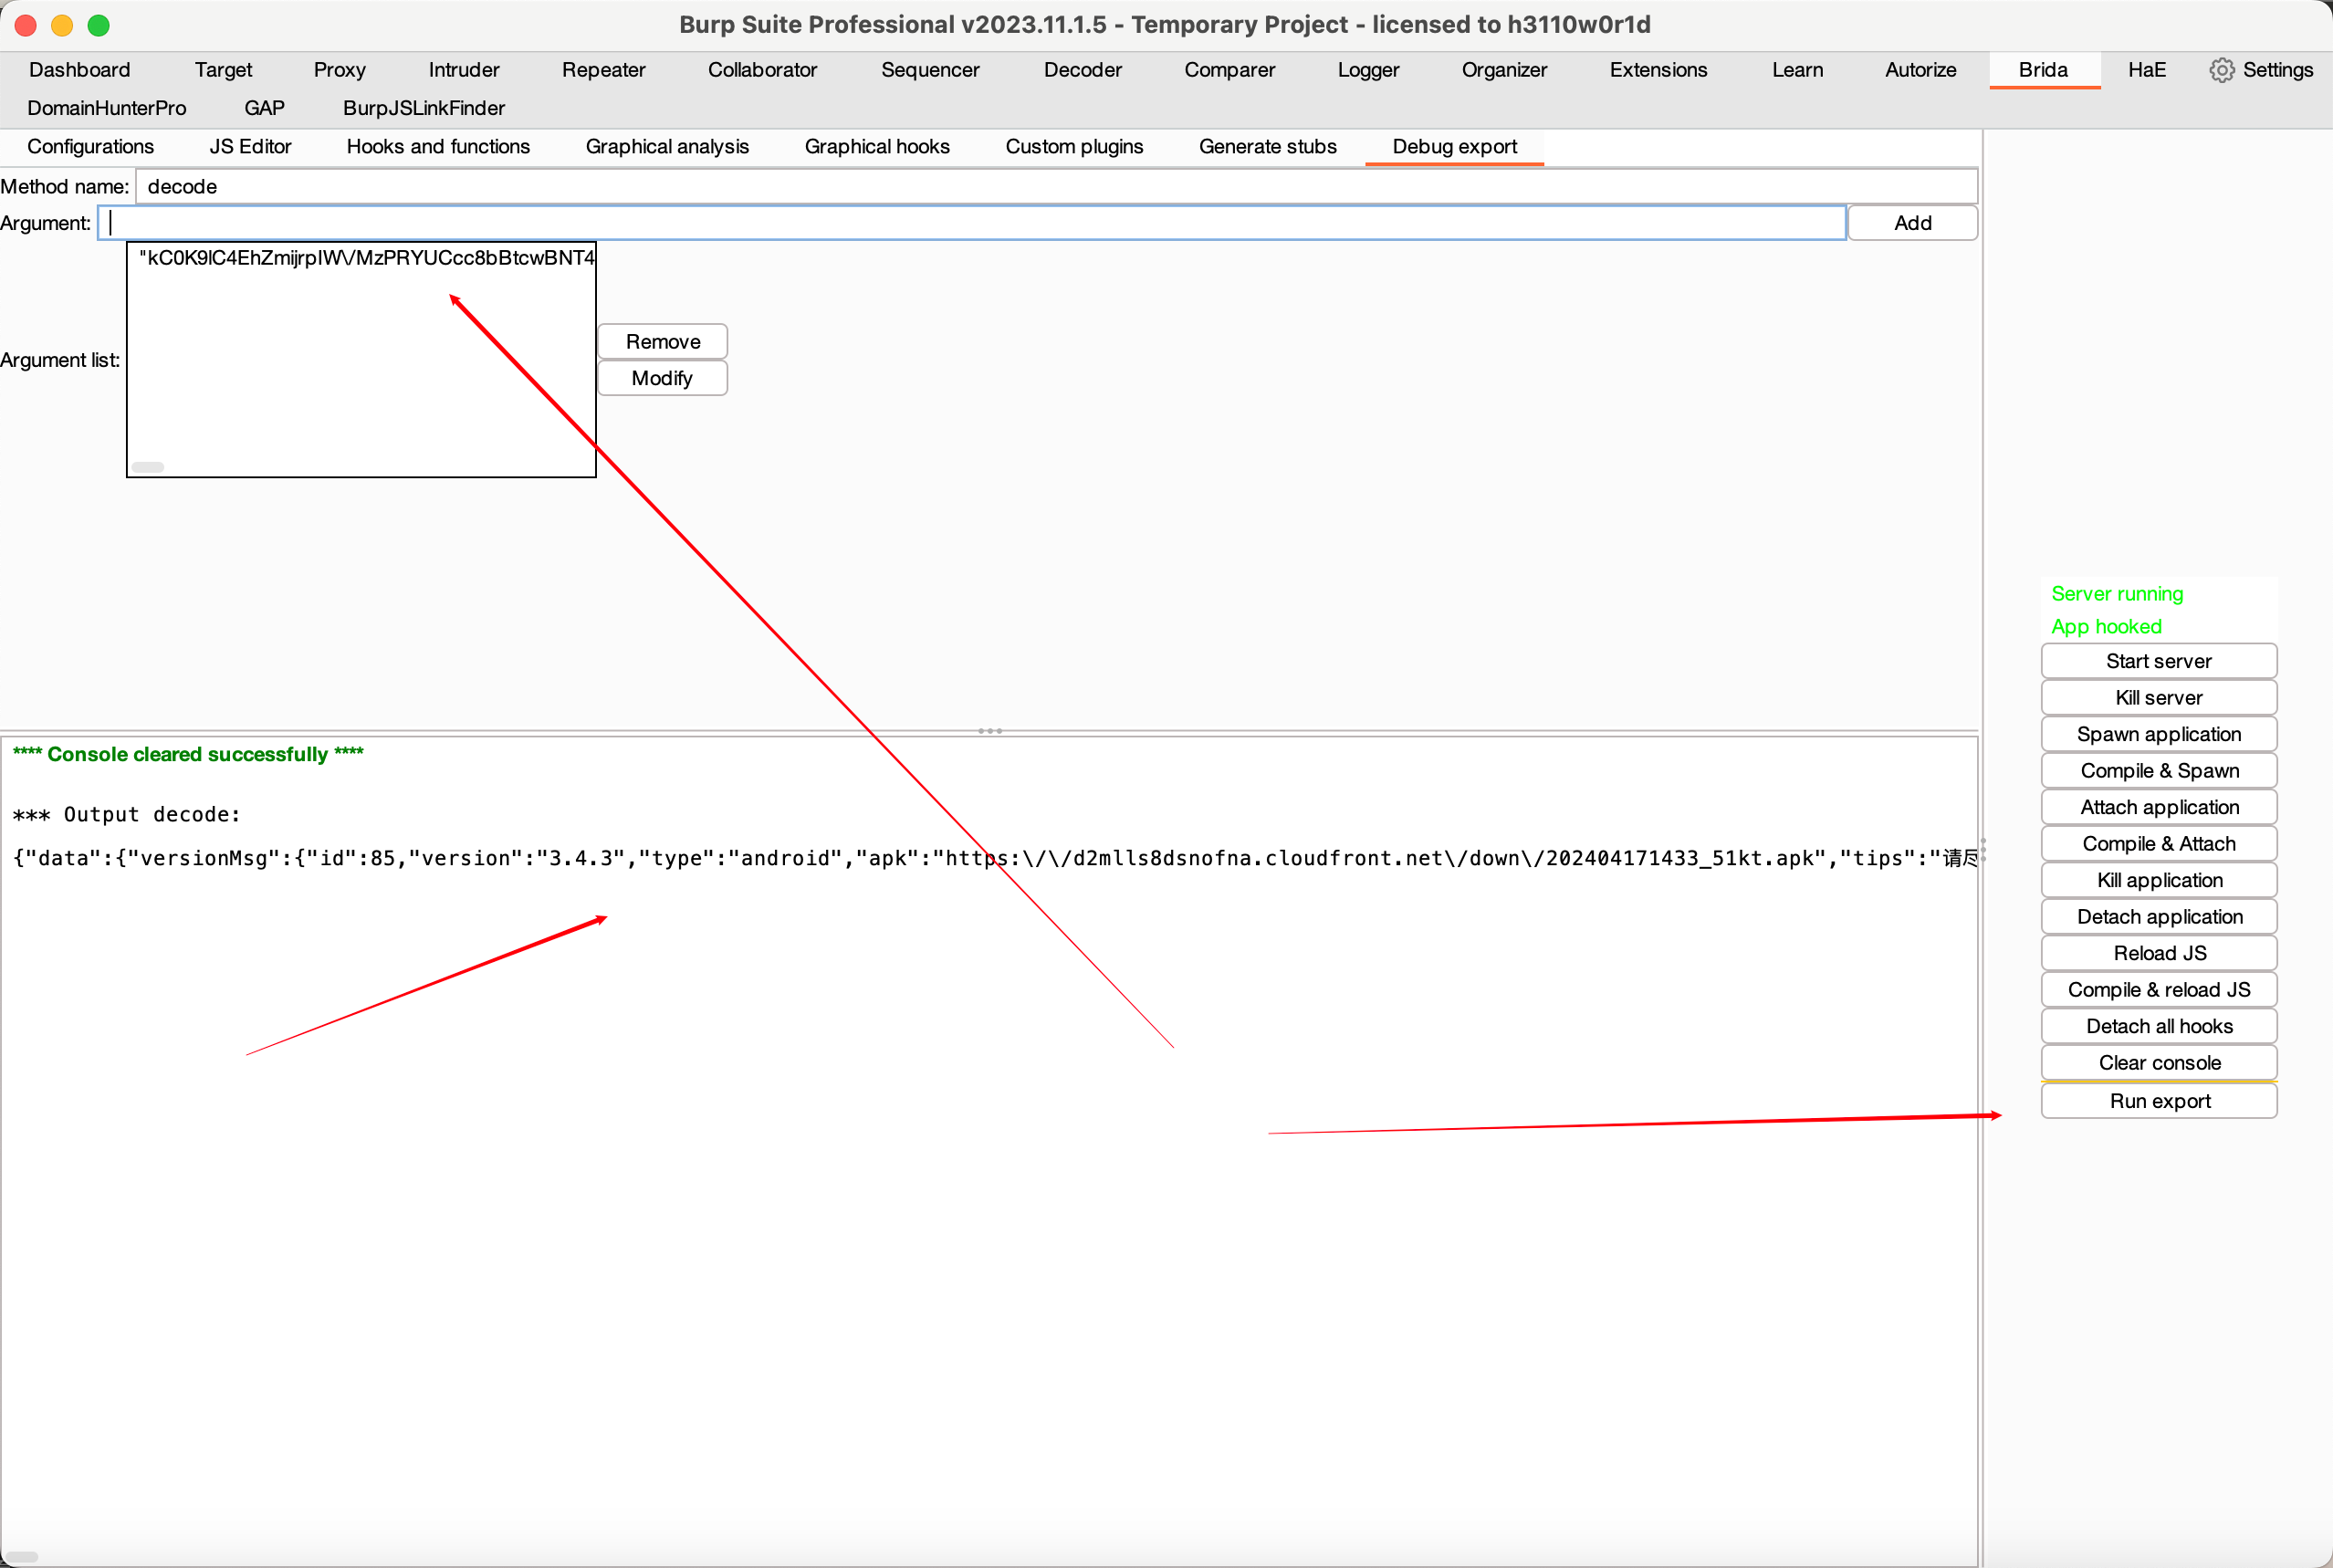
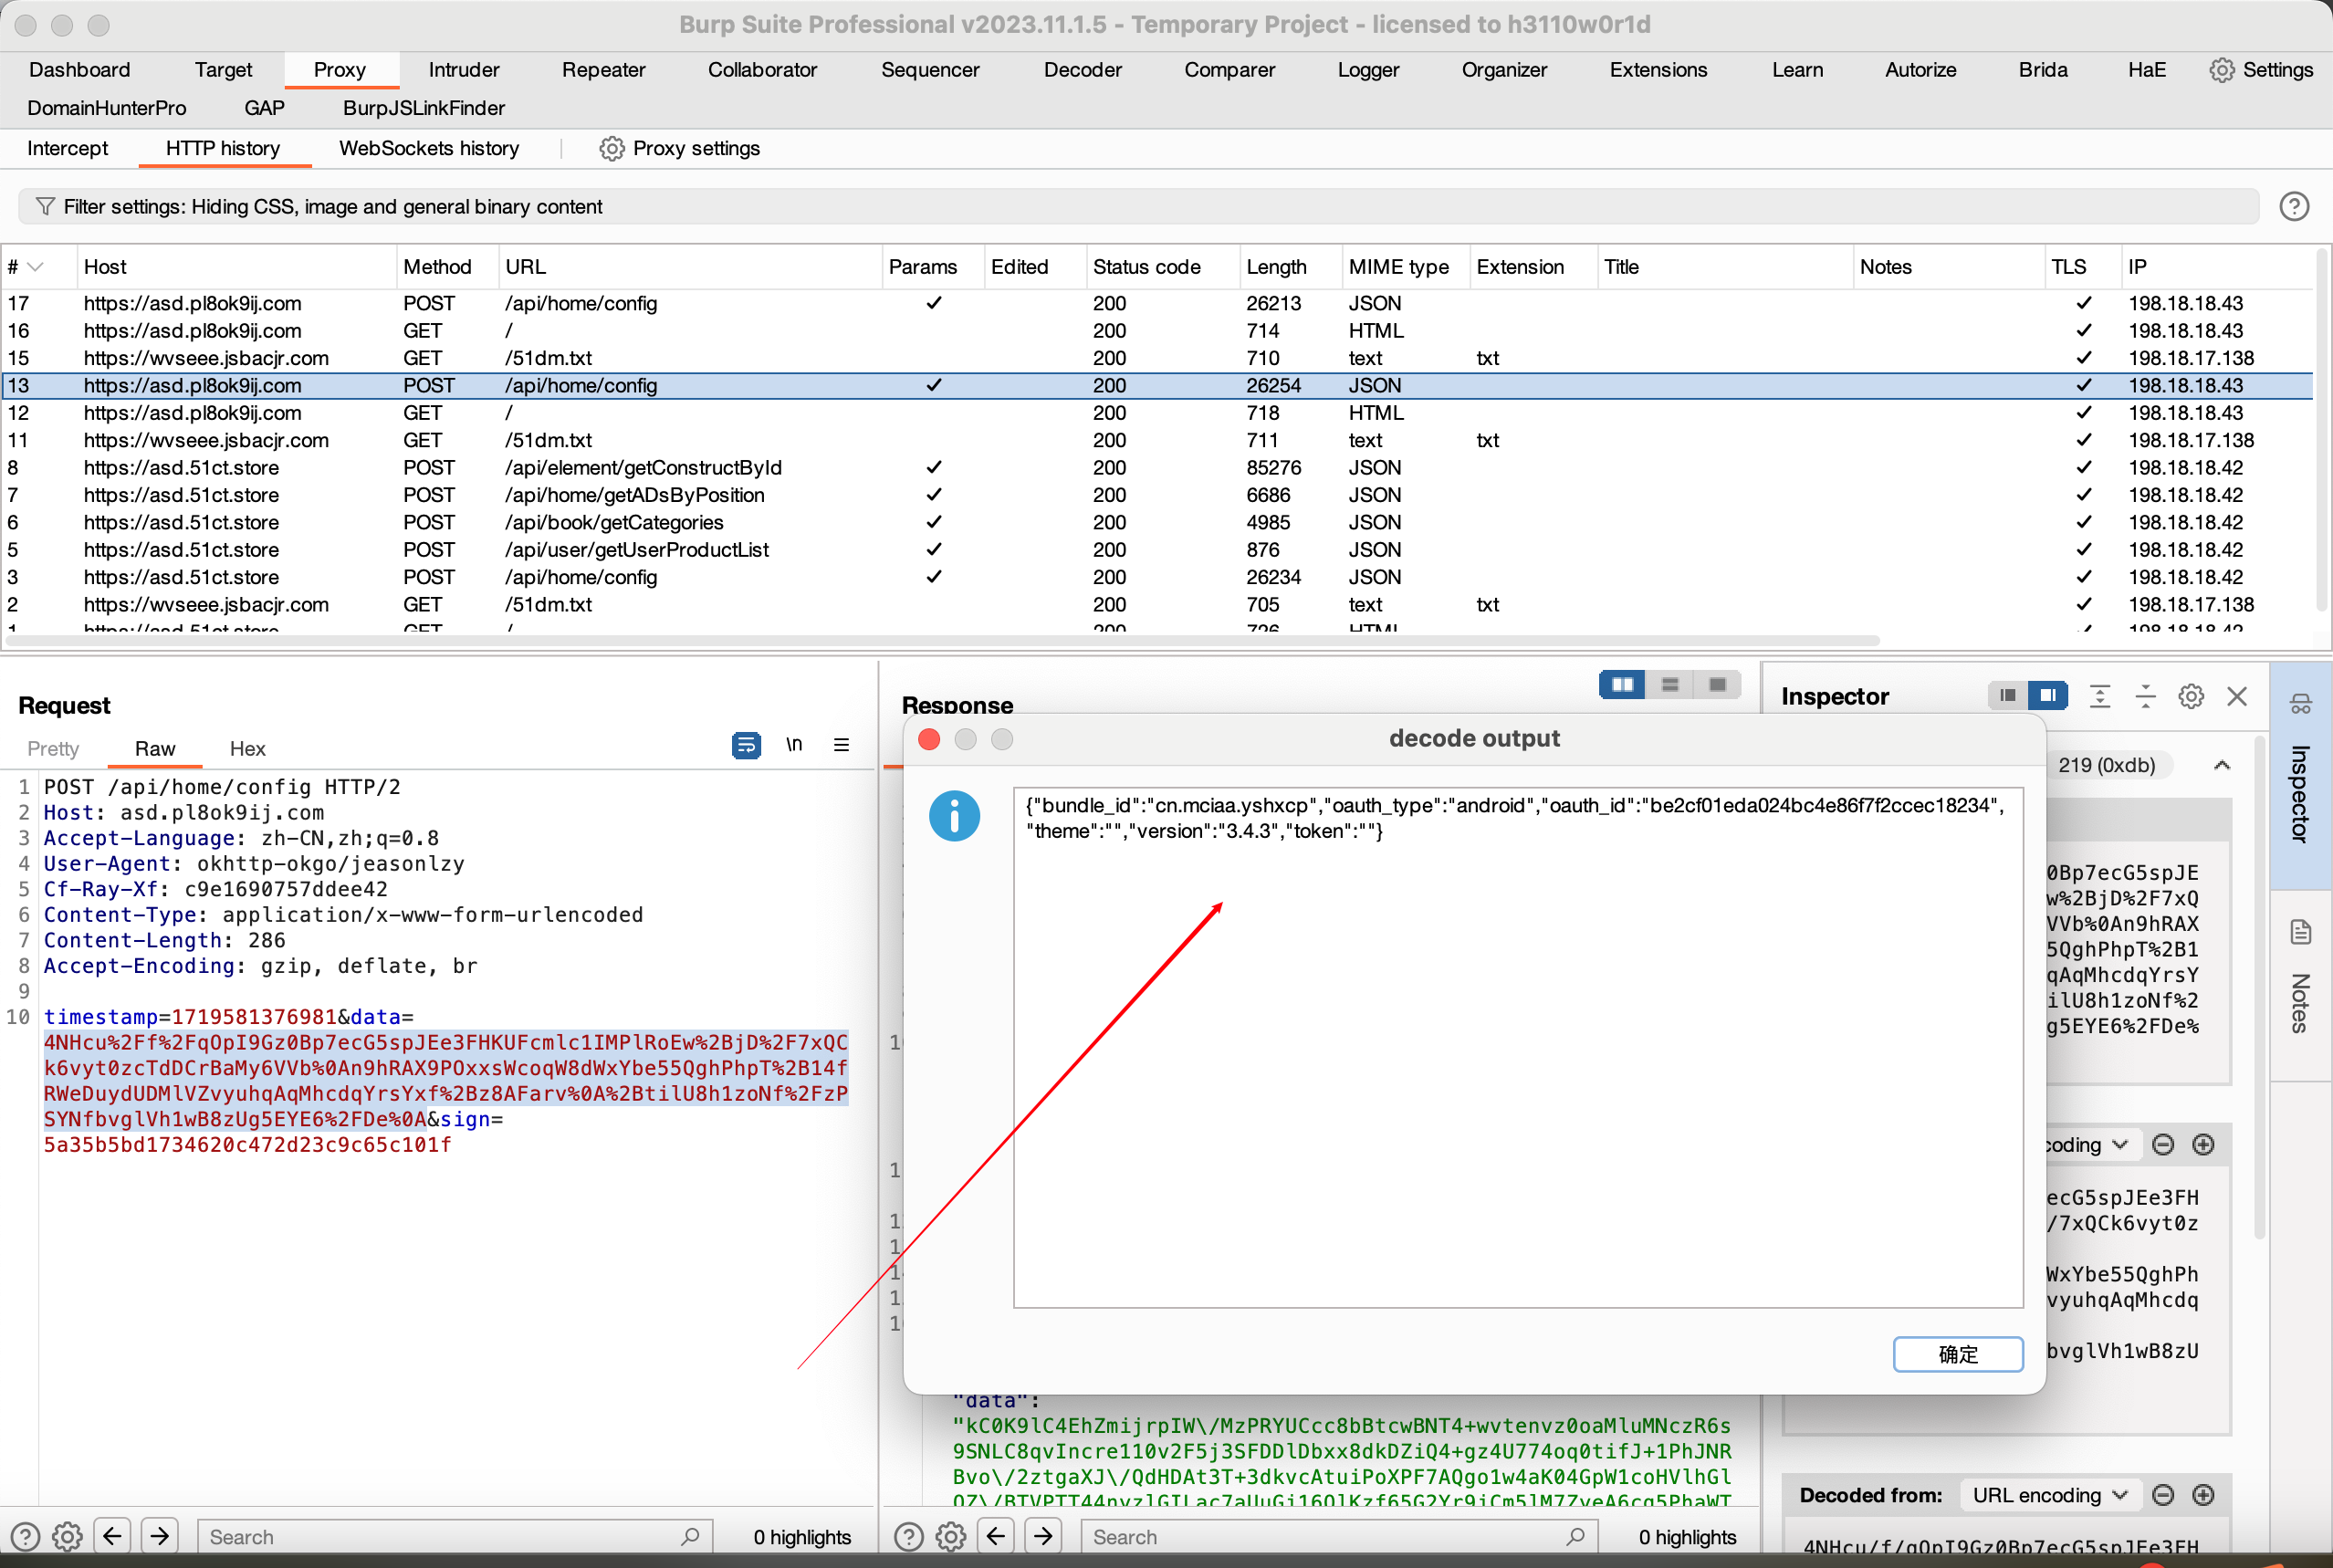
对编写的函数进行测试
先点击Spawn application
之后把加密数据放进去点击Run export 即可看到解密后的数据
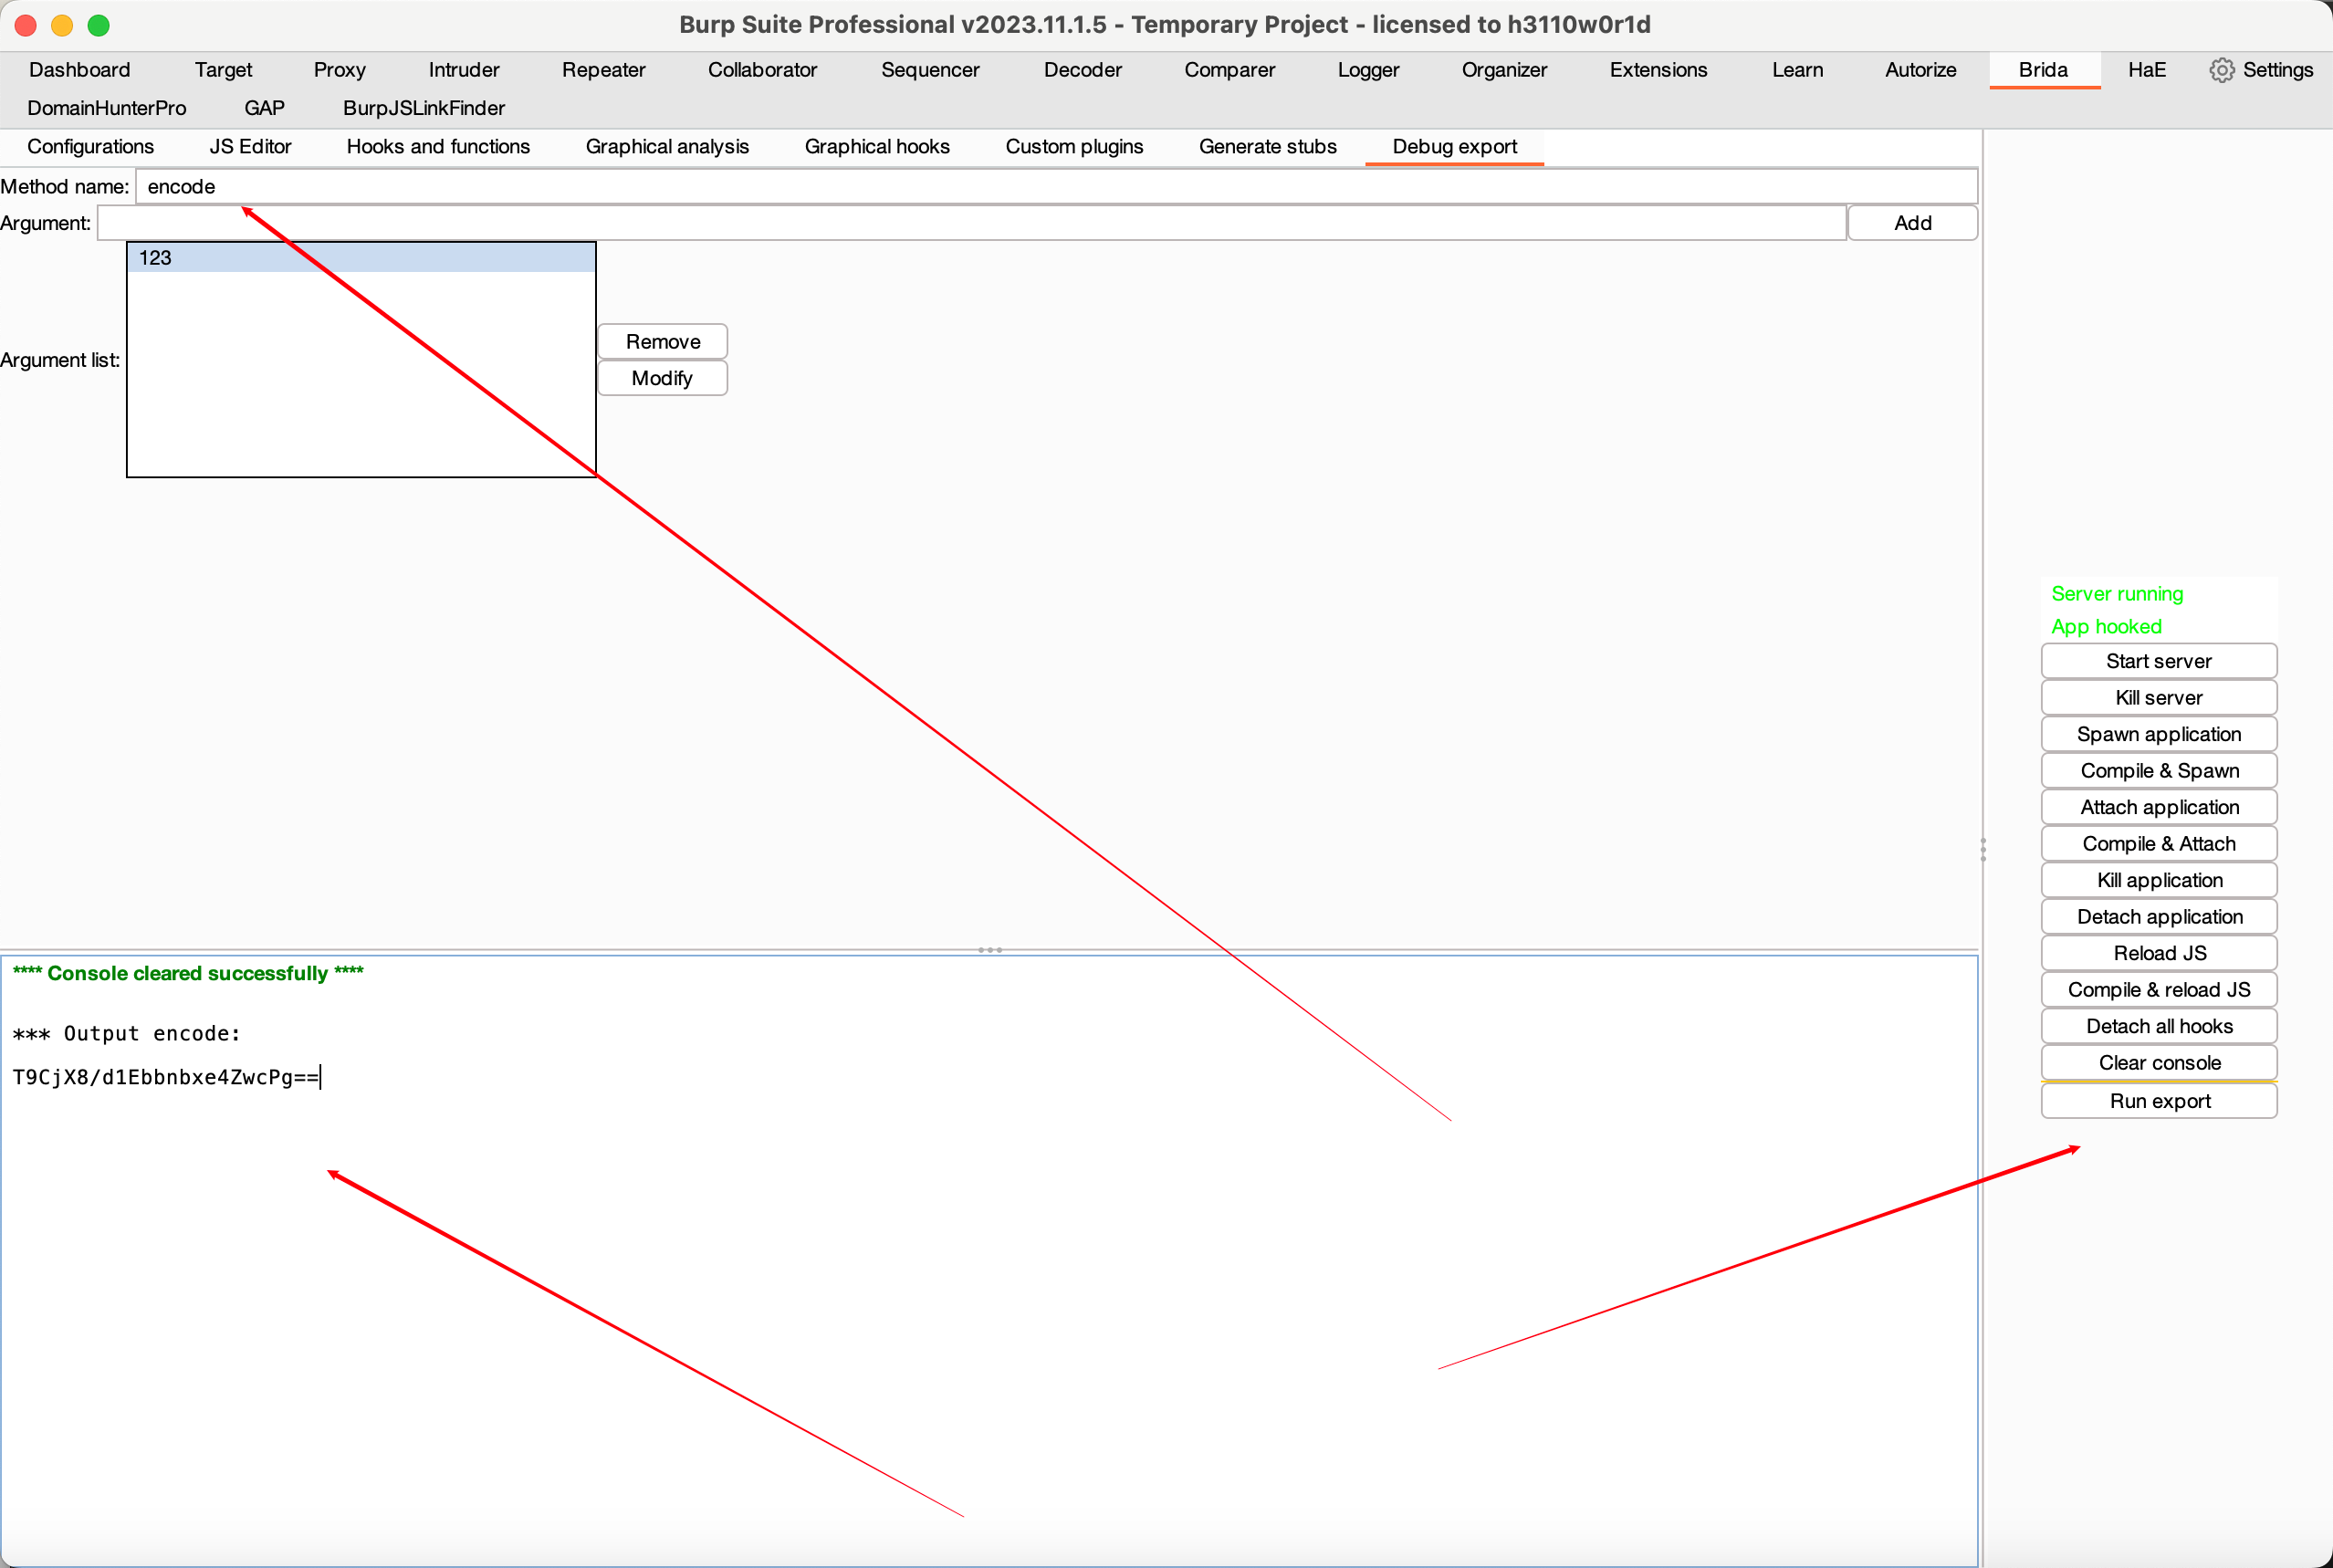
加密函数测试正常
加入右键
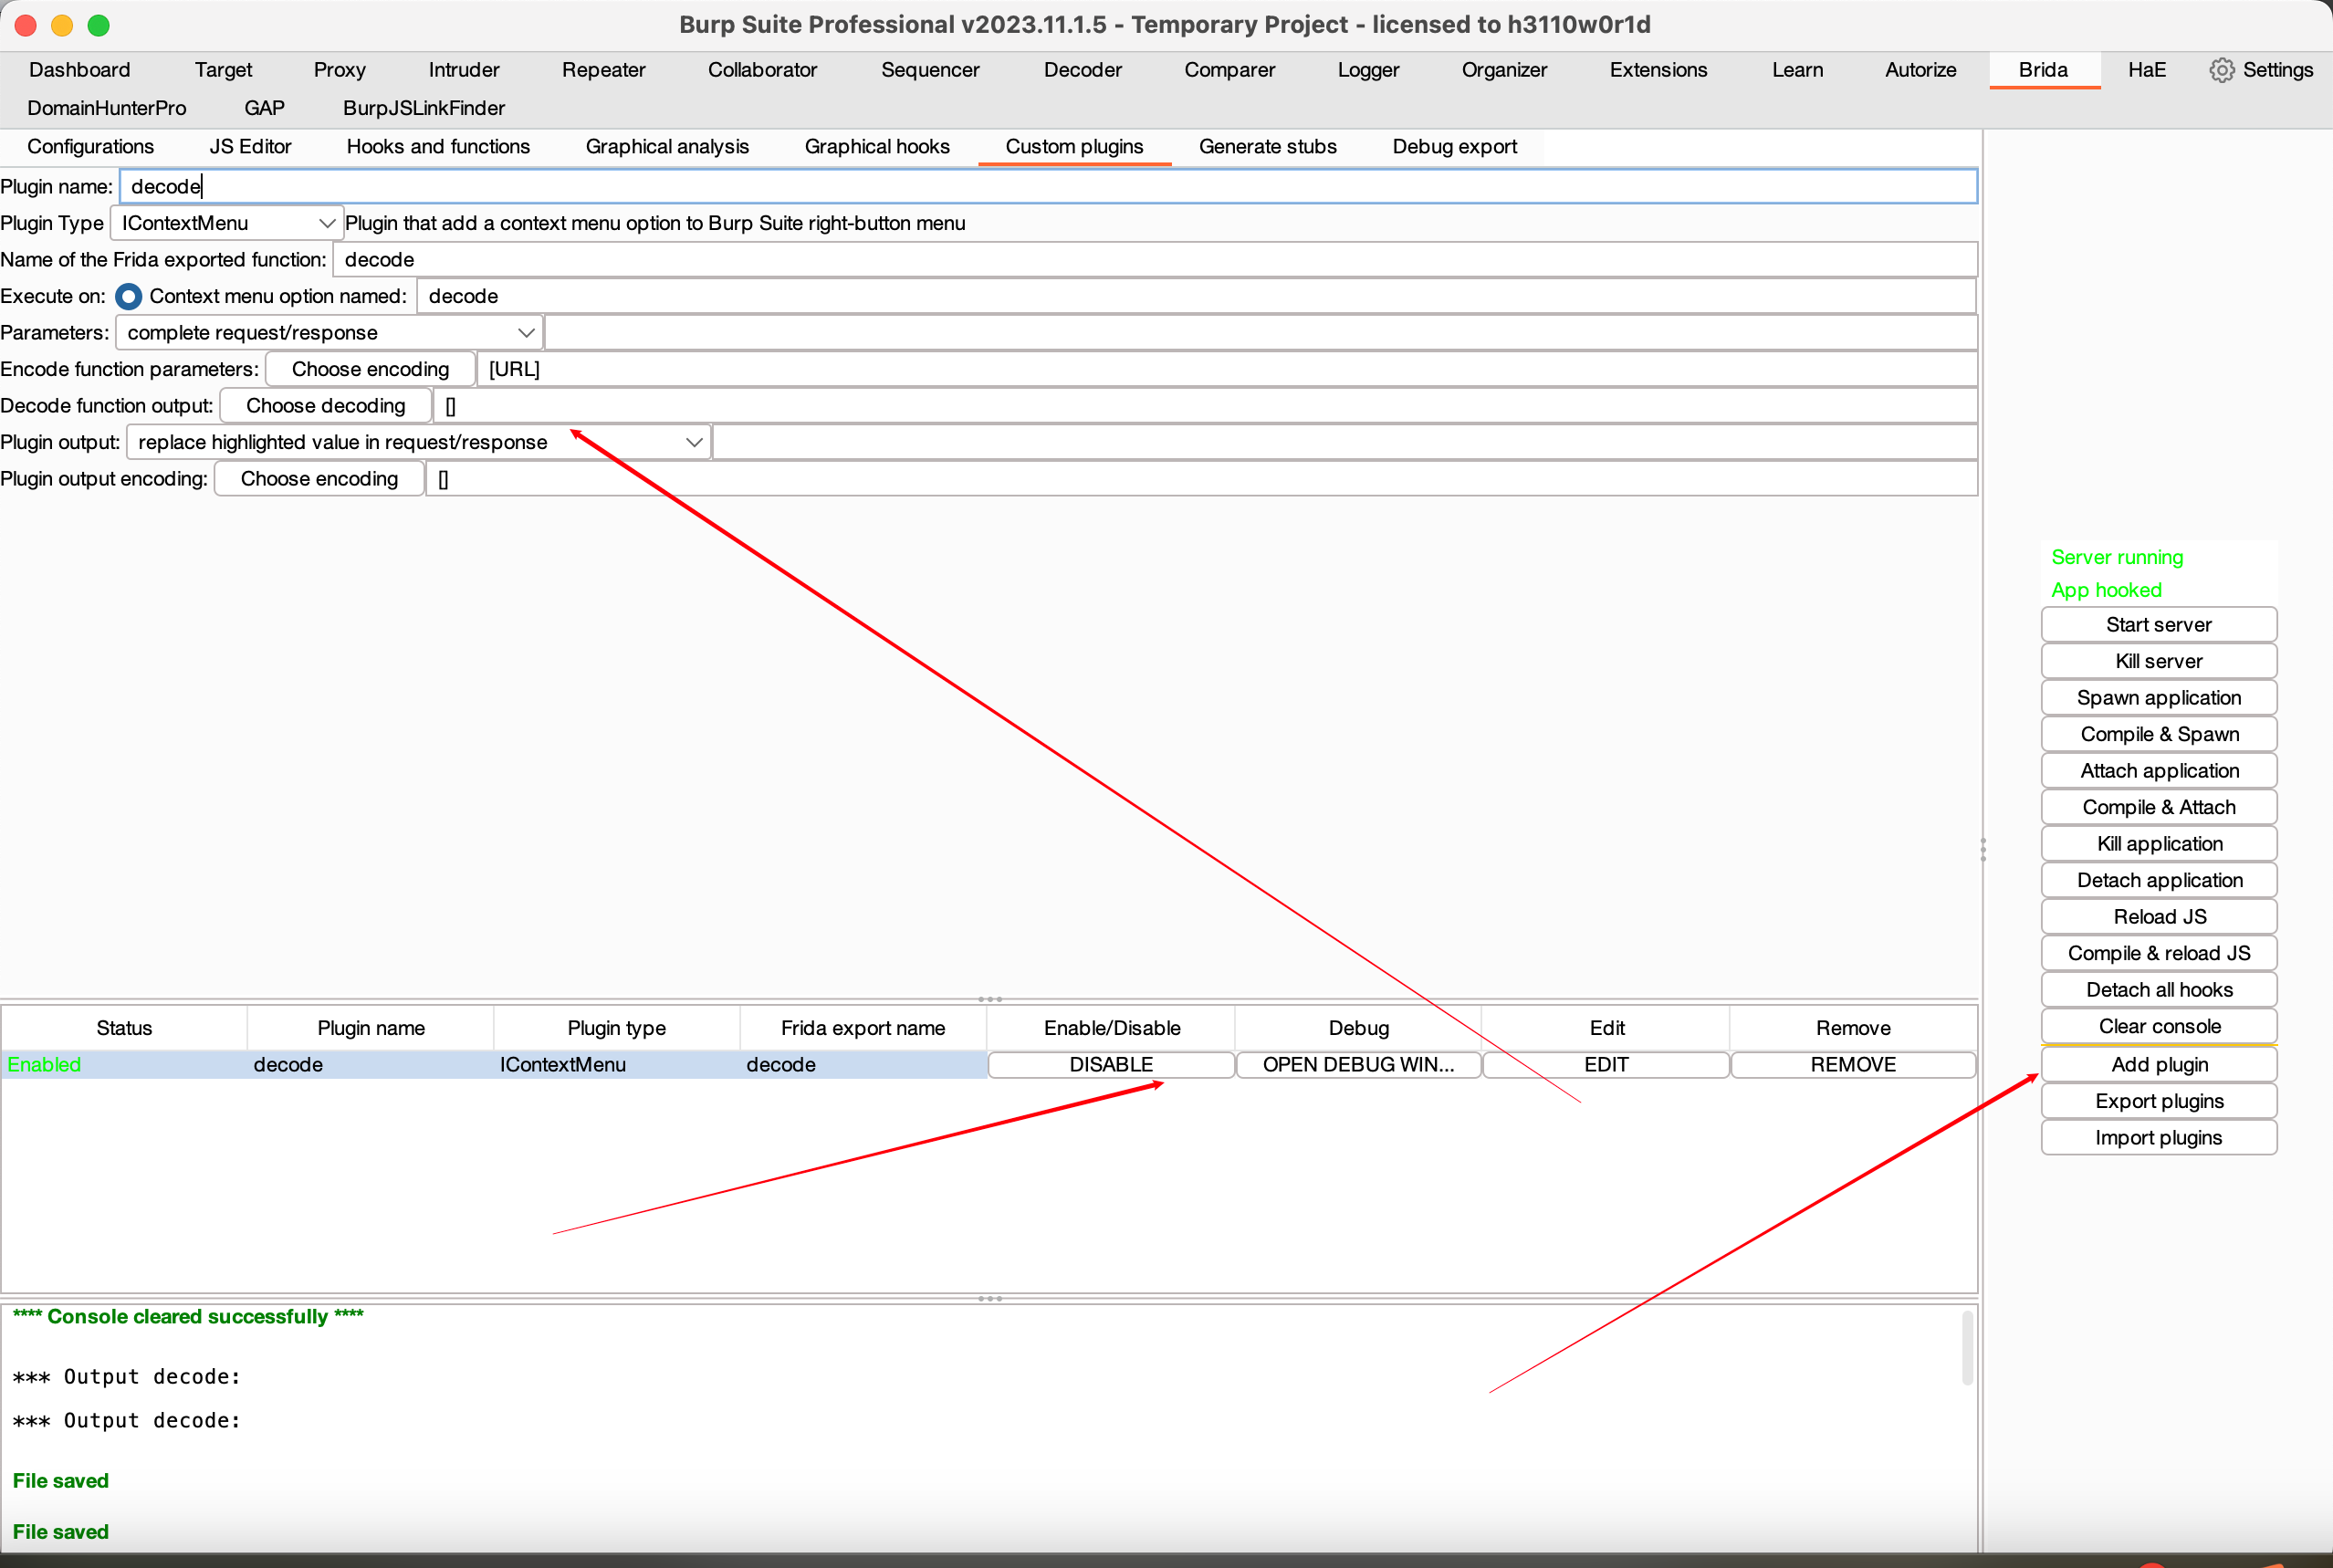

这样测试就方便多了